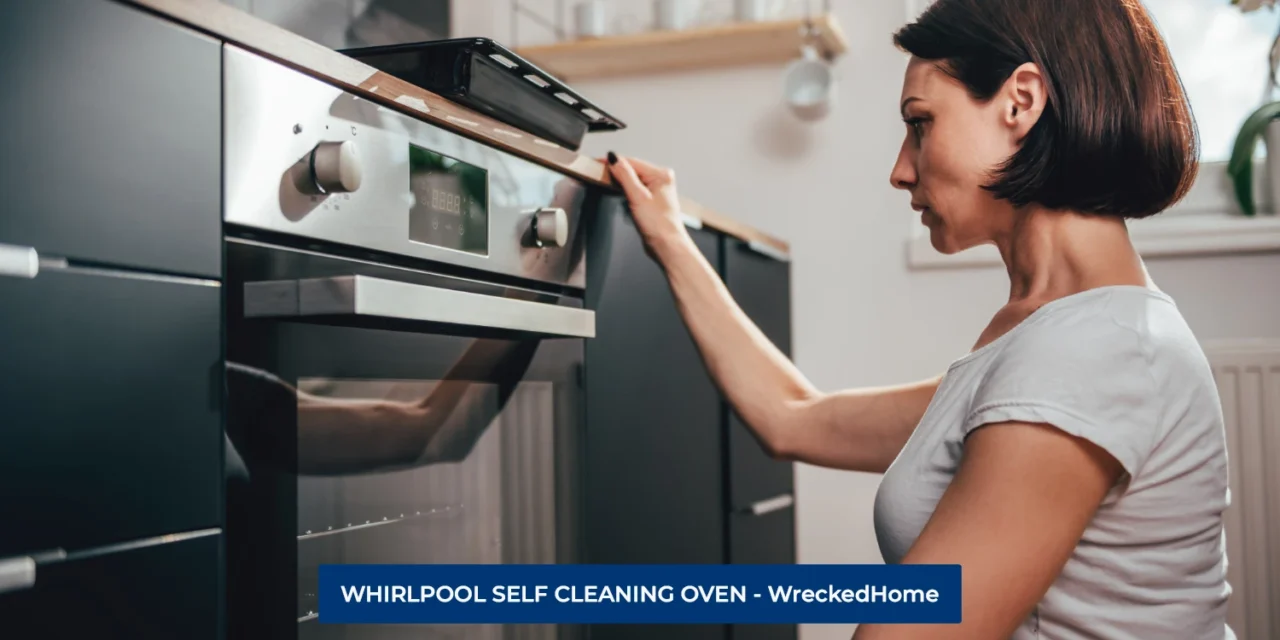
The whirlpool self cleaning oven is a game changer in the world of kitchen appliances. Ovens tend to get really dirty in time due to spills, crumbs, or food particles falling in the base. It gets heated and firmly sticks to the surface of the oven, making it appear unpleasant. Cleaning it becomes a daunting task because of all the effort and time it requires.
With this oven from whirlpool, you can follow some easy steps to get your oven clean. In this article, we will teach you how to use the self cleaning function of your Whirlpool oven.
- The Benefits of Whirlpool Self Cleaning Oven
- Preparing Your Whirlpool Self Cleaning Oven
- How To Start The Cleaning Cycle Of The Whirlpool Self Cleaning Oven
- The Self-Cleaning Process (Whirlpool Self Cleaning Oven)
- Safety Precautions
- Things To Do When the Self-Cleaning Cycle Has Stopped
- Tips for a Successful Cleaning Cycle
- Conclusion
- Frequently Asked Questions FAQS
The Benefits of Whirlpool Self Cleaning Oven
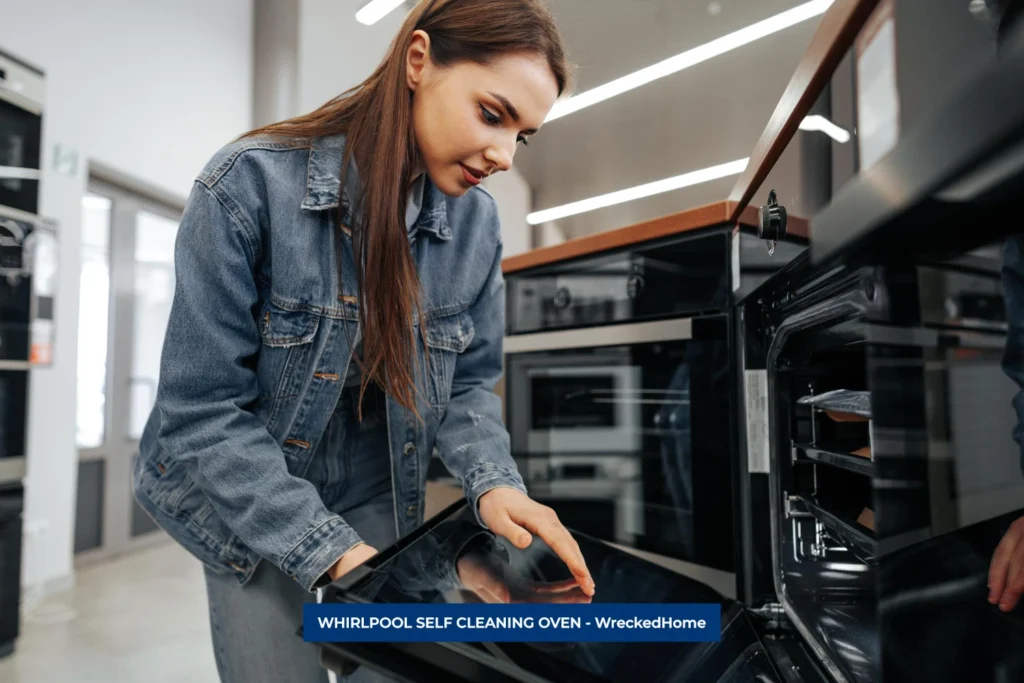
The Whirlpool Self cleaning oven is a popular choice for homeowners because they are more beneficial than traditional oven. A few of those benefits can be found below:
- Effortless Cleaning: Self cleaning features mean that the oven will clean itself and doesn’t need your involvement.
- Time-Saving: It’s an automated process that the oven does by itself therefore it saves your time.
- Energy Efficient: If you start the self cleaning process while the oven is already hot because of cooking, then you can save up on energy as well.
- Safety: The safety features allow the oven to lock itself so you don’t accidentally open the door and get any burns.
Preparing Your Whirlpool Self Cleaning Oven
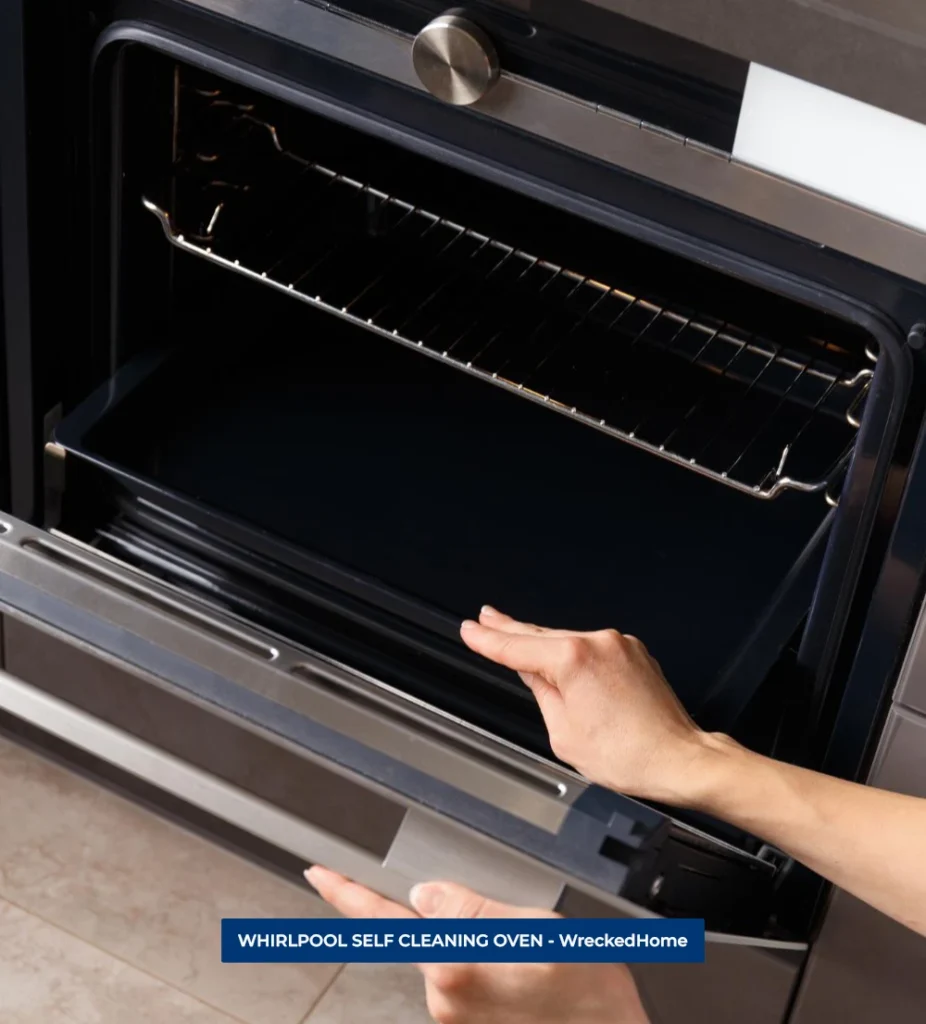
Before you run this cycle, please prepare your oven. This is an important step that you shouldn’t miss because issues can occur. The steps that should you should take are below:
- Remove Items from the Oven:
It’s essential to remove all the racks, pans and other items from your oven and make sure that it’s completely empty. Having any items left inside can cause damage or a fire hazard while the cleaning process is taking place.
- Ventilation:
Proper ventilation is also an essential part of the cleaning process, otherwise the smoke detector can be triggered. This is due to the heat and fumes that the oven produces. Therefore, it’s important to turn on the exhaust or keep the windows open.
- Clear the Area:
The area near the oven should be checked for items that are likely to catch fire or get damaged due to heat and move them away.
- Double-Check for Spills:
Check the inside of the oven for heavy spills or chunks of food. It is suggested that you always remove them by hand before the cleaning process starts. The reason it’s suggested is because they can cause heavy smoke and burning odor during the cleaning process.
- Check the Door:
Make sure that the door is properly locked otherwise the cleaning process doesn’t start.
How To Start The Cleaning Cycle Of The Whirlpool Self Cleaning Oven
There are a few steps you need to follow to start the whirlpool self-cleaning oven, they are mentioned below:
- Set a Time (Whirlpool Self Cleaning Oven):
Depending on which model of the self cleaning oven you have, each oven will take its own time to clean. It usually takes 2 to 6 hours to clean however, it’s recommended that you monitor the process.
- Locate the Self-Clean Button (Whirlpool Self Cleaning Oven):
The self cleaning button usually says “Auto Clean” or “Precise Clean” on different models. It is located on the control panel of the oven and should be pressed if you’re planning to start the cleaning process.
- Select the Cleaning Duration (Whirlpool Self Cleaning Oven):
In some of the models you are given a choice of duration to choose from. It can be a two to six hour cleaning cycle, a longer duration will be chosen if your oven is more soiled.
- Start the Cycle (Whirlpool Self Cleaning Oven):
Once you have chosen the duration of the process then you can easily start the self-cleaning cycle by pressing the “start” button.
- The Oven Door Locks (Whirlpool Self Cleaning Oven):
When the cleaning process begins, the oven automatically locks its door due to safety reasons.
The Self-Cleaning Process (Whirlpool Self Cleaning Oven)
During the self-cleaning process of your Whirlpool self cleaning oven, a high heat of around 800°F (427°C) is generated to burn up all the leftover residue and spills. This converts all the food particles into ash and cleans it up. When you start the cleaning process the oven automatically increases its heat up till the desired temperature is reached for the process. Once the cleaning is done by the oven it automatically cools itself down and unlocks its door, this may take around 2-6 hours depending on the oven type and its model.
Safety Precautions
While using the whirlpool self cleaning oven, it’s important to follow some important precautionary measures. These measures are mentioned below:
- Stay in the Kitchen: Always keep an eye on the oven as the slightest error can lead to a fire hazard because of the amount of heat that the oven produces during the process.
- Keep Children and Pets Away: Make sure that your pets or children stay away from the oven because even while its door is locked, its exterior gets really hot.
- Ventilate the Area: Try to maintain ventilation while this process takes place. The widows and exhaust fans should be running at all times to remove the smell and fumes.
Things To Do When the Self-Cleaning Cycle Has Stopped
After the oven has undergone it’s self cleaning process and the has cooled down completely, then you can follow the given steps:
- Remove Ashes: Once the oven has completely cooled down, you can now notice a layer of ash on the insides of the oven. Remove the ash with a damp cloth but do it when the oven has cooled down because even the ashes stay warm for a long time.
- Clean the Racks: It’s advised to remove everything in the oven including the racks during the cleaning process. Once removed, you should clean them up manually by using dish soap and a hard sponge to scrub off all the food residue that is stuck on it.
- Vent Cleaning: Make sure to clean the vent after the cleaning process. Any visible debris or residue can easily be removed to guarantee proper ventilation during the baking process.
- Wipe Down the Oven Door: Wipe off all the residue from the oven door by using a damp cloth with a light splash of dish washing detergent to remove any residue.
- Inspect the Oven Interior: If there are still any spots and stains left in the oven then it’s best to gently scrub them with a cleaner.
Tips for a Successful Cleaning Cycle
It is best to consider the following tips to ensure that the cleaning process of your Whirlpool self cleaning oven is successful:
- Regular Maintenance: This means that you should regularly practice small tasks like washing the oven racks and whipping food residue off the bottom of the oven once or twice a week. This way your oven will not get overloaded during the cleaning process.
- Remove Spills Promptly: If you see any spills while using the oven, it’s best to instantly clean them rather than waiting for later when they get stubborn to remove.
- Protect the Light Bulb of the Oven: Make sure that you always remove the bulb of the oven before starting the cleaning process. This is because it can’t withstand high temperatures used during the cleaning process.
- Follow the Manufacturer’s Instructions: Always follow and go through the instructions given on the user manual of your oven. Because each model has their own specific instructions which should be read.
Conclusion
The Whirlpool self cleaning oven is a great investment as it makes cleaning easy and saves your time. By going through this article you can learn how to use and manage your self cleaning oven easily. Regular maintenance can ensure the longevity of your oven.
If you have any microwave installation needs, hire a professional. Find A Pro Near You Here!
Frequently Asked Questions FAQS
Can the self-cleaning feature be used with a microwave or other such appliances nearby?
Since the self-cleaning process uses high temperatures it can affect whatever you have placed around them. So yes, try to stay cautious and keep an eye on the oven if you have such appliances nearby to prevent mishaps.
What should be done if the self-cleaning cycle tends to produce a lot of smoke or a strong odor?
Lots of smoke and strong odor can be caused by heavy food spills or residue that remained inside the oven during the cleaning process. Just ensure that you clear up the oven from larger pieces of food residue or spills to prevent this from happening. Also ensure proper ventilation by opening windows and keeping the exhaust on.
Is it normal to have discolored oven racks after the cleaning process?
Yes, it is completely normal if the oven racks tend to get discolored after cleaning up. This usually happens due to the high temperature and the food residue that they change color. But, they can be cleaned. Use an oven cleaner, let it sit, and then wipe with Microfiber Towels.
Does the self cleaning feature clean the glass on the oven door?
The self cleaning process is used only for cleaning the interior of the oven, which includes the inside of the glass. However to clean the outside use a glass cleaner with a cloth to wipe off any stains.
Is it important to remove the bulb of the oven before starting the self cleaning process?
Yes, it’s essential to remove the light bulb from the oven as it is not designed to bear high temperatures. However, do refer to the instruction manual for specific instructions about the light bulb.

