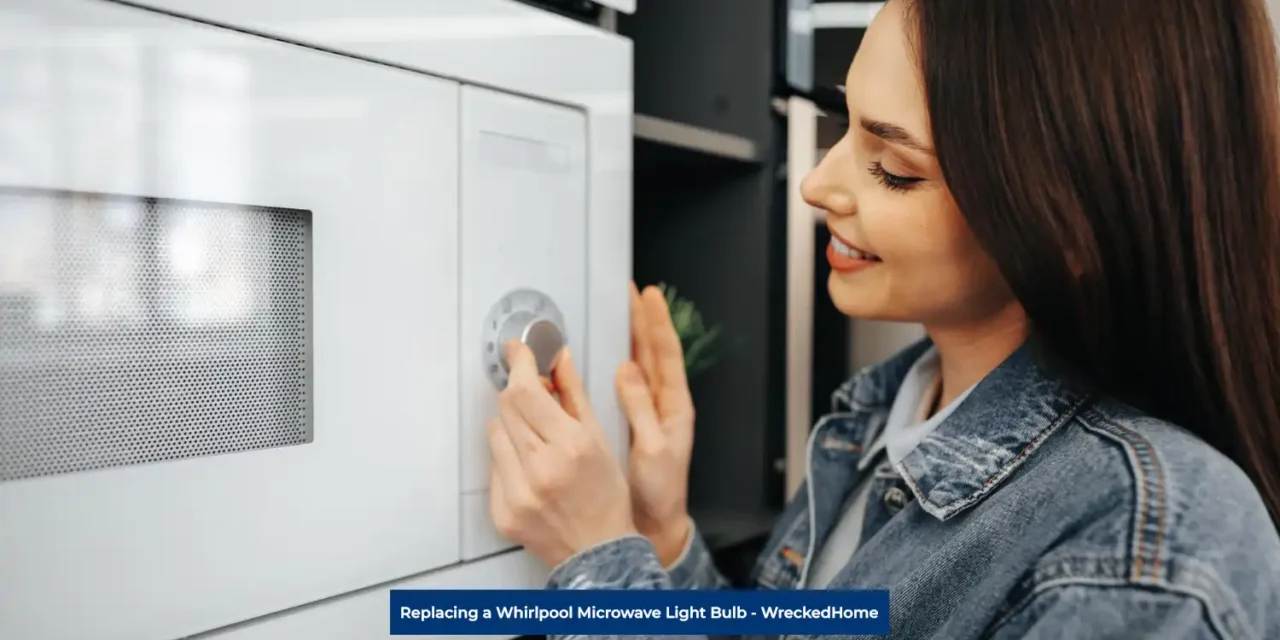
The light bulb of your Whirlpool microwave oven is extremely important because it helps you to monitor the things while cooking. However, it may occasionally burn out due to different reasons. When that happens, it needs to be replaced. That raises one important question; How do you replace a Whirlpool microwave light bulb?
To change the bulb on your microwave, turn it off, remove its vent grill, take out the old bulb, install the newer one, and reassemble the things back in place. While you are doing this, ensure that the you don’t touch the high voltage capacitor of the oven as it remains charged even after you have unplugged it.
Also, you must ensure that the new bulb you purchase is the right bulb (a 40-watt bulb with 8206443 part number). It’s specialized bulb for Whirlpool’s ovens and any other variant will not work for your Whirlpool microwave. If you want a step by step by step guide on replacing your Whirlpool Microwave Light Bulb, then you are in the right place. Our Team has you covered. Let’s dive in!
Step-by-Step Procedure to Replace a Whirlpool Microwave Light Bulb
Replacing a Whirlpool microwave light bulb is super easy when you have a little understanding of the overall procedure and essentials. Below you will find the essential steps that need to be followed.
Safety First
Before moving onto the first step for replacing the burnt out Whirlpool microwave light bulb with a new one, it’s important to understand the safety tips. Almost all models of the microwave use a high voltage capacitor that may prove very dangerous and even fatal upon touching. So, be safe around this capacitor as much as you can. Otherwise, you may get shocked. Unplug the microwave to make sure there is no charge in it.
Step-1. Purchase a New Bulb
You will need a new light bulb in order to replace the old one. So, order a light bulb that is 40-watts and has the 8206443 Whirlpool part number.
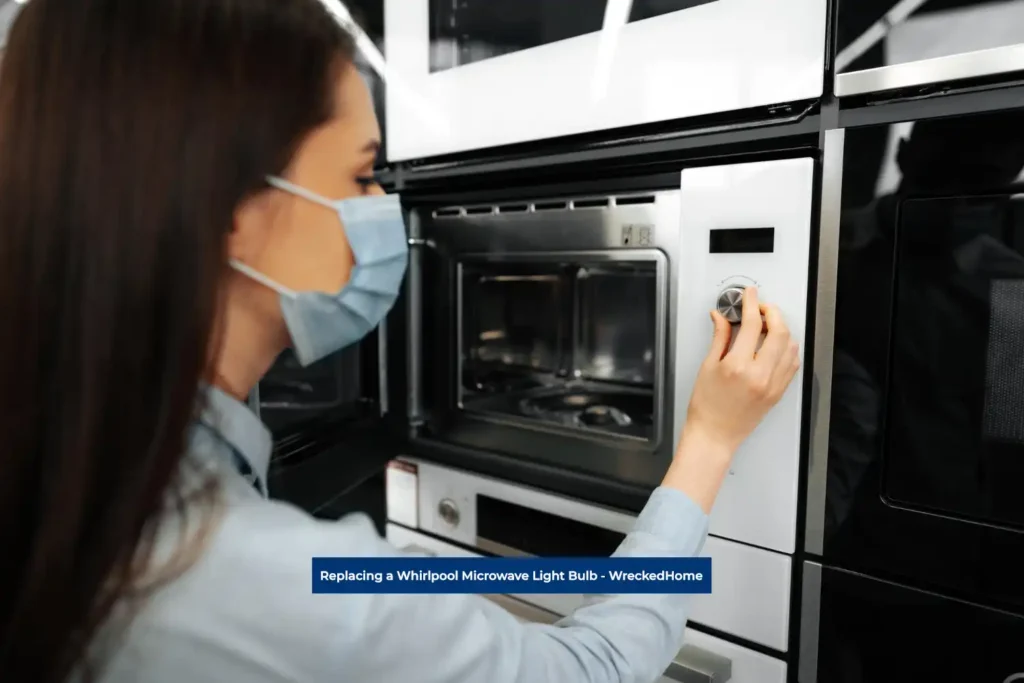
Step-2. Unplug Your Whirlpool Microwave
If you have a little bit understanding of home electrical appliances, you understand that they have multiple electrical components. As with anything that holds an electrical charge, there is always the possibility of shock. So, do not ignore safety protocols. Unplug the Microwave before starting the procedure.
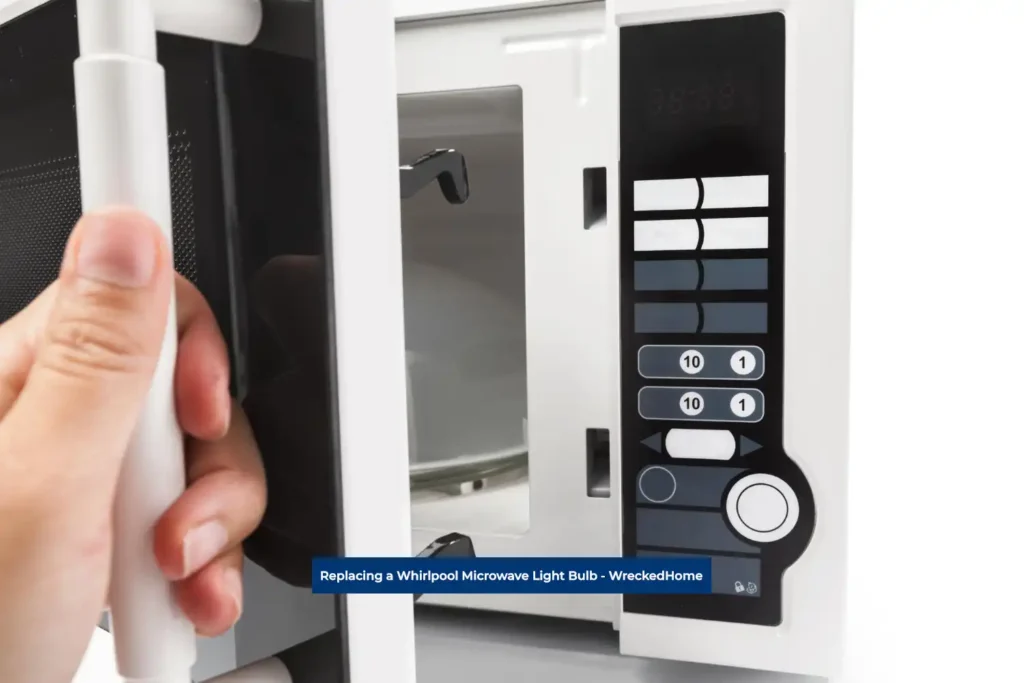
Step-3. Remove the Bulb Grill
The Whirlpool microwave light bulb has a casing or grill that keeps the bulb safe from fumes and heating effects. Unscrew the screws of this casing and remove it carefully.
Step-4. Remove the Old Bulb
After the old bulb is bare, remove it carefully. Some models have a bulb mounted with the holder while others come with a simple holder. So, proceed accordingly depending on your oven’s model.
Step-5. Install the New Bulb
Just like removing the Whirlpool microwave light bulb, installation of the new bulb also depends on the type of holder. Screw the bulb if it’s doesn’t have any specialized mounting screws. Otherwise, follow the instructions for carefully attaching the bulb with screws. Ensure the bulb is mounted properly and there is no risk of it falling out.
Step-6. Check the Newly Installed Bulb
Before fixing the vent grill or casing, it’s good to test the newly installed bulb. So, test it by plugging the Microwave back in. Once you have confirmed that the bulb is working fine, move to the last step.
Step-7. Fix the Vent Grill
Reassemble the grill by tightening its screws well. You have finally done it. Your Whirlpool microwave oven is now ready for the next cooking session!
Why Does the Whirlpool Microwave Light Bulb Burn Out?
Most Whirlpool microwave light bulbs have an average lifespan of about 3,000 hours. However, some bulbs may burn out before this time due to certain reasons. Here are some of the most common reasons for the Whirlpool microwave’s burning out;
Voltage Fluctuations
When voltage will be higher, the chances of burning the light bulb will increase. It’s due to the fact that the bulb will light up brighter and may get damaged. The normal voltage requirements for most home electrical appliances is 120v. Check the voltage with a multimeter if you feel that the bulb is brighter than usual.
Shaky Light Holder
A shaky bulb holder is another reason for frequent the burning out of the oven’s light bulb. If the bulb holder isn’t performing properly, the bulb filament gets damaged and will eventually lead to a blown bulb.
The Socket Gets Pushed Down
The Whirlpool microwave light bulb holder has a socket that supplies current. When it gets hot, it may be pushed out of place and will fail to contact the bulb. So, it may also be the reason for the bulb to stop working.
Faulty Bulb
Most compact fluorescent light bulbs have a shorter life than that of the LED bulbs. So, it’s good to opt for the LED bulb if the original bulb has gone bad.
Loose Wire Connections
A loose bulb holder and loose wire connections both lead to damage for the microwave bulb. When the bulb is shaky, its electricity supply will be disrupted. So, it’s another reason for frequent burn out.
Tripped Breaker
If the circuit breaker is tripped, there will be no electrical supply at all, and the oven will not work at all. If this happens occasionally, it will lead to damage to the oven, including the bulb damage.
Overheating
It’s not good to use a bulb with a higher or lower wattage than what it requires. Both will lead to damage. However, a higher wattage bulb will overheat and may melt the insulation of the oven.
Running an Empty Whirlpool Microwave
Running an empty oven will also lead to excessive usage of the bulb for no reason. So, it may also affect the lifespan of your oven’s bulb.
What are the Signs of a Bad Whirlpool Microwave Light Bulb?
Occasionally, you may notice that the brightness of your Whirlpool microwave is either higher or lower. Both conditions are risky, as these are forecasts of light bulb damage. Besides this, here are some other signs that show the light source of your microwave is about to blow out;
Flickering
If the bulb is flickering, it needs an inspection. Check the above mentioned reasons for such a faulty light bulb.
Food Takes Longer to Cook
If the bulb is not working well, it will not create enough heat to cook to warm the food. So, your oven’s light bulb will not be ok if it’s taking too much time for cooking the food.
Disturbed Brightness
Being a regular user of your Whirlpool microwave oven, you can easily judge its light. If the brightness is either higher or low, both of these situations will show you that the bulb is about to stop working.
The Cooking Chamber Gets Overheated Quickly
Sometimes, you feel that the cooking chamber of your oven gets overheated soon after you plug it in. This is due to the high intensity of the light bulb that’s also a sign of faulty bulb.
Smoke or Spark
You just turned OFF your microwave and opened its door but you notice a plastic burning smell from it. It’s due to a blown light bulb in the oven. Moreover, if you noticed any spark or smoke inside the chamber, it may be due to some electrical damage or potential damage to your oven’s bulb. If this happens, you may have to replace the bulb before the next cooking batch.
Visit our store for 10% off our Save Home Energy products here.
Maintenance Tips for your Whirlpool Microwave
Remember the health and lifespan of your Whirlpool microwave oven’s bulb directly depends upon the overall maintenance. So, it’s important to pay special attention to its care. Here are some tips to maintain all of your cooking partner’s parts;
- Don’t run the microwave empty because it damages the insulation due to overheating effects
- Clean the microwave regularly after each cooking session
- Keep the filters clean and go for a thorough cleaning after regular intervals
- Ensure the door is locked properly during the cooking
- Avoid putting metal utensils in the microwave
- It’s good to utilize the programmed cooking mode to avoid any damage even if you forget about cooking in oven
- Avoid repairing the hard to understand things on your own
- Get the help of professionals if the oven undergoes any hard to understand technical issues
Conclusion
In conclusion, you should now have a better understanding on replacing a Whirlpool microwave light bulb. Replacing the Whirlpool microwave light bulb includes unplugging, removing the bulb casing, removing the old bulb, installing the new bulb, and assembling the case back. It’s important to use a bulb with the right wattage as both low and high voltages will damage the oven.
Moreover, don’t ignore the safety tips when fixing the light bulb issue. Otherwise, you may have to face injuries to yourself or your oven. Also, maintain your oven properly to increase its lifespan. Hopefully, these tips will resolve most of your microwave oven issues. Enjoy the next cooking session!
For any repairs, installations, builds, or questions; We recommend you to hire a professional. Find A Pro Near You Here!
FAQs
Is it safe to change the microwave light bulb yourself?
Yes, it’s safe to replace the microwave light bulb yourself in most of the cases. You can do it yourself if you have little knowledge about home electrical connections. However, some models have bulbs next to their capacitor. Take special care if you have such a model because touching the capacitor is very risky.
What is the life of a microwave light bulb?
The average lifespan of the most of the microwave oven light bulbs is 1,000-3,000 hours. However, it’s not fixed and some reasons may damage the bulb before this time. So, be careful about the potential causes that may lead to light bulb damage.
How do I know that my oven’s light bulb needs to be replaced?
When an oven’s faulty light bulb flickers, the food takes longer to cook, the internal chamber gets overheated quickly, or its brightness is disturbed. If you notice any of these symptoms for your microwave oven, its bulb needs to be replaced. So, change it quickly to get the perfect results in your cooking.


