In the world of automated garage door openers, LiftMaster stands out as a trusted one to meet the security needs of homeowners. LiftMaster has become synonymous with cutting-edge technology and durable design as garage door openers in modern living.
LiftMaster garage door openers are renowned for their innovation, with smart connectivity features; to meet the dynamic demands of the contemporary lifestyle. Understanding the intricacies of these openers is crucial for homeowners to ensure the smooth operation of their garage doors.
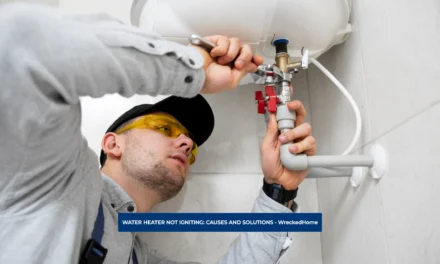
The importance of knowing how to reset liftmaster garage door cannot be overstated in home security and automation to maintain the functionality of their garage doors effortlessly. In this article, we will delve into the intricacies to reset LiftMaster garage doors by giving tips to troubleshoot common issues effectively.
Common Reasons for Resetting
Garage door openers, while technological marvels, require resetting whenever there is issue. Understanding the common reasons for resetting a LiftMaster garage door is important to maintain optimal functionality.
- Power Outages: One of the most common reasons to reset a LiftMaster garage door is a power outage. When power is restored after an outage, the garage door opener performance and functionality automatically is disturbed. A reset liftmaster garage door is essential to re-establish the connection and to resume the functionality where the thing stops.
- Remote Control Issues: LiftMaster garage doors often come with remote controls that come for convenience but sometime it can cause problems or signal interference. As a result, there is loss of communication with the opener that you can restore by resetting. A reset helps re-establish the link between the remote control and the garage door opener that works efficiently.
- Sensor Malfunctions: The safety sensors on LiftMaster garage doors are crucial and important because they help to keep you safe from accidents and damage. Misalignment, dirt, or damage to these sensors causes hindrance in the functioning of door operation. Resetting the garage door allows homeowners to address sensor issues, so you need to test before proper usage.
- Code Conflicts: LiftMaster garage door openers use codes to authenticate remote controls that can become disturbed over time. To resolve this conflict, especially when multiple remotes are in use, you need to allow in access permissions. A reset clears existing codes, providing a clean slate for reprogramming not only resolving issues but also preventing from damaging of the LiftMaster.
- Interference and Signal Disruption: External factors such as nearby electronic devices, radio frequency interference, or competing signals create hindrance in signal transformation. A reset liftmaster garage door helps in re-calibrating the system; mitigating interference issues and giving control to your device.
Step-by-Step Guide to reset Liftmaster garage doors
Follow the steps below to learn how to reset LiftMaster Garage Doors.
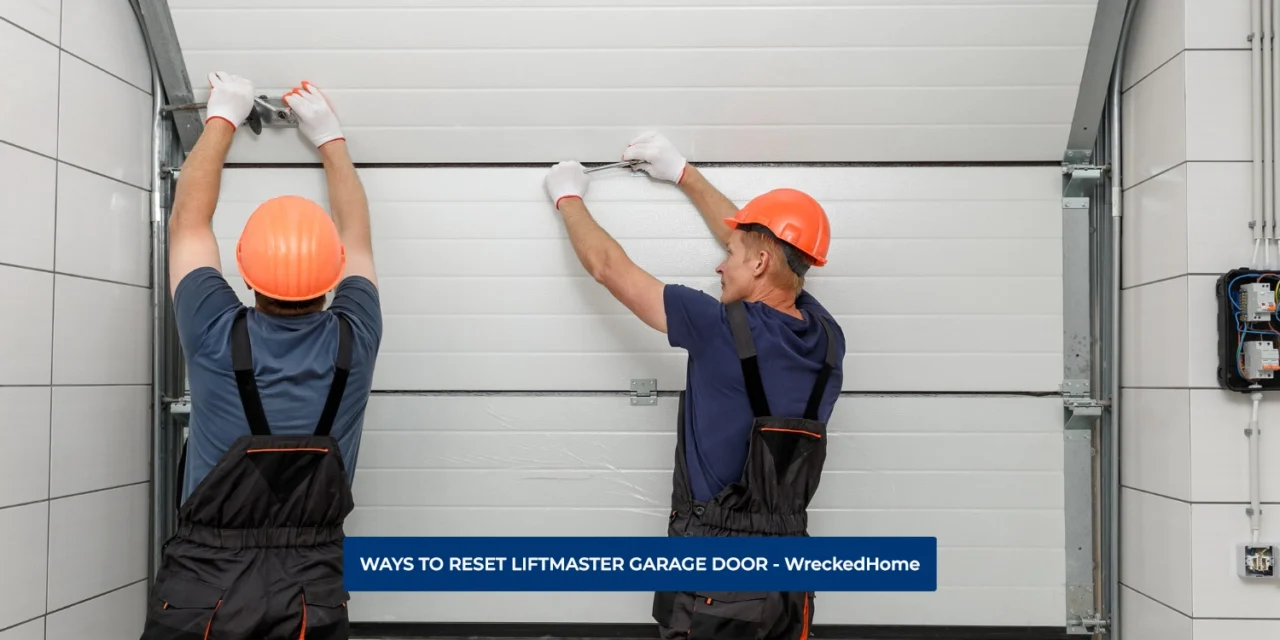
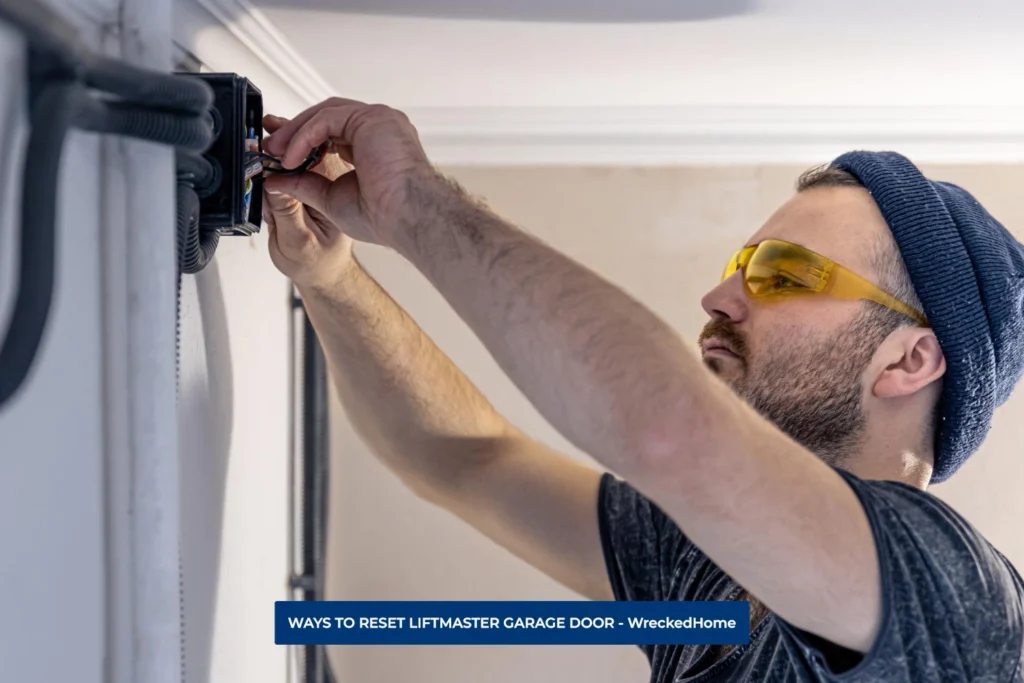
- Locate the Reset Button: The first step in the reset process is to find the reset button that is situated on the back or underside of the unit and may be labeled “Reset” within a circle.
- Disconnect the Power: Safety is important when dealing with electronic devices. Therefore disconnect the power to the garage door opener and ensure that there is no risk of electrical accidents during the reset Liftmaster garage door process.
- Press and Hold the Reset Button: Afterwards, press and hold the reset button for approximately 10 seconds or with a paperclip to reach and press it effectively.
- Release the Reset Button: After the 10-second duration, release the reset Liftmaster garage door button now ready to restore power to the unit.
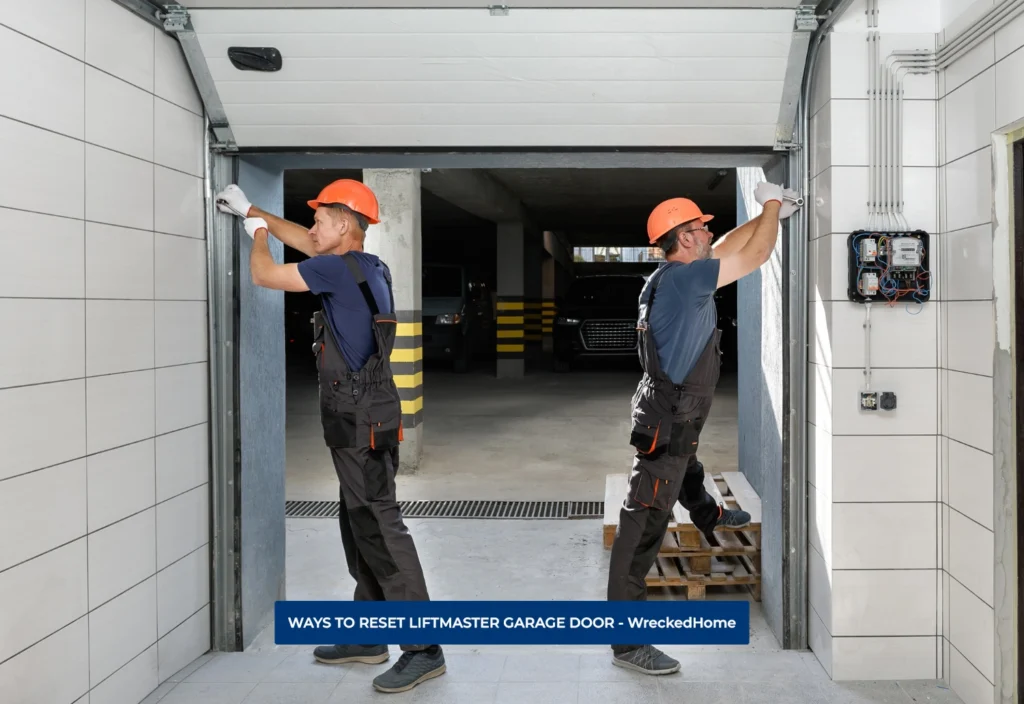
- Reconnect Power to the Garage Door Opener: Now, plug the unit back in or turn the circuit breaker back on, and perform a test. Use the garage door opener’s remote control or wall-mounted control panel to check if the door opener runs smoothly and responds promptly to your commands.
- Troubleshooting and Iteration: If the garage door does not respond as expected after the initial reset, then you need to hire a professional to troubleshoot for other potential issues.
This step-by-step guide for resetting a LiftMaster Garage Door provides a foundation for understanding the generic reset process for resetting techniques and preventive maintenance, ensuring a comprehensive grasp of LiftMaster garage door care.
How to Reset a LiftMaster Keyless Entry Keypad
As there are different types of LiftMasters, each has its own specification of resetting. If you have a keyless LiftMaster then you can do so by resetting the PIN on your LiftMaster with the “learn” button. For resetting a LiftMaster garage door, follow these step-by-step instructions for a seamless experience.
Resetting a LiftMaster Garage Door with the “Learn” Button:
- Prepare the Environment: Before delving into the reset process, check that the surrounding area around your garage door is free from any obstructions.
- Locate the Learn Button: Now pay attention to identify the Learn button on the opener motor of your garage door. It is crucial that initiate the reset liftmaster garage door process once it is confirmed. The light on the opener should illuminate at this point.
- Enter your New PIN: When the light is on, enter your new 4 digit pin.
- Press and Hold “Enter”: After entering the new PIN, press and hold the “Enter” button on the keypad. The new PIN with the garage door opener set will blink lights.
- Test the New PIN: To ensure that the changes have taken effect, test the new PIN to see that the door operates as expected. Then the reset was successful.
Resetting a LiftMaster Garage Door with the Multi-function Door Control:
If you want to reset the PIN of your multi-function door controller then follow these steps
- Clear the Area: Begin resetting the PIN by clearing any obstructions from your garage door.
- Enter Existing PIN: Now enter your existing PIN on your keyless pad.
- Press and Hold # Button: On the Multi-function Door Control, press and hold the # button until the light blinks twice.
- Enter New 4-Digit PIN: Following the double blink, enter the new 4-digit PIN. Now the security code is updated.
- Test the New PIN: To confirm the success of your reset liftmaster garage door, test the new PIN to ensure that the reprogramming process was effective.
By following the step-by-step instructions you can ensure resetting of the LiftMaster keyless entry keypad using the “Learn” button. Regularly update your PIN that add an extra security and contribute to the overall safety.
Preventive Maintenance Tips for LiftMaster Garage Doors
Maintaining the longevity and optimal performance of your LiftMaster garage door requires preventive maintenance into your routine. Here are seven essential tips for preventive maintenance that you can follow to avoid any mishap:
- Regular Lubrication of Moving Parts: Proper lubrication is the lifeblood of any mechanical system, but it attracts dust and debris, potentially causing more harm than good. Periodically lubricate the moving parts such as rollers, hinges, and tracks. Especially opt for a silicone-based or lithium-based lubricant for optimal results.
- Periodic Sensor Checks: The safety sensors on your LiftMaster garage door require periodic checking to ensure they are functioning correctly. Misaligned or dirty sensors can be cleaned with a soft clean cloth for any physical obstructions in their line of sight.
- Updating Firmware or Software (if applicable): In the age of smart technology, some LiftMaster garage door openers require software that can be updated. Check for updates regularly and visit their official website for information on the latest updates.
- Inspection of Garage Door Tracks and Rollers: The tracks and rollers are fundamental components that can become damaged due to debris accumulation. Clean the tracks regularly to prevent the buildup of dirt and debris that can cause damage to the door.
- Tightening Hardware: Over time, the constant movement of your garage door can lose the brackets, bolts, and screws. Therefore, it is necessary to tighten loose hardware, with the help of a wrench.
- Weather Stripping Maintenance: The weather stripping along the bottom of your garage door can face visible signs of wear, cracks, or damage. Apply a silicone-based lubricant to keep long lasting.
Conclusion (Resetting a LiftMaster Garage Door)
In conclusion, maintaining a LiftMaster garage door goes beyond mere functionality understanding common issues, and implementing preventive maintenance measures.
By comprehending the intricacies of resetting, addressing power outages, remote control glitches, and sensors, you restore a seamless operation.
Moreover, the preventive maintenance tips outlined offer a proactive approach to caring for a smoother and safer garage door experience. Regular attention to these details not only mitigates potential problems but also extends the life of your garage door, ensuring it serves you faithfully for years to come.
If you still need help after this troubleshooting guide, please hire a professional. Find A Pro Near You Here!
FAQs
How do I clear my LiftMaster code?
To clear your LiftMaster code, press and hold the LEARN button on the door control for approximately 6 seconds. You will see the light is off. Now it is ready for resetting the code.
What color should LiftMaster sensors be?
LiftMaster sensors typically have two lights which green and red show power on and proper functioning without obstructions between the sensors respectively.
How to bypass LiftMaster sensors?
In the absence of a reflector or laser pointer, you can use a simple piece of tape into perceiving an unobstructed path, allowing you to open your garage door.
How do I know if my LiftMaster sensor is bad?
A functional LiftMaster sensor will have a small green or yellow light that indicates proper operation. If the light is off, it may suggest a problem that you need to examine.
Is LiftMaster a rolling code?
Yes, LiftMaster remote controls utilize rolling codes that add more security and prevent unauthorized access from neighboring devices.


