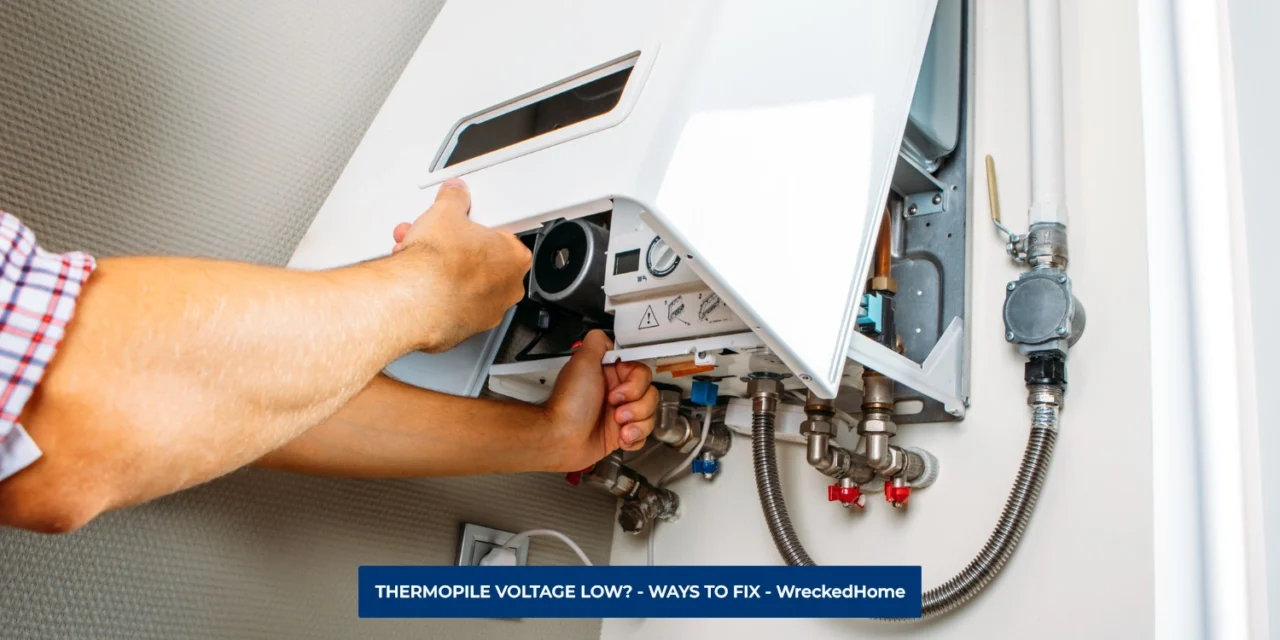
Electrical appliances bring ease to everyone’s life. But this ease vanishes when your machine stops working or makes uneasy noises. Without knowing what the real problem is, we try to diagnose it.
Each part of machine is important, thus the problem may occur in any of them. One such example is Thermopile, a little-known part but without it, you can’t get hot water. Beginners don’t know the importance of the Thermopile, that’s why here we discuss it in detail. So, let’s read what Thermopile voltage low means and how to solve this issue.
What Is a Thermopile, And How Does It Work?
Nowadays, people mostly use modern water heaters which control outgoing water temperatures. They use an electronic system to trigger the process. Such electronic systems need a specific current to start as it is made up of circuit boards.
Thermocouples in parallel and series arrangements basically make the Thermopile. It is part of your water heater which detects temperature without any contact. It plays two functions: changing an object’s thermal power into electrical power or voltage output. It can be anywhere between tens or hundreds of millivolts.
The thermopile is type of heat sensor that also generates heat. It uses its special arrangement of parallel or series thermocouples.
Thermopiles also tell about what is coming and going out of the pilot light. A pilot light is a small flame ignited by gas once you turn on your heater. It heats Thermopile which releases voltage. This voltage allows gas line to give gas to the heater to heat water.
When the pilot light goes out, the Thermopile cools down, and voltage drops. This is why you will experience low thermopile voltage. It triggers the valve, which cuts off the gas source to the heater. The process repeats again once pilot light again ignites.
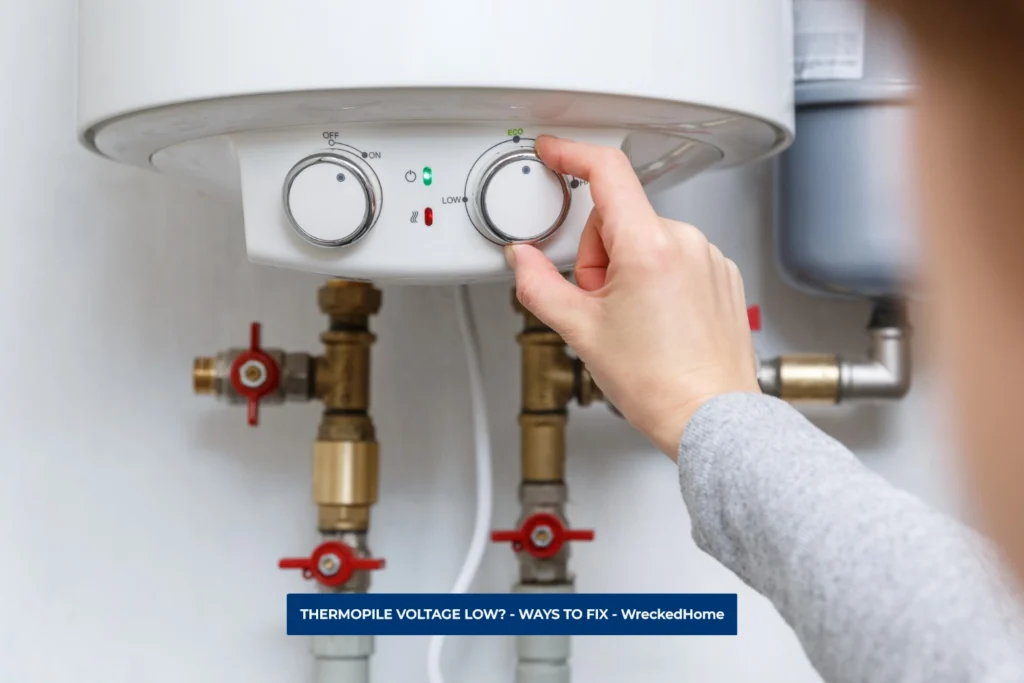
Once you select the temperature, your heater keeps giving hot water until the Thermopile or other parts work efficiently. When this Thermopile cannot work in a proper way, the heater stops working. At this point, you will get a thermopile voltage low issue, which you should resolve.
What Does Thermopile Voltage Low Error Mean?
Thermopile voltage low is an error that seems minor but stops the heater from working. When a thermopile generates the correct voltage, you will get hot water from heater. In case of less voltage, the Thermopile fails to generate the current required for control panel. The controller system stops and gives Thermopile voltage low error option. This will make your heater stop working overall.
If the error comes often even after repair, it means the primary thermopile system is faulty.
In modern water heaters, light codes are used to show errors. The flashing of specific light indicates that there is an error in heater. For instance, three to four times flashing of an indicator light shows thermopile voltage low error.
If you are living in high winds area, you will find this issue often. High winds cause the pilot light to vanish which results in low thermopile voltage. Draft at your heater bottom and vents or failing chimney caps in these areas cause the issue. If you install the heater inside your home, still wind coming from open windows and doors causes trouble. In all such cases, you have to fix the issue but before that, testing Thermopile is necessary.
How to Test Low Thermopile Voltage Low
Many people ask why they need to test thermopiles. Sometimes the thermopile is not faulty when you have low thermopile voltage. Instead loose cables or circuits are causing the issues.
Seeing the error, water heater thermopile voltage low needs your attention. To solve the error you need a technician, but not for testing a thermopile.
There are two methods to test your thermopile: open and closed circuit. The tests are easy and you can do them in no time. All you need is an accuracy oriented Multi-meter which is capable of reading millivolts. So, let’s see how you can perform the thermopile voltage low test. If your water heater leaking from top, read our guide.
Thermopile Voltage Low Close Circuit Test
- Take your multi-meter and set it to direct current option.
- Change the range of your multi-meter to millivolts, or if there is option choose under one volt.
- Disconnect the gas connection of your water heater.
- The next step is to connect the multi-meter to your heater’s thermopile. Take the positive wire of the multi-meter and connect it to the thermopile positive part. Remember that both sides are of red color. Connect the black negative wire of he multi-meter to the thermopile white negative part.
- Turn the gas control of your heater to turn on pilot lighting. Read the manual instructions that come with your water heater and ignite it. Remember to follow all steps as it is. Different models have different work processes, so don’t apply one process to all heaters.
- After ignition, the multi-meter needle starts to climb. It shows the presence and rise in voltage.
- Keep checking the needle. The test will take 3 or more minutes. Once the needle stops moving, record the number the needle points towards. It is the thermopile maximum voltage reading.
- Now it’s time for results. The voltage should be between or around 650 and 850. If the reading is below 400, the warning will appear. In this case, you have to seek expert help. However, if the multimeter reading is higher than 400, the thermocouple is okay. If You Need A Professional: Find A Pro Near You Here!
Thermopile Voltage Low Open Circuit Test
- Read the directions for lighting from your water heater or its manual. Follow all those steps one by one.
- Ignite the pilot for 3 minutes or more.
- Take multi-meter leads and put one on right side and other on the left side. When the needle starts moving, wait until it stops at maximum thermopile voltage. Record the reading; if it is below 400 repair or replace pilot assembly. If the reading is above 400, there might be another issue with your heater.
How To Replace The Thermopile
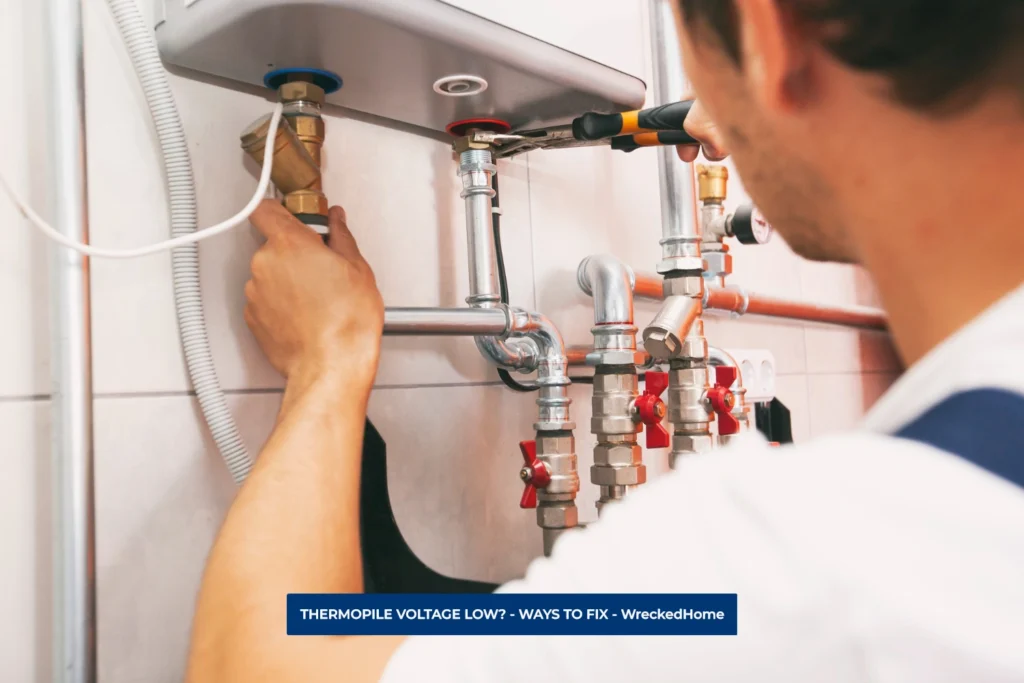
The Thermopile voltage low error is real. Seeing this error needs attention like seeking help from experts. Before deciding to replace the overall heater, test the thermopile first. You can replace the thermopile yourself. The process is as easy as performing Thermopile voltage low tests. Let’s see how you can replace it in any heater like a Point of Use water heater.
Remove Pilot Tube And Wires
- First, you have to turn off the water heater’s gas supply. The heater has a gas on/off button on the control board, turn it to an off setting.
- To find the exact location of the thermopile, you have to remove protective cover of your heater.
- Disconnecting thermopile wires and an ignitor is a careful point. You have to remove pilot tube but with care and right set of tools.
- Don’t mess up with any components, wires, or Tubes.
Remove Manifold Door
- The manifold door has been properly secured with two screws. You must remove those screws to find the thermopile. After the door opens, note down every tube and wire place of connection with the manifold door.
Remove The Burner And Pilot Assembly
- Inside door, you see the burner assembly, take it out of the chamber. There, you will get access to thermopile.
- After that, remove the pilot assembly and thermopile wire. Behind this pilot assembly and wire, you will find a retaining clip of manifold door. You have to remove this clip, also.
- Remove the screw which holds pilot assembly and shield in position. Then, disconnect the wiring of the thermal switch. Now wiggle the pilot assembly to and from and take it out.
Replacing The Old Wire With a New One
- Now you can replace the old thermopile wire. First, uncoil the new wire for the next step. You can thread the new wire through a manifold door by opening it and pushing the wire through the hole.
- Now connect the wire to the terminal block and tighten the screw which holds it. Do this process carefully. Now secure the manifold door by pushing the retaining clip back into place.
Put Wires And Assembly Back
- Now feed the wire and pilot tube into manifold door, but don’t bend them.
- Now put the shield and pilot assembly back to their positions. Then, put the component block in its original place but don’t pinch the wires. You just need to feed it via manifold door, it will slip into the right place.
- Remember to make sure that insulation of wires aligns with the component block.
Check Gasket
- The shortest of the wire goes on the left side. Check the gasket to see if it is damaged or not. In case of damage, you must replace gasket before installing it. Otherwise it causes an issue and you have to reopen the whole heater to replace it again.
Insert Burner Plate
- In next step, you have to insert the burner plate which has a tab at base, into its slot. The slot is on the bracket which is at the chamber base. Once you insert and connect burner with the bracket you will hear a sound.
- Moreover, you should double check by moving burner from left to right. If the burner does not move it means it sits there securely. If the entire burner moves, you have to fix it again in correct way.
Reconnect The Pilot Tube And Put Back the Manifold Door
- Now you can put the manifold door back in its place by tightening the screws.
- It’s time to reconnect pilot tube and manifold tube. You must put thermopile wiring back in its position. To start the ignitor, also reconnect its wiring.
Turn Gas On
- After ignition, turn the gas on, setting the thermostat knob to pilot for checking purposes. Push switch, which ignites flame, and depress the knob at the same time. Keep pushing switch until the blue flame appears.
- Remember to smell for gas. If you smell it, it means the pilot tube is not in the correct place. You have to again open the heater and place the pilot tube in correct way to avoid damage.
- If things are going well and don’t smell gas, it means the knob is sitting correctly. Set the temperature to your desired point. Press knob for about one or more minutes, until control light starts blinking. After blinking light, set the temperature.
Checking Gas Leaks
- It’s good if you don’t smell the gas, but still thorough checking is important. You need to take the soap test to make sure that there are no gas leaks from your heater. Take soap and water, mix them well and put them around all exterior connections and valves.
- If you see bubbles, it means there is a leakage. Thus, clean the soap and reconnect connection or valve. Again use soap water for testing. If the issue persists, ask experts to help you.
FAQs (Low Thermopile Voltage)
What causes a thermopile to go bad?
The Thermopile goes bad due to setting the pilot flame too high. To check the expected output, you can check the specs of your system. You can also connect two wires coming out of thermopile to multi-meter leads. Read the multi-meter output reading.
Can you clean a water heater thermopile?
Yes, you can clean thermopile but with light touch and carefully. First remove the thermocouple from assembly. Use an Emery cloth or steel wool to clean tip lightly to remove any buildup. But in case of inaccurate readings, you have to ask experts for help as cleaning doesn’t help here.
Conclusion (Low Thermopile Voltage)
A low Voltage Thermopile is an issue that makes your water heater stop working. The process of changing the Thermopile is difficult but if you follow our helpful guide, you will easily do it like a pro.


