Are you a fan of DIY projects? Do you prefer to do different carpentry and home framing work on your own? If the answer to these questions is yes, then you are going to love this article about framing squares.
In this article, the experts of Wrecked Home are going to discuss one of the unsung heroes of the construction and carpentry world. And, this hero is the “Framing Squares“. It is a handy tool that you can use in different projects. Let’s see why this tool is important and how to use it.
What is a Framing Square?
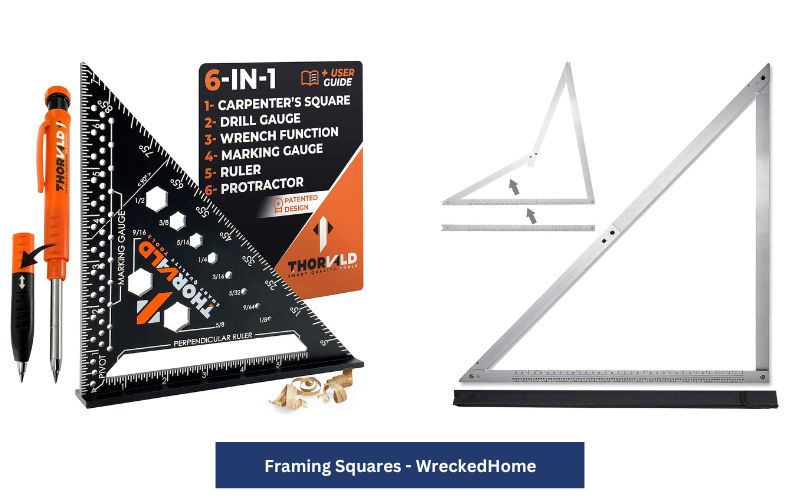
This tool is also known as a carpenter’s square or a steel square. Despite its name, this tool is not in the shape of a square It is actually in an “L” shape in which two arms are hinged together making a 90-degree angle. One arm is small and the other arm is large.
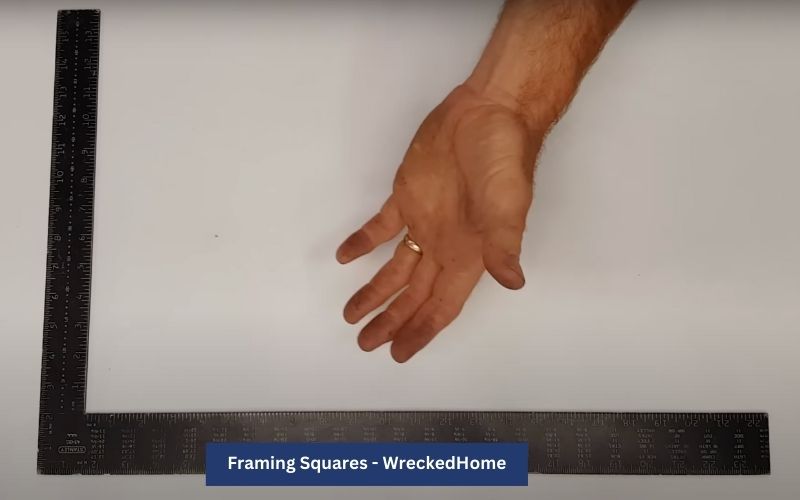
The steel square has different markings which you can use to measure angles and different lengths. Its long arm rests on the surface of the material which you are marking. While the short arm lines up with the ruler.
There are three main parts of this square which have different names:
- Blade: The longer and thicker arm.
- Tongue: Small and thinner arm.
- Heel: Where both arms meet.
There are several holes along the inside edge of this tool. Through these, you can make a notch into the pieces of wood. It is made of metal. But usually, aluminum is used in making the framing square. Now, let’s see which types of projects you can use the framing square.
Importance
The steel square is used by carpenters, do-it-yourself individuals, and different craftspeople. It has different purposes and can be used in various ways:
- It is used to create balanced edges and corners perfectly.
- You can test different angles of your construction project through the steel square. When your artwork is ready for matting, you can ensure the correctness of angles through this tool.
- There is a rafter table on the face of the framing square. Carpenters used this table for measuring and scaling. They immediately calculate different construction factors by using the Pythagorean theorem and the rafter table.
- It enables you to measure roof slope, rise, area, width, length, run, and various other elements. You can get all the roof data through it.
- Carpenters can lay out rafters through this tool as it allows them to identify the length of the rafters.
- You can cut stair stringers and layout hip rafters with the help of the framing square.
- They are also used in furniture work and cabinet production. It helps to measure their angles and sizes.
So, you can use this tool in different woodwork projects. The major use of it is to measure and even the angles. Though there are a lot of tools that can do it, framing squares make this task easy.
Other tools will take a lot of your time and effort. But, this tool lessens it to a significant level. There are different types of framing squares that you should know.
Types
Different types of steel squares are used for different purposes. So, you should know them to have a complete introduction to the framing square.
1. A Standard Steel Square
Their common sizes are 12×24 inches and 16×48 inches. Most of these squares fall between these two sizes. They are all-purpose squares that you can use in various carpentry projects. However, it is not suitable for large projects.
2. A Combination Steel Square
Their sizes range from 12×12 inches to 16×16 inches. They are the smaller version of the standard square and are ideal for smaller projects.
You can use them in those projects in which you require precision and accuracy. Because it has markings along the edges. It includes different furniture building and cabinet projects.
3. A Rafter
The largest framing squares available for large construction projects measure 24×48 inches in size. These squares feature various markings that assist carpenters in gaining valuable insights into their projects. Such tools are indispensable on job sites.
You can use it to measure the angles of rafters and stairs accurately. Through it, you can calculate run lengths of stairs, and measure hip or common rafters before cutting them.
So, these are the types of framing squares. Now, let’s see how you can use it for different projects.
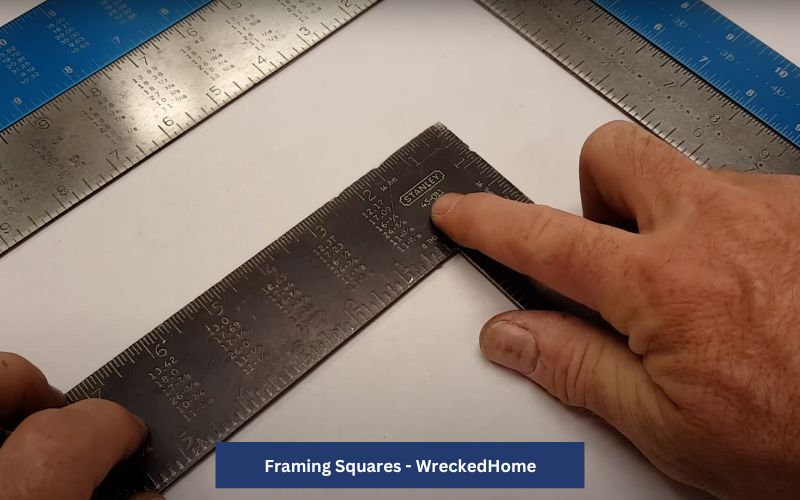
Use a Framing Square to Lay Out a 90-degree Angle
Visit our store for 10% off our Tools here.
1. Position the Square
The first thing you need to do is to place the steel square on a flat surface that you want to mark. In it, you should make sure that the tongue of your framing square is flush against the edge of the material.
2. Alignment
The second step is to perfectly align the angle legs to make a perfect angle. You should make sure that your angle is at 90 degree For it, you can take a measuring tape and measure the framing square legs. If the length of both legs is the same on the surface, your angle is at 90 degrees.
3. Mark out a Cut Line
Now, take the pencil and mark the cut line along with the leg of the framing square. That’s it! You have your 90-degree angle cut out with the help of a framing square.
Use it to Check the Levelness of the Surface
If you want to do any project on your wall or floor (for example installing floor boards) you need to know if these surfaces are properly leveled or not. If they are not, you can face a lot of issues in your project.
For checking the levelness, you can use a framing square.
- Place the square against the surface.
- Press it on both sides evenly.
- Your steel squares should be flush with the surface completely. If there is any difference in both legs, your surface is not leveled.
- Make appropriate changes until your square is leveled.
Use a Framing Square to make Notches
You can use a steel squares to drill notches in the piece of wood. To do this task, you need a framing squares, a hand saw, a pencil, and a measuring tape. When you have these, start following the next steps.
1. Markings
You need to decide the dimensions of your notch and where you want them on the piece of wood. Mark them with a pencil. You can use the framing square to confirm that these markings are aligning.
2. Drill down the Framing Square
You should place the steel square on your lumber. Position it so that the long side aligns with your pencil marks. we have to make sure that your square is positioned correctly. Check the angle you want, and make sure the point where you want a notch is on the exact angle you want. Use clamps to keep it in place.
3. Outlining
Mark the edges of your steel square to extend the marks. It will create the outline of your notch.
3. Cutting
Now, use a saw to cut the notch along the lines you created with the help of the steel square. Your notch is created now. You can make its edges smooth with the help of sandpaper or a wood file.
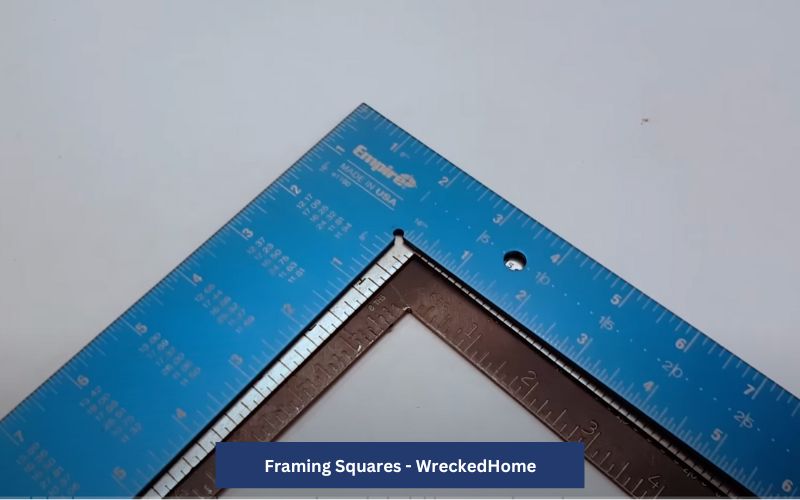
Use a Framing Square to Layout Rafters
Using this tool for laying out roof rafters is a bit tricky. So, you need to follow each step with great care.
1. Find Rafter Spacing
You need to determine how much distance you want between your roof rafters. Mostly, there is a 16 inches or 24 inches difference between the rafters. But, the distance can vary according to the project or your local building code.
2. Find the “Run”
The run is the horizontal distance from the outside of the wall to the peak of your roof. You should do your mathematics to determine it.
3. Determine the Pitch
Pitch is also known as the slope of your roof. Again, you need to do some mathematics to find it. The pitch is usually determined in the form of a ratio. For example, 5:10 (a 5-inch rise for every 10-inch run). You can also convert this term in the angle.
4. Determine Rafter’s Length
You need to find the rafter’s length. For it, use the Pythagorean theorem to find it.
5. Make a Bird’s Mouth
Now, place the framing squares at the top rim of the first rafter. The tongue should be at 5 inches (rise) and the blade should be on the 10 inch (run).
After that, mark the line along the tongue. Also, place the dot where the large side of the framing squares meets your rafter. In this example, it is at 10 inches.
Now, step down your steel square. For it, you need to line up the tongue at 5 inches on the dot you just made.
Now, line up your blade at the rafter. At last, make another mark along with the short side of your framing squares.
Repeat this procedure until you run out of the material. In the end, connect the last dot to the outer edge of the board.
Just make sure that your framing squares remains at a 90-degree angle on the lumber. And, use all the measurements to mark the plumb cut and seal cut on the rafter.
6. Cut and Repeat
Now, cut the rafters along the lines you have created on the lumber. For it, use a hand saw. If you want more than one rafter, you can put the first one on them and cut it according to the first’s notch. It will ensure precision and accuracy. So, these are some important usages of the framing squares you all must know.
For any repairs, installations, builds, or questions; We recommend you to hire a professional. Find A Pro Near You Here!

