
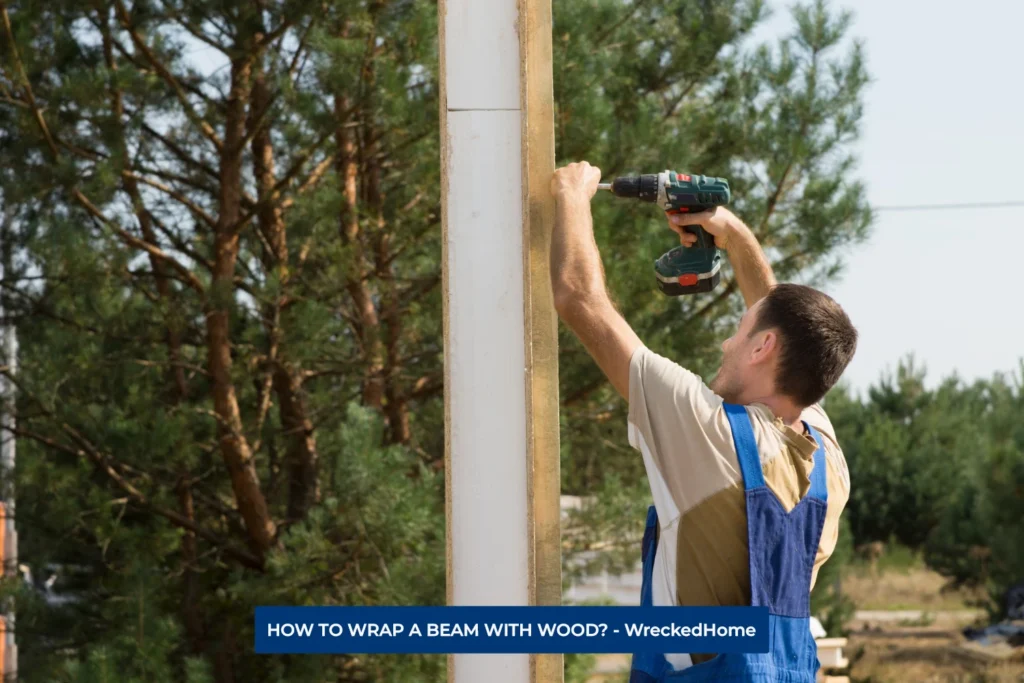
Beams are used while constructing a house to make the foundation structure; however, sometimes they are left exposed. They can also be intentionally added to give personality to a living space. However, beams that are visible in homes need proper finishing. This can be either done by applying paint to them or wrapping them in wood.
Beams that have wood wrapped on them add warmth and character to spaces. In this article we will guide you about all the steps carried out in order to wrap a beam with wood and all the materials and tools required to do that. Also, check out this article about beam construction on our website.
- Tools And Materials Required To Wrap A Beam With Wood
- Types of Pre-Assembled Beam Wraps
- Steps Required To Wrap A Beam With Wood
- Step 1: Measure and Plan (Wrap a Beam With Wood)
- Step 2: Prepare the Wood (Wrap a Beam With Wood)
- Step 3: Apply Construction Adhesive (Wrap a Beam With Wood)
- Step 4: Attach the First Board (Wrap a Beam With Wood)
- Step 5: Continue Adding Boards (Wrap a Beam With Wood)
- Step 6: Trim and Finish (Wrap a Beam With Wood)
- Step 7: Optional Nail Gun (Wrap a Beam With Wood)
- Step 8: Final Inspection (Wrap a Beam With Wood)
- Step 9: Enjoy Your Wrapped Beam (Wrap a Beam With Wood)
- Additional Tips and Considerations To Wrap A Beam With Wood
- Conclusion
Tools And Materials Required To Wrap A Beam With Wood
If you have taken the decision of wrapping beam with wood then you must have the following materials and tools ready:
Tools:
- Miter saw: It’s needed to cut the wood at precise angles.
- Drilling machine along with screws and screwdriver: These are needed so you can secure the wood in place.
- Circular or table saw: This is needed for cutting in a straight line and trimming.
- Measuring tape: It is needed for taking precise measurements in order to avoid any errors.
- Safety gear: This includes safety glasses, a dust mask and hand protecting gloves.
- Wood glue: Glue is needed to bond all the pieces of wood together.
- Nail gun: This is entirely optional as it can be used for some additional securing.
Materials:
- Construction adhesive: This is used to secure the wood to the existing beam.
- Wooden boards: These have to be chosen according to the look you have in mind of the space where you are installing them.
- Screws: These are needed to fix the wood wrap in place; however, keep the length you require in mind before making the final choice.
Types of Pre-Assembled Beam Wraps
- Lock Mitered:
This is the best option available among the pre-assembled beam wraps. Although it is the most difficult to handle it looks very similar to a real beam.
It is recommended to use a new, smooth, high quality milled wood as lock mitered requires thin edges that can be brittle if old material is used. This type of pre-assembled wrap cannot be easily modified on site and is difficult to install and handle.
- Square Edge:
The square edge pre-assembled wrap is the easiest to install among the three options. It’s best for both old and new wood with texture as it can easily blend seams and enhance the look of the beam.
- Mitered:
This type of pre-assembled wood is somewhat similar to lock mitered wood; however, it’s less difficult to assemble and mill. similar to lock mitered beam wraps, even this type of wrap requires high quality wood because thin edges are required.
Once you have finalized the look you want to achieve, the size of the beams, quantity and style of the beams. Then you should find a suitable contractor who would make beam wraps for you according to your order.
The contractor will have a discussion with you regarding which type of pre-assembled wrap is best for you and suits your requirements.
Mostly homeowners choose square edge beam wraps as they are easier to install and assemble. It is preferred to make the boards a little over sized, this way the seams are prevented from opening.
Steps Required To Wrap A Beam With Wood
Below we’ve mentioned all the steps that are required to wrap a beam with wood in your home:
Step 1: Measure and Plan (Wrap a Beam With Wood)
When you start the process of wrapping a beam, it’s highly significant to take its measurements including the length, width and height as the first step. Once they have been taken then you should calculate how many wood boards are required to cover the beams. After that, plan how you would install the wood boards whether it’s horizontal, vertical or any other pattern.
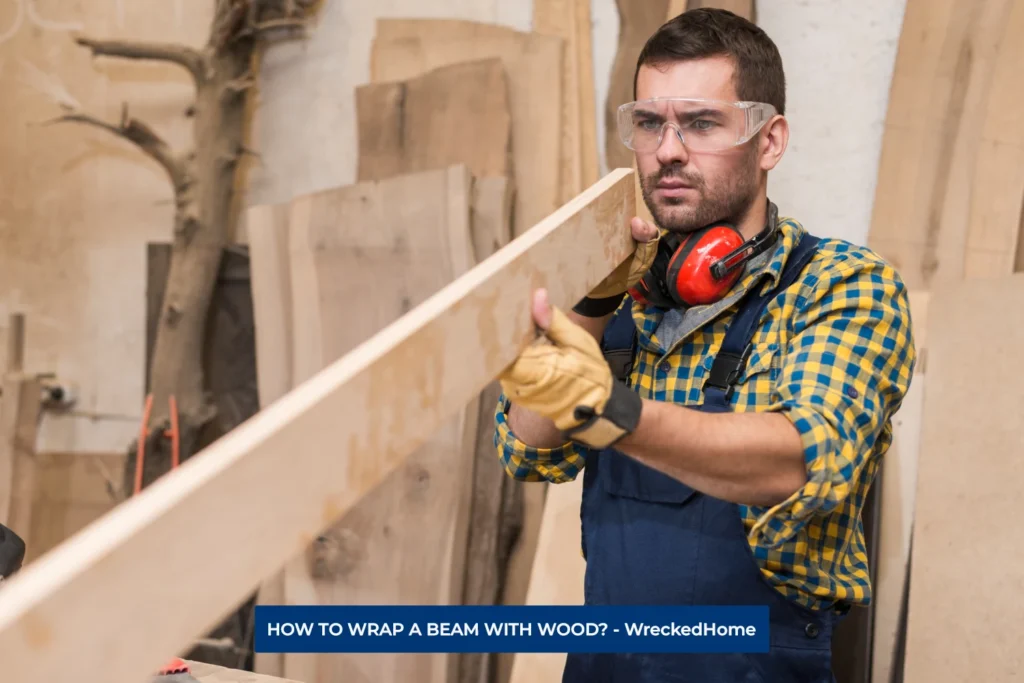
Step 2: Prepare the Wood (Wrap a Beam With Wood)
After you are done with step one then the wood boards should be cut to the required length and angle using a miter saw or table saw. A Miter saw is used for circular cutting and the table saw is used for straight cutting. Just make sure that the ends of all the boards are cut at a correct angle so they can be joined to the edges properly.
Step 3: Apply Construction Adhesive (Wrap a Beam With Wood)
Once the wood panels are cut according to size then apply construction adhesive at the back of each board. This will help the board maintain a firm bond with the beam.
Step 4: Attach the First Board (Wrap a Beam With Wood)
Attach the first board on the beam, fix it in place using screws and make sure that it goes perfectly with your chosen design. Once it is fixed in place use a carpenter’s level to ensure that the board is even.
Step 5: Continue Adding Boards (Wrap a Beam With Wood)
Once the first board is properly attached then start adding the next boards and secure them using screws. Add wood boards one by one, making sure that the joints are placed closely together.
Step 6: Trim and Finish (Wrap a Beam With Wood)
Once all the wooden boards are attached to the beam then trim the excess length in order to have a neat finish. It’s important to sand all the rough edges, if any. Once all that is done then add finishing touches by using wood stain or paint, you can even leave it unfinished and looking natural.
Step 7: Optional Nail Gun (Wrap a Beam With Wood)
A Nail gun is usually an optional choice, you can use it to ensure an even more secure attachment. However, it should be ensured that the nails are long enough to penetrate from the wood board to the beam for securing purposes.
Step 8: Final Inspection (Wrap a Beam With Wood)
Once the beams are wrapped in wood and are ready for use then it’s essential to have a final look at it. This will ensure that there are no unfinished areas on the beam and that it has been assembled according to the requirements.
Step 9: Enjoy Your Wrapped Beam (Wrap a Beam With Wood)
Once the beams are prepared then you can attach them in the desired area of your home. They will surely add depth and character to your living spaces whether they have a rustic, modern or traditional design.
Additional Tips and Considerations To Wrap A Beam With Wood
- When you choose a wood for wrapping a beam, consider the type of wood, its grain and the finishing that goes best with your home.
- Get the help of a professional if you have confusion about which design would go best with your house. Find a Pro Near You here!
- Measure the wood more than one time to make sure that you have measured correctly.
- Ensure wearing safety gear, such as, safety gloves, goggles and a mask. This will help prevent saw dust from entering your eyes, breath and save your hands from the sharp blades.
- If you pre-drill holes in the wooden board then you can ensure that it doesn’t split open when you add screws to it.
Conclusion
If you wrap a beam with wood then that can surely transform the appearance of your space as wood adds character to homes. Using the right tools and materials can help you wrap a beam with wood. Choosing good quality material will help you achieve an impressive look that can improve the overall appearance of your living space.
To read similar articles visit our website.
Frequently Asked Questions FAQs
Why should wrapping beams with wood be considered?
When you wrap a beam with wood, it not only adds warmth and personality to a space but also hides the imperfections in the beam. It brings a part of nature in your home that adds value to it.
Which different types of wood can be used for wrapping beams?
There are many different kinds of wood that are used in order to wrap beams such as cedar, oak, and pine. All three kinds have a rustic look and the choice of wood depends entirely on your preference.
Is professional help needed to wrap a beam with wood?
Professional assistance is not necessary but is required if you don’t have any previous woodworking experience. However, it is recommended that you use professional help as they are well trained to carry out the entire process of wrapping wooden beams with minimum errors.
What factors should be considered while choosing the design and direction at which the wood will be wrapped to the beam?
You can choose the design and direction of wood placed on the beam according to your own preference and the look of your space. Some common designs that are used to wrap wood are horizontal, vertical, and herringbone patterns.
How can it be ensured that wood boards are securely attached to the beam?
By using construction adhesive, pre-drilling holes, adding screws and nail guns you securely attach the wood boards to the beams.
How should the wood be finished after wrapping it on the beam?
In order to finish the wood you can either paint it, stain it or leave it as it is, however, it only depends on your preference. Before that, sand all the edges to have smooth edges and a neat finish.
What types of wood are suitable for wrapping beams and how do you make a final choice?
Various wood species can be used, including pine, oak, cedar, or even reclaimed wood for a rustic look. The choice of wood depends on your design preferences and the way you’ve styled your space.


