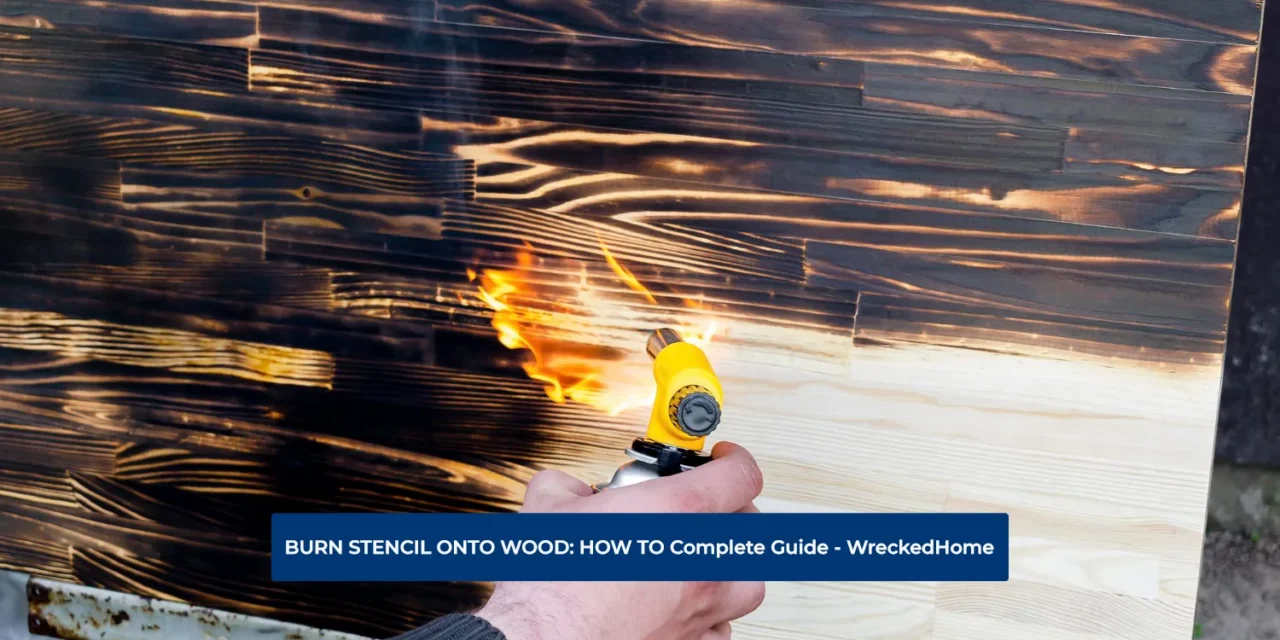
Making designs on wood is an old art, and to burn stencil onto wood makes it more appealing. The best part is that it is an easy approach, as any person can make custom designs by burning wood stencils. With a little practice and use right tools, you can easily make beautiful wood designs. So, let’s read how to burn stencil onto wood safely.
What is Wood Burning?
When heated tools are used to create a design on wood, it is known as wood burning. The heat coming from tools causes the wood to darken, creating a contrasting effect. With wood burning, you can create various custom designs. It may be a geometric pattern or a complex portrait.
Wood burning is also known as pyrography. It comes from two Greek words, pyr and graphe which means fire & writing. Creative people can express their creativity through it. They create unique pieces of art on wood, like burn stencil onto wood.
Overview
To learn this awesome skill, you will need a wood burning tool and some wood. Wood burning tools are available on the market in variety. Some points like design type, size and budget are important to consider. Once you choose the right wood burning tool, start practicing on scrap pieces of wood.
Different techniques are available that you can use to make such art. So, carefully find and choose best one for you. Once you clear the exam on basics of wood burning, you can start working on the complex projects.
You can burn wood to create plaques, signs, jewelry or even furniture designs/logos. You can add a personal touch to your home decor and make unique gifts for your loved ones with wood burning. It is a relaxing and rewarding hobby that relieves your stress and helps to show your creative skills.
Why Burn Stencil Onto Wood?
Stencils are a great way to burn wood because of some obvious reasons such as:
- Stencils are easy to use and allow you to transfer complex designs onto wood easily and accurately. It is possible even if you are new, to burn stencil onto wood.
- Stencils on wood are versatile. So, you can create a variety of designs from simple to complex portraits such as geometric patterns.
- The process to burn stencil onto wood is affordable. Wood burning stencils are available online and at different craft stores. They are relatively inexpensive.
- Wood burning is a rewarding hobby and creating it with stencils makes it more fun and accessible.
- Make custom designs by using stencils and making personalized gifts. You can use these unique gifts for your friends and family.
- Stencils are used to create wood-burned signs, wall art, and other home decor items.
You can also use the pencil torch to make jewelry.
How To Burn Stencil Onto Wood
Let’s discuss how to burn stencil onto wood in detail. We will also discuss the list of things you need.
Things You Need
- Vinyl for the stencil (any color)
- Transfer tape
- Wooden board for your project
- Lint roller
- Material for the wood burning technique
- Torch Paste
- Ammonium Chloride
- Scorch marker
- wood burning pen
- pyrography machine
- Heat Gun
- Food-safe oil or wax
- Disposable gloves to protect skin
- Respirator
- eye wear
Prepare the Wood
The first step to burn stencil onto wood is wood preparation. Wood should be good enough that stencil adheres well to it. Be careful that the burning chemical doesn’t bleed underneath.
- Lightly sand the face of the wood plank with a sanding sponge. It will help to smooth out the surface you want to burn and make it easier for the stencil to stick.
- If you have rough wood, start sanding the wood with a medium sponge side so that wood will become smooth. You can again sand it lightly with the fine side to make it perfect for burning.
- Remove or wipe away any sawdust. You can use a lint roller to make sure the surface is clean.
Note:
Ensure that wood is without any stain, paint, or wax. This is important because the chemicals in the wood-burning solution can react with these finishes and create issues. Once your wood is ready to use, start transferring your stencils. Wood has other helpful means. Let’s read our guide about how to measure a Rick wood.
Weed And Transfer The Vinyl
The second step is to cut your vinyl stencil with Cricut or another cutting machine. Weed the design carefully and remove the excess vinyl that you don’t need. You have to weed in reverse in this case.
Thus, remove the vinyl part that you want to burn into wood. Be extra careful while removing vinyl if the design is complex.
Cut a piece of transfer tape and ensure it is slightly larger than your weeded vinyl design. Remove the transfer tape backing and apply it to a stencil. Smooth the tape over the stencil from center outward.
You have to press it out to avoid bubbles. So, use a hard, flat-edged object or a scraper tool to transfer vinyl stencil design to your transfer tape. Remember, scrap it well to transfer the vinyl. It is helpful to scrap it from transfer tape and carrier sheet sides.
Once you complete the job, carefully peel the carrier sheet off the vinyl. After that, place the design carefully on wood and make sure that it is straight and in center. Also, make sure that the transfer tape and vinyl are adhered to the wood.
Remove the bubbles by using your finger to get better results. Pick up the transfer tape from one corner and gently remove it from your vinyl. Check the vinyl with your finger as it is securely attached to your wood without bubbles.
How To Burn Stencil Onto Wood
When it comes to burn Stencil onto wood, you can use six methods each just with a little change.
How To Burn Stencil Onto Wood Using Ammonium Chloride
Here is process to burn Stencil onto wood using ammonium chloride:
- Take a glass bowl and measure and combine the ingredients that we enlist below
- One tablespoon of ammonium chloride
- 8 teaspoons Thick-It
- 1/2 cup warm water
- Stir it with paintbrush and let the mixture sit for 10 minutes. You can also wait until the water is fully absorbed and a thick and nice gel is formed.
- First, apply a thin gel coat to all wood parts showing through the Stencil.
- Leave it for 10 to 20 minutes and let the gel dry completely.
- Carefully peel vinyl stencil off the wood.
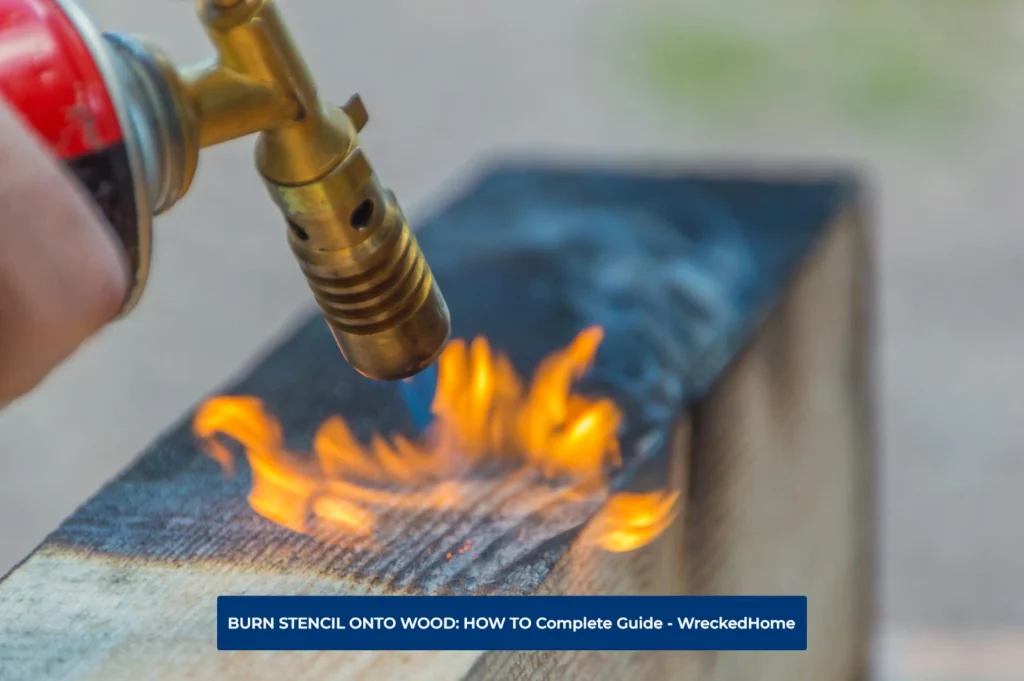
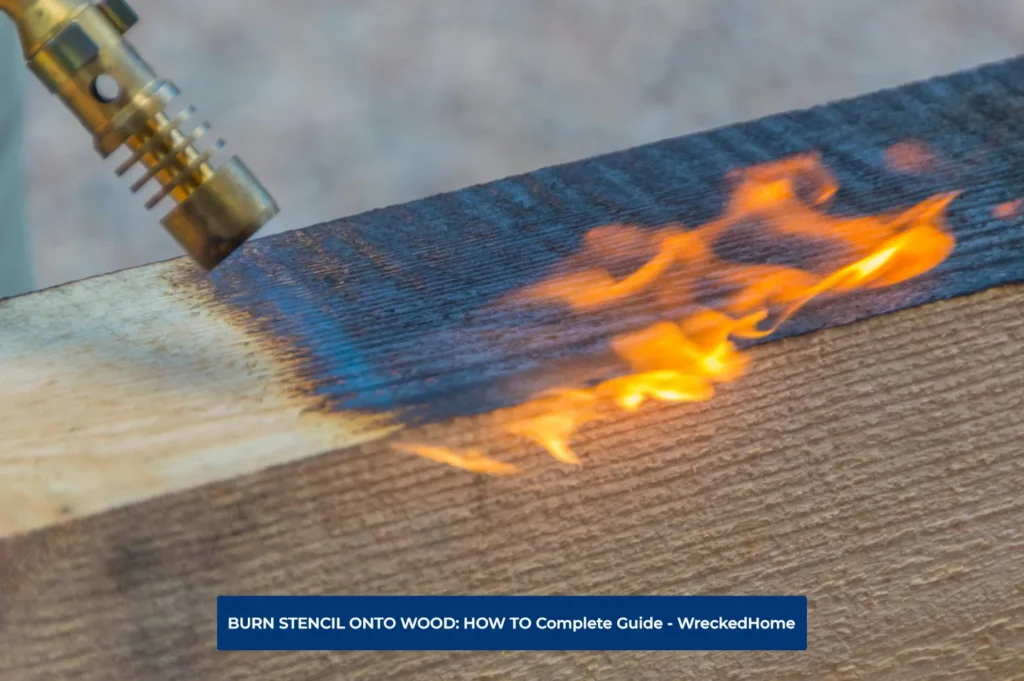
- To make a perfect design, take your wood tray outside to the open area with proper ventilation. Make sure to wear your respirator and eye protection during process.
- Take your heat gun and set it to 495 degrees Celsius. Move the heat gun continuously over the design. Magically, the design will appear on wood and burn as the gun heats up.
- Keep heating the wood until you get the best finish and proper design color appears on the wood.
- Wash off the chemical and make sure it is completely removed.
How To Burn Stencil Onto Wood Using Scorch Marker
The second method to burn a stencil onto the wood is as follows:
- Before starting, shake your scorch marker well for few seconds or minutes.
- Check the marker’s bullet tip by dabbing it on paper towel.
- Apply thin coat of scorch marker to all parts of the wood that are showing through Stencil.
- Let the coat dry completely for about 20 minutes.
- Remove the stencil vinyl from the wood carefully.
- Set your heat gun to at least 700 degrees Fahrenheit. Move the heat gun over the design continuously until the design appears properly.
- Keep heating the wood for best finish and design color you want.
- But keep in mind, in this method, you will never get the same good result as ammonium chloride.
How To Burn Stencil Onto Wood Using Wood Burning Paste
- In this method, apply thin coat of wood burning paste to all parts of the wood that are showing through the Stencil.
- To spread the paste evenly, use scraper or squeegee.
- Ensure not to apply too much paste as it causes bubbles and spreads over other areas.
- Leave the paste to dry for one hour. Wait until it is completely dry.
- Repeat steps 7 to 10 of first section.
How To Burn Stencil Onto Wood Using a Wood Burning Pen Or Pyrography Machine
All the methods are the same except for some points. You have to repeat all steps with little changes. If you are using a wood-burning pen, trace lines by holding the pen at 90-degree angle to the wood. When using a pyrography machine, set heat to medium or high to trace the stencil lines.
Safety Precautions While Using All Tools To Burn Stencil Onto Wood
Please consider some safety measures to be safe while using all tools to burn stencil onto wood.
- Use safety glasses for eye safety when working with any of these tools.
- Do not touch the hot metal tip of the wood burning pen or pyrography machine. It is not safe for your skin.
- Make sure you are in well ventilated area. You should avoid inhaling smoke fumes.
- Do not leave any of these burning tools unattended.
- Keep all flammable material away from your work area.
- Use torch paste in minimum amount and carefully. It is flammable and can be harmful, so use it properly.
- Don’t overheat wood. Be careful, as this can cause it to crack or warp.
- Ammonium chloride is corrosive substance and can irritate skin and eyes. Use it in moderate amounts for safety.
- If you use a heat gun to burn stencil onto wood, warm it before use.
- Store all the useful tools in safe place when they are not in use.
Safety always matters when working with any type of tool, especially those involving heat and chemicals. Through safety measures that we enlist above, you will have a safe and enjoyable experience while using these tools.
Tips:
Those who start the wood burning for the first time, start with small projects and practice on scrap wood before working on large projects.
Variations
- You can get different stencils which are available online and in craft stores. You can also create your own ones. Just trace the designs from books or magazines and make them using Cricut maker.
- If someone wants to add color to burned stencil, add wood stain or acrylic paint on wood.
- You can use any type of wood for this purpose. However, maple or birch are easier to burn than others.
Conclusion
Learning how to burn stencil onto wood is a unique and valuable way to enhance your creative skills using wood. With little practice and learning basics, you can create beautiful and creative pieces of art in no time.
If you don’t want to take the risks of burning stencils onto your wood project, then hire a professional. Find A Pro Near You Here!


