Leaking camper roofs stand as a pervasive challenge for outdoor enthusiasts that go on frequent trips. The vulnerability of camper roofs to wear, tear, and the unpredictable forces of nature can cause the leakage and discomfort. In this comprehensive guide, we delve into the core of this issue, and know the reason for camper roof leaks and provide a road map to remedy for them. Ultimately, you will learn how to fix a leaking camper roof.
The urgency of addressing a leaking camper roof cannot be overstated because it can be due to a damp and uncomfortable interior. Water infiltration poses a severe threat to the structural integrity of the camper. Untreated leaks can lead to extensive damage that compromise the décor of walls and flooring. Mold and mildew, silent invaders, thrive in damp environments that pose health risks and ruin its structural integrity.
As we navigate through this guide, it becomes evident that a proactive approach to fixing a leaking camper roof is necessary; it’s also ensures that the well-being of your cherished mobile camper is not just a matter of convenience. Let’s explore the ways how to fix a leaking camper roof because it is important as far as repairing .
- Step-by-Step Guide: (How to fix a leaking camper roof)
- A. Inspection and Assessment of the Damage (How To Fix A Leaking Camper Roof):
- B. Clean and Prepare the Roof Surface (How To Fix A Leaking Camper Roof):
- C. Repair Damaged Seams and Seals (How To Fix A Leaking Camper Roof):
- D. Address Larger Structural Issues (How To Fix A Leaking Camper Roof):
- E. Apply a Protective Coating for Prevention (How To Fix A Leaking Camper Roof):
- Tips and Tricks for Maintenance (How To Fix A Leaking Camper Roof)
- Conclusion (How To Fix A Leaking Camper Roof)
- FAQs (How To Fix A Leaking Camper Roof)
Step-by-Step Guide: (How to fix a leaking camper roof)
If you want to know how to fix a leaking camper roof then there are a few steps. To address the issue linked with your camper roof you need to do some fixes. Don’t worry there are some common ways to fix your camper roof. If you want to repair it to prevent from leakage then follow these steps in sequence.
A. Inspection and Assessment of the Damage (How To Fix A Leaking Camper Roof):
The first crucial step in resolving how to fix a leaking camper roof is to identify the extent of the damage. It is necessary to inspect your camper roof safely, using a stable ladder and taking necessary precautions. Walk the entire surface, and check it out in the following way.
- Systematic Examination: Start from one end of the roof and work your way across, examining visible cracks, tears, or areas where the sealant may have deteriorated.
- Use of Inspection Tools: Employ tools such as a flashlight and a magnifying glass to spot subtle issues.
- Documentation of Findings: Document the identified damages, including their location and severity that helps in ensuring that no issue goes unnoticed.
- Assessment of Roof Material: Checkout the overall condition of the roofing material for signs of aging, such as brittleness or discoloration.
- Determining the Scope of Repair: Based on the inspection findings, determine whether the damage requires a simple patch-up or it is more time taking a heavy task. Understanding the scope of the repair helps in planning to get your camper roof back in new condition.
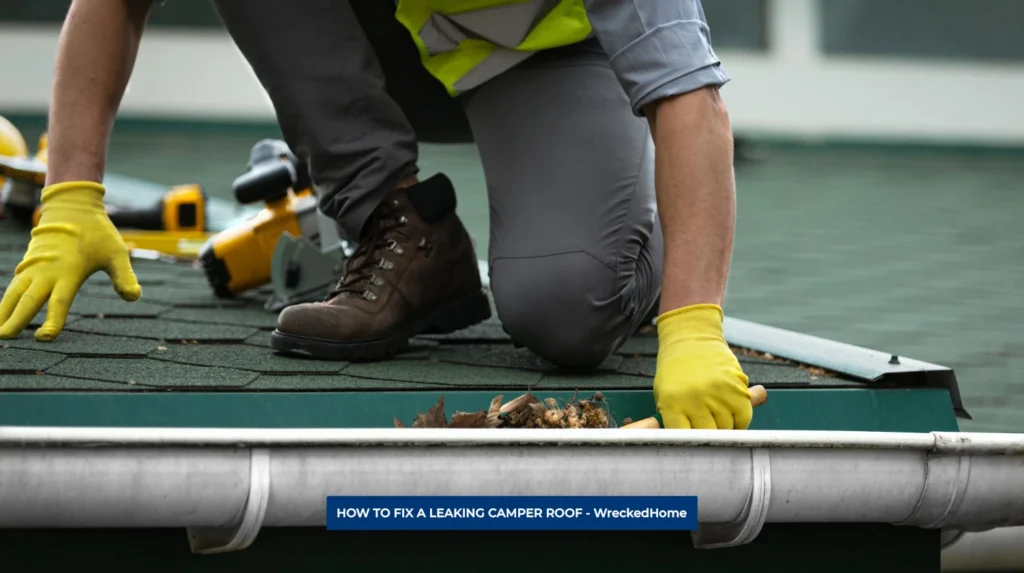
B. Clean and Prepare the Roof Surface (How To Fix A Leaking Camper Roof):
Once the inspection is complete, the next step is to ready the roof surface for repairs. Cleaning the roof ensures that the repair materials adhere properly therefore there will be no debris.
- Removal of Debris: Start by clearing the roof of any debris with the help of soft-bristle brush or a leaf blower can be effective in this task.
- Cleaning with a Mild Detergent: Use a mild detergent mixed with water and apply on the roof surface to clean other substances that might hinder the adhesion of repair materials.
- Rinsing and Drying: Thoroughly rinse the roof with clean water and dry it before proceeding to the next step. Because a dry surface ensures that the material will adhere effectively.
- Surface Smoothing: Inspect the roof surface for any rough spots or irregularities to create an even surface for the application of sealants and patches.
- Tape Off Edges and Components: Use painter’s tape to protect edges, vents, and other components that precise application of sealants without affecting surrounding elements.
C. Repair Damaged Seams and Seals (How To Fix A Leaking Camper Roof):
When you clean the roof surface, now focus on repairing the damaged seams and seals. Find out the common sources and start applying it.
- Sealant Application: Begin by applying a high-quality sealant to the seams and joints to forms a continuous and watertight barrier.
- Seam Reinforcement: For seams showing signs of wear, consider using seam tape or fabric to enhance the structural integrity of the area.
- Patching Small Tears: Small tears in the roof material can be patched by applying material over the damaged area, ensuring a secure and airtight bond.
- Curing Time: Allow the sealant and patches to cure and leave for a time interval to create a durable barrier against water infiltration.
- Repeat Inspection: After the initial repairs, conduct a secondary inspection to address there is no risk and issue.
D. Address Larger Structural Issues (How To Fix A Leaking Camper Roof):
If the inspection reveals larger structural issues beyond damaged seams then its time to get professional assistance who knows how to fix a leaking camper roof.
- Reinforcing Weakened Areas: Identify areas of the roof that have weakened and provide support with such as plywood or specialized reinforcing materials, to restore structural integrity.
- Replacing Damaged Sections: In cases where the damage is extensive, carefully removing the damaged section and install a new, compatible material.
- Sealing Gaps and Joints: Inspect joints and connections between different components and use appropriate sealants to fill the gap and prevent water intrusion.
- Professional Assistance: For complex structural issues, consider seeking professional assistance as expertise in tackling more intricate repairs.
- Reassessment of Overall Structural Integrity: After addressing larger structural issues, reassess the overall roof’s strength and durability.
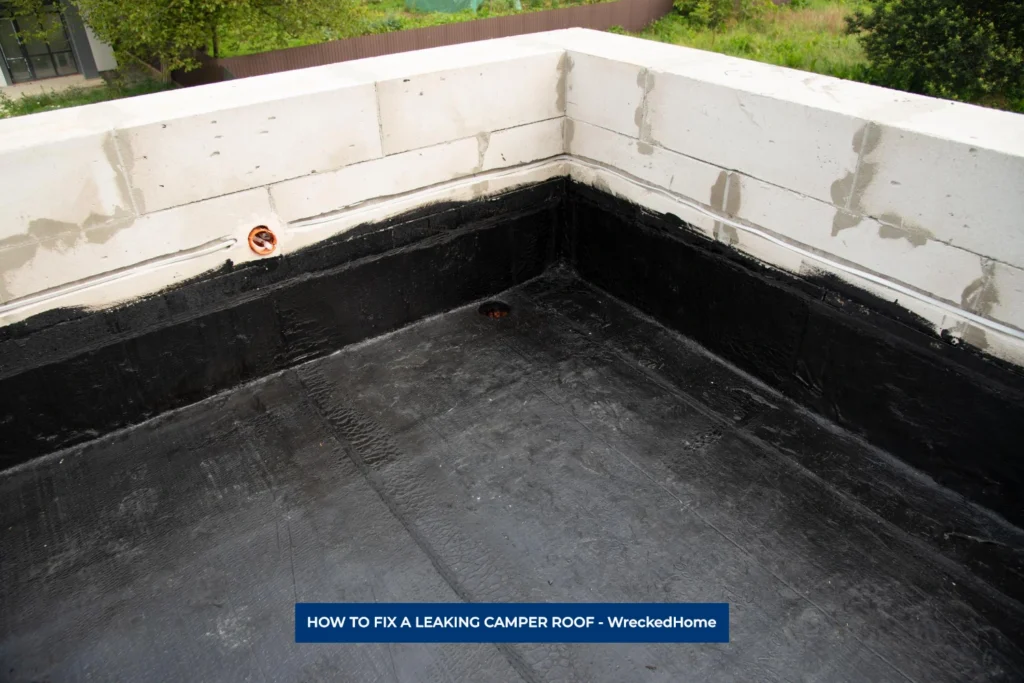
E. Apply a Protective Coating for Prevention (How To Fix A Leaking Camper Roof):
Once all the immediate repairs are done, now the final step involves applying a protective coating to the camper roof. This proactive measure boosts the roof’s resistance to future leaks and extends its overall lifespan.
- Selecting the Right Coating: Choose a protective coating that offers UV resistance, flexibility, and compatibility with the existing roof material.
- Surface Preparation: Clean the roof surface once again keeping it dry and free from debris before applying the protective coating.
- Application of Coating: Apply the protective coating evenly across the entire roof surface to seams, joints, and areas that were repaired, ensuring thorough coverage.
- Multiple Coats if Necessary: Depending on the product, applying multiple coats required for optimal protection.
- Drying and Curing: Allow the protective coating to dry and cure to form a durable barrier against UV rays, water, and other environmental factors.
In conclusion, following this step-by-step guide provides how to fix a leaking camper roof. Each step is crucial in ensuring a thorough and effective repair process. Regular maintenance and proactive measures ensure leak-free adventures with confidence.
Tips and Tricks for Maintenance (How To Fix A Leaking Camper Roof)
You know the how to fix a leaking camper roof. Now, maintaining a camper roof is not just about fixing leaks it also requires maintenance. Here are five tips and tricks for effective maintenance for your camper roof:
- Regular Roof Inspections: Conducting routine roof inspections is attention to seams, seals, and any potential problem areas identified during previous repairs. Inspecting your roof before and after each camping season, helps streamline the process and ensures that no crucial spot is overlooked.
- Cleanliness Is Key: Keeping your camper roof clean is not just an aesthetic choice; it also creates pockets where water can pool and accelerate the deterioration of roofing materials. Regularly clean your camper roof using a mild detergent and a soft-bristle brush or a leaf blower for efficient and gentle roof cleaning.
- Promptly Address Small Repairs: Addressing small repairs promptly prevents a loose seal, a small tear, or any other minor damage during your inspections, take immediate action. Use high-quality sealants and patching materials to fix your camping trips for quick fixes on the go.
- Weatherproofing for Longevity: The elements can be harsh on camper roofs, that enhances its resistance to the effects of sunlight, rain, and temperature fluctuations. Consider applying a protective coating providing UV resistance, flexibility, and waterproofing properties.
- Mind the Seams and Seals: The seams and seals on your camper roof are critical areas that are vulnerable to wear and can be prone to leaks. Regularly inspect the seams and seals for any signs of cracking, and ensures that the sealant can withstand the natural movement of the camper roof without losing effectiveness.
Incorporating these tips and tricks into your camper roof ensures your outdoor adventures remain enjoyable and worry-free.
Conclusion (How To Fix A Leaking Camper Roof)
Mastering the art of how to fix a leaking camper roof is a commitment to the longevity and reliability of your mobile haven. By understanding the diverse causes of leaks, addressing damages promptly, and implementing preventive measures, it serves as a road map for tackling issues large and small, ensuring that the camper roof remains a resilient shield against the elements.
Embracing a culture of regular inspections, cleanliness, and timely repairs not only withstands the elements but elevates the overall enjoyment of the outdoor adventure.
In essence, this how to fix a leaking camper roof guide goes beyond fixing leaks; it fosters a proactive mindset under the vast expanse of the open sky.
If you still need help with fixing your leaking roof after troubleshooting, then you should hire a professional. Find A Pro Near You Here!
FAQs (How To Fix A Leaking Camper Roof)
How do I fix a leak in my camper roof?
To fix a leak in your camper roof, consider using a roof-patch kit or products from local hardware stores, as they may not provide a durable and lasting solution.
Do I need to seal my camper roof?
Yes, it’s crucial to regularly re-coat your RV roof to seal it, but it also shields the roof from the harmful effects of sun exposure, wind, and general wear and tear.


