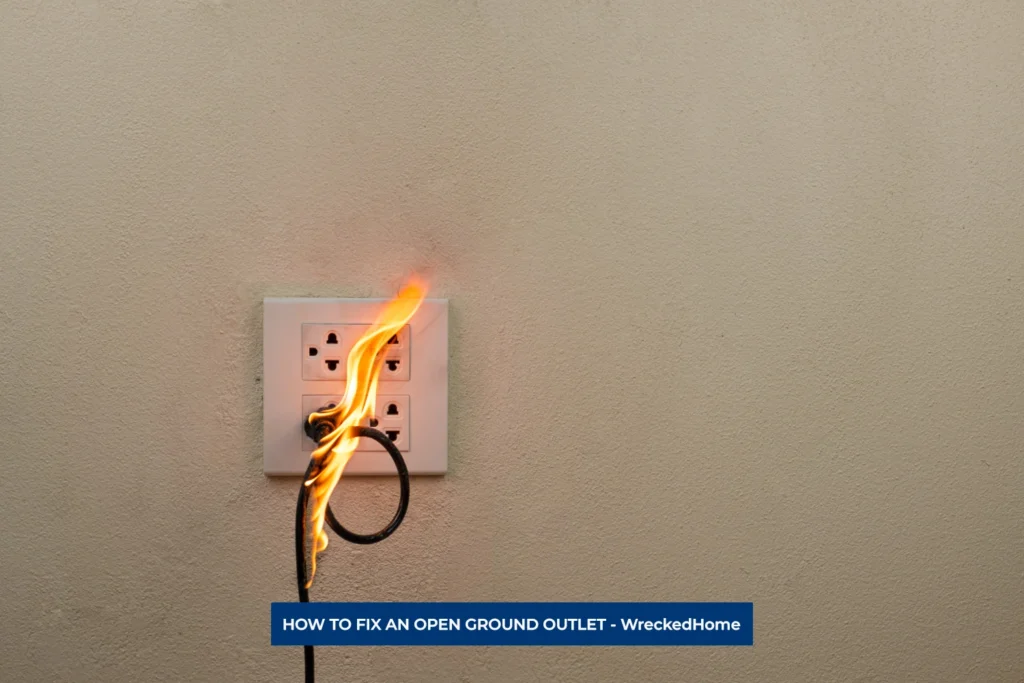
An open ground outlet, a term is familiar to anyone that has experience in electrical systems. It denotes a potentially hazardous situation. In this, the grounding circuit in your electrical outlet is incomplete. That can be risky. The grounding system serves as a crucial safeguard against electrical faults that can transmit the excessive current in ground to ensure safety. An open ground receptacle, however, disrupts this protective mechanism that can cause the electric shock, appliance damage, and even electrical fires.
It is important to know how to fix open ground outlets for both your household and the electrical appliances within it. By taking proactive measures to rectify open ground outlets, you not only safeguard your immediate environment but also ensure the whole community’s safety.
Within this comprehensive guide, you will explore the process of fixing an open ground outlet, demystifying the task for those less familiar with electrical work. So, let’s embark on this enlightening journey, with recommended tools and step by step guidelines equipping you with the knowledge and skills needed to tackle open ground outlets head-on.
Importance to fix an open ground outlet
Addressing an open ground receptacle is not merely a matter of convenience; it’s all related to safety of your home and living space. The grounding system in an electrical outlet serves as a defensive barrier against potential electrical hazards. When this system is compromised by an open ground, then the results are harmful.
Foremost, fixing an open ground receptacle is paramount especially in homes with children, elderly individuals, or anyone who may be more vulnerable to the effects of electric shock.
Moreover, unaddressed open ground receptacles can wreak havoc on your electronic devices. Appliances and gadgets rely on a stable electrical environment that can damage or malfunction with an open ground outlet.
Beyond the immediate household, ensuring open ground outlets are promptly fixed not only contribute in your device safety but also the safety of your community. By taking the initiative to rectify open ground outlets, you play a pivotal role in creating a safer living environment for all of your surroundings.
Tools and Materials Needed
Embarking on the journey to fix an open ground receptacle requires specialized tools and materials. Ensuring that you have the right instruments at your disposal ensures safety and makes your task easy. Here’s a comprehensive guide to the tools and materials that you’ll need in fixing of your open ground outlet:
- Voltage Tester or Multimeter: A fundamental tool for any electrical work, a voltage tester or multimeter to avoid the risk of electric shock during the fixing process.
- Screwdrivers (Flathead and Phillips): The unsung heroes of electrical work, ensures compatibility with various types of screws commonly found in electrical outlets.
- Needle-Nose Pliers: These pliers come in handy for manipulating and securing small for pending and repairing wires.
- Wire Strippers: A precise tool for safely removing insulation from wires, without damaging the conductive core.
- Outlet Tester: An outlet tester helps in diagnosing if the outlet has been correctly rewired after the fix.
- Electrical Tape: An indispensable item for insulating and securing wires, to wrap exposed wires and provide an extra layer of insulation.
- Wire Nuts: These small, twist-on connectors are essential to ensure a tight and reliable connection. To avoid any future issue must ensure the correct size.
- Flashlight: Adequate lighting is crucial to see clearly and identify any potential problems during the inspection and repair process.
- Safety Gear: Never compromise on safety glasses and insulated gloves to protect against any unforeseen accidents.
- Replacement Outlet (if needed): In some cases, the existing outlet may be damaged extensively that require replacement instead of repair.
Before embarking on the repair journey, double-check that you have all of these tools to make your task easy and safe. In this way you can tackle the challenges easily.
Step-by-Step Guide to Fixing an Open Ground Receptacle
Electrical repairs may seem daunting, but with the help of right tools and guide steps it is convenient. Once you have all necessary tools and safety gear now just follow these steps to fix an Open Ground Outlet.
Step 1: Turn off the Power
Before any electric task you need to ensure the safety that starts from turn off the power. Begin by locating the circuit breaker corresponding to the outlet and confirm to turn it off. Now use a voltage tester or multimeter on the outlet to check there is no electrical current.
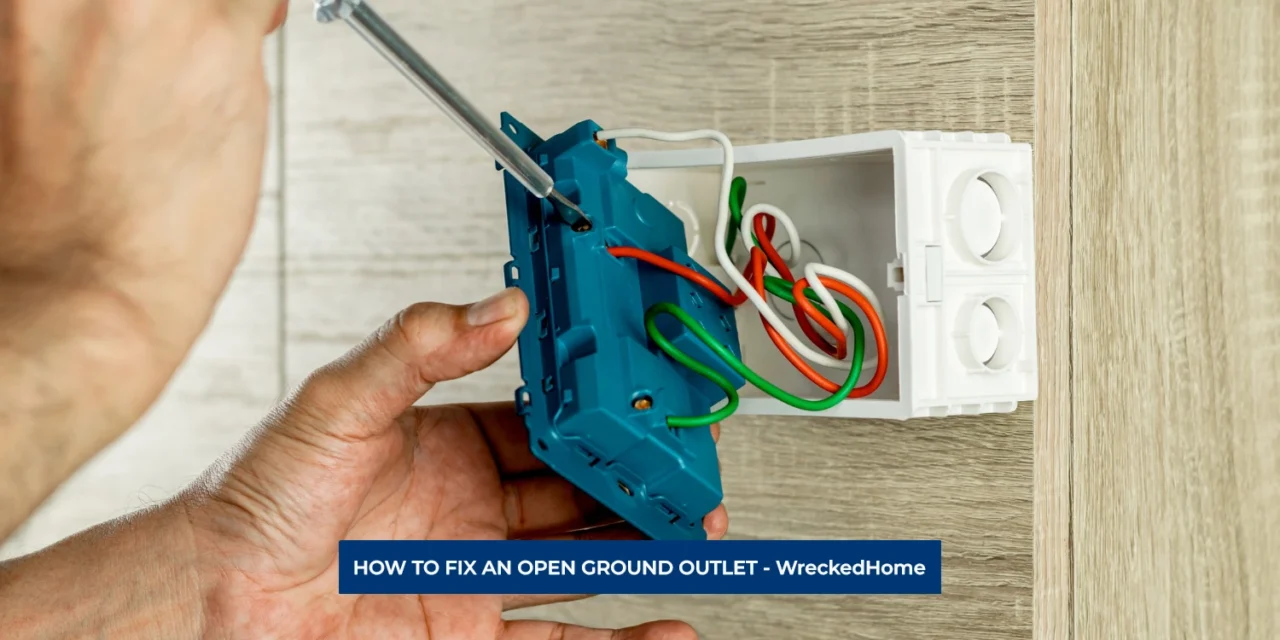
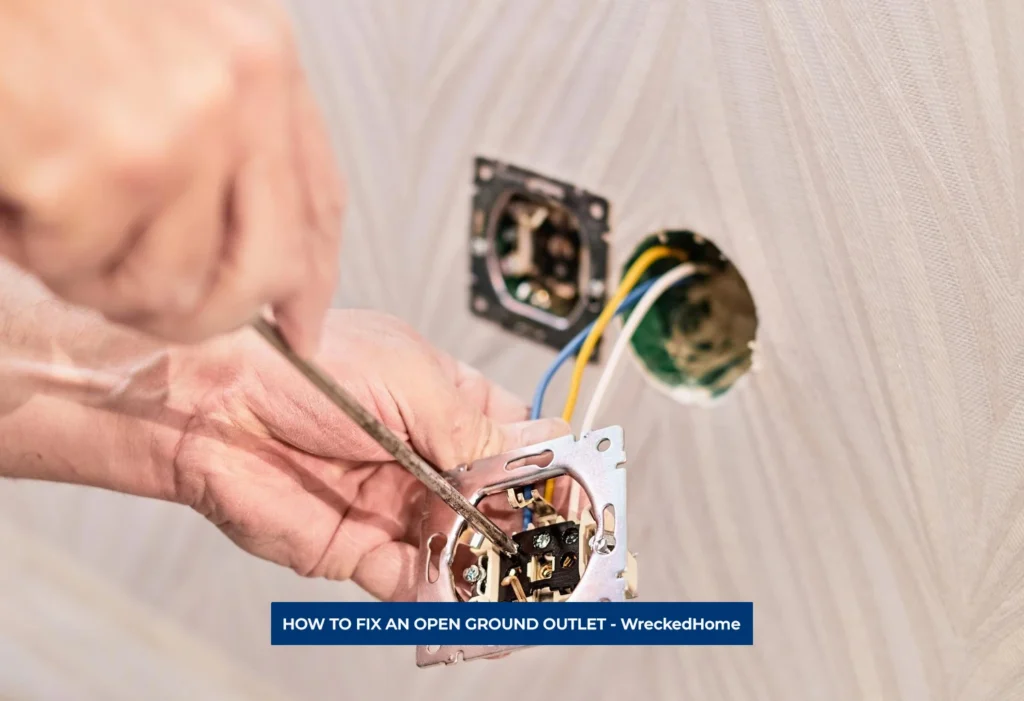
Step 2: Remove the Outlet Cover
Use a screwdriver that gently removes the outlet cover. Once the cover is removed, now you can clearly see a view of the outlet and its wiring.
Step 3: Inspect the Wiring
A visual inspection is to check the signs of damage in the wiring, such as frayed or exposed wires. You need to have proper knowledge of color-coded wires—typically black (hot), white (neutral), and green or bare (ground). Look for loose connections or wires that can ruin your electric circuit.
Step 4: Identify the Open Ground
Focus on the ground wire, usually green or bare and see the source of the open ground issue. Check for any loose or disconnected ground wires then do the respective repair if there is any disconnected wire. Now with proper care and skills reattach it to the grounding screw on the outlet.
Step 5: Repair or Replace Damaged Wiring
If you discover damaged wiring during the inspection then it’s essential to replace it with a new one. Use wire strippers to remove the damaged portion, if the damage part is small then repair it. On the other hand when there is extensive damage then, consider replacing the entire section of wire. Ensure the replacement wire matches the gauge of the existing wire to avoid any mishap and ensure the safety.
Step 6: Reattach the Outlet
Once you’ve addressed the open ground and repaired any damaged wiring, now it’s time to get power on. But before this you need to carefully connect the wires to their respective terminals—black to hot, white to neutral, and green or bare to ground. Now use tools to tighten the terminal screws securely to ensure a stable connection.
Step 7: Replace the Outlet Cover
With the wiring secure, place the outlet cover back over the outlet and fix it on its place. Ensure that no wires are pinched or exposed to prevent any damage and cover adds a protection and aesthetics.
Step 8: Test the Outlet
Before restoring power to the outlet, perform a test. Use an outlet tester to verify that the wiring is correct and that there are no remaining issues then just power on the circuit breaker.
Congratulations! You’ve successfully fixed an open ground outlet if everything is going perfectly. Regularly inspecting and maintaining your electrical outlets is necessary to utmost safety and compliance with electrical codes.
Troubleshooting: Outlet Still Not Working
If, after fixing the open ground, the outlet still does not work, then the reason can vary from time to time. But you can ensure this aspect like
- Circuit breaker associated with the outlet is switched on.
- Examine the outlet for any signs of physical damage
If troubleshooting efforts prove inconclusive then it is a time to ask for professionals help. This is because it requires specialized knowledge and tools to diagnose and resolve that a professional has mastery. Click Here To Find A Pro in Your Area
Conclusion
In conclusion, addressing an open ground receptacle is a commitment to the safety and well-being of your home. The significance of fixing this seemingly minor issue lies in its potential to create a robust defense against electric shock and safeguard the longevity of your electronic devices.
This step-by-step guide has equipped you with the knowledge and tools that are necessary for electrical repairs. Remember that electrical systems are not to be taken lightly, and a proactive approach to fixing open ground outlets is essential and beneficial for the whole community.
As you embark on this journey of electrical maintenance, set priority to safety as your guiding principle. Regular checks and timely repairs fortify your home against potential hazards, and induce comfortable household’s electrical dealings.
Stay vigilant, stay safe, and empower yourself to cultivate an environment where peace of mind and functionality coexist harmoniously.
If you still are not comfortable with doing electrical work after reading this guide, then hire a professional. Find A Pro Near You Here!
FAQs
Why does my outlet say open ground?
An “open ground” indication on an outlet typically shows there is incomplete electric circuit. In many cases, it arises when a two-prong outlet is upgraded to a three-prong outlet without any addition of safe ground wire to the circuit. In result you are compromising your safety features of the electrical system.
How much does it cost to fix an open ground outlet?
Although its priceless to get safety by fixing an open ground outlet, the average cost ranges from $135 and $300. Investing in grounding outlets is crucial which prevents from electric shock and device malfunctioning.
How do you fix a ground-fault outlet?
To fix a ground-fault outlet, you need to start by unplugging all appliances sharing the circuit. Then press the Reset button on the outlet; and after reset just plug in your appliances. If the GFCI outlet won’t reset, then you may need to get help of professional to ensure proper functionality and safety.
How do you test an outlet for ground?
To test the outlet first check out the presence of power, then probe the center screw on the cover plate with a tester. The tester should light up, that show a good connection. This is a simple and easy way to verify the safety and functionality of the outlet.


