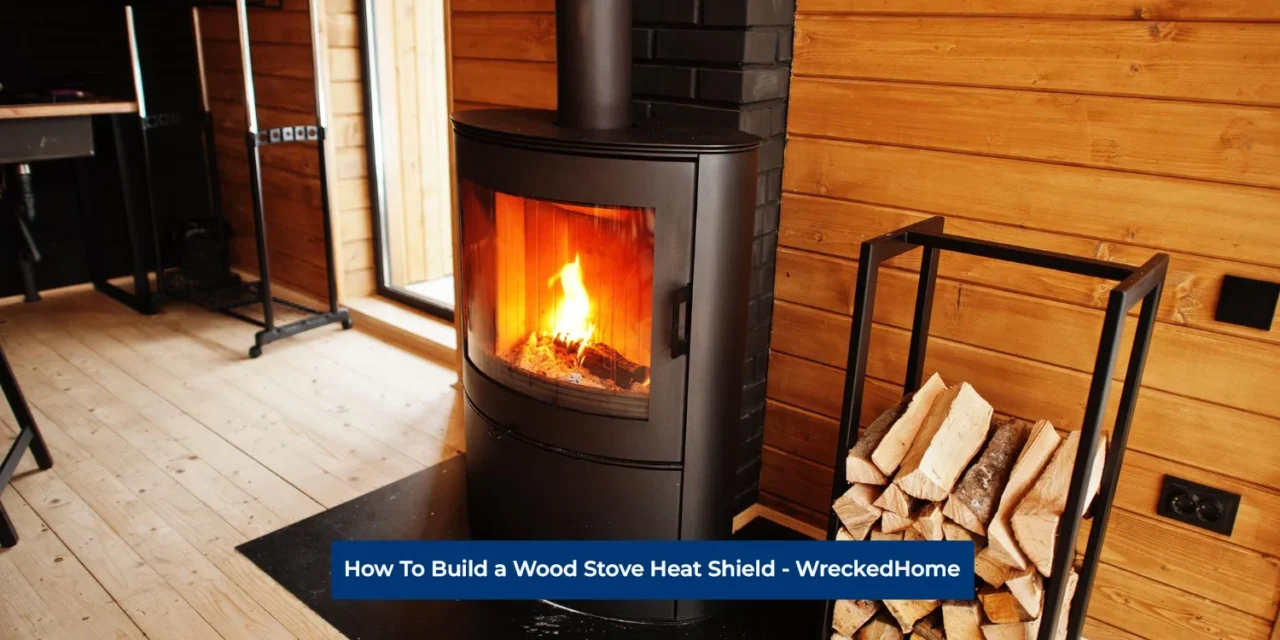
What can be more comforting than sitting next to a bonfire in winter? A wood burner is ultimately a cheap and efficient method to keep your house warm. Besides adding more value to your home, it reunites and confronts family members after a hectic day.
Unarguably, installing a wood burner is a wise decision. However, it does not come without safety hazards. Any slight mistake or mishandling can lead to potential fire hazards. This situation calls for precautionary action that can keep your house warm and safe.
A wood stove heat shield emerges as a problem solver! It acts as an obstacle between the stove and the wall. Apart from ensuring protection, it also defends your ceilings and walls from thermal damage.
Let’s get to understand how to build a wood stove heat shield and enjoy warmth with added safety.
- What is A Wood Stove Heat Shield?
- How To Build a Wood Stove Heat Shield?
- Installation Procedure For Metal Wood Stove Heat Shield
- Installation Guide for Ceramic Wood Stove Heat Shield
- Why Do I Need To Build a Wood Stove Heat Shield?
- What Are The Types Of Wood Stove Heat Shields?
- Conclusion
- Frequently Asked Questions
What is A Wood Stove Heat Shield?
Before delving into the building process, it’s crucial to acknowledge what a wood stove heat shield actually is.
Whether you’re planning to buy a wood stove or already have installed one, it’s essential to add a heat shield to make your investment more valuable.
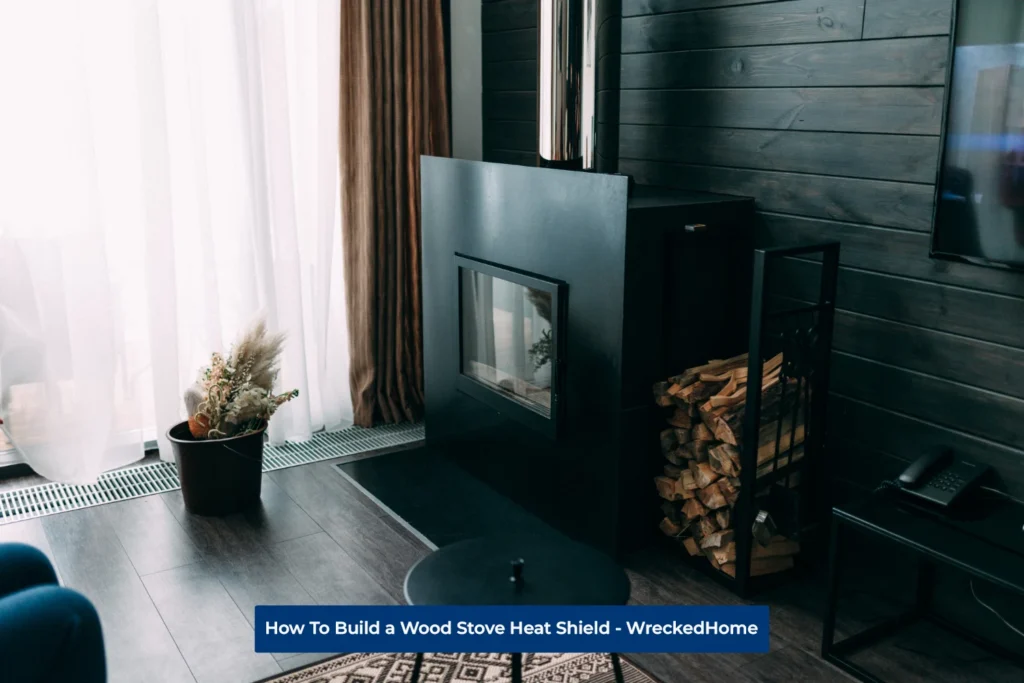
A wood stove heat shield is designed to deal with the heat deflection of log burners. It comes in different shapes, sizes, and designs to blend into your house’s interior. This ultimate guard is positioned between the heat source and the wall behind the stove. It protects the wall and other house interiors from serious damage.
Moreover, stove heat shields are made up of metal, chamber lining covered board or vitreous enamel. However, stainless shields and vitreous enamel are the most reliable ones. These materials can withstand extreme temperatures and reflect the warmth back to the room.
How To Build a Wood Stove Heat Shield?
Now you know what a heat shield is and why it is important to install one. If you’re planning to settle your wood stove into a proper fireplace then you don’t need to add a heat shield. This is because the fireplace features a firebox, chimney, and a hearth that fights off the negative risks. However, when a wood stove is used as a room heating appliance it requires a heat shield.
Building a Wood stove heat shield might sound a bit troublesome to you. Don’t worry! We have listed these detailed instructions to help you out. Have a look!
Required Materials (Wood Stove Heat Shield)
- Hammer
- Screws
- Drill
- Thinset
- 4-foot level
- Concrete Backerboard
- Metal heat shield
- Stud finder
- Pencil
- Screwdriver
- Mastic
- Latex additive
- Grout
- Grout sealer
- Latex additive
Installation Procedure For Metal Wood Stove Heat Shield
Step # 1
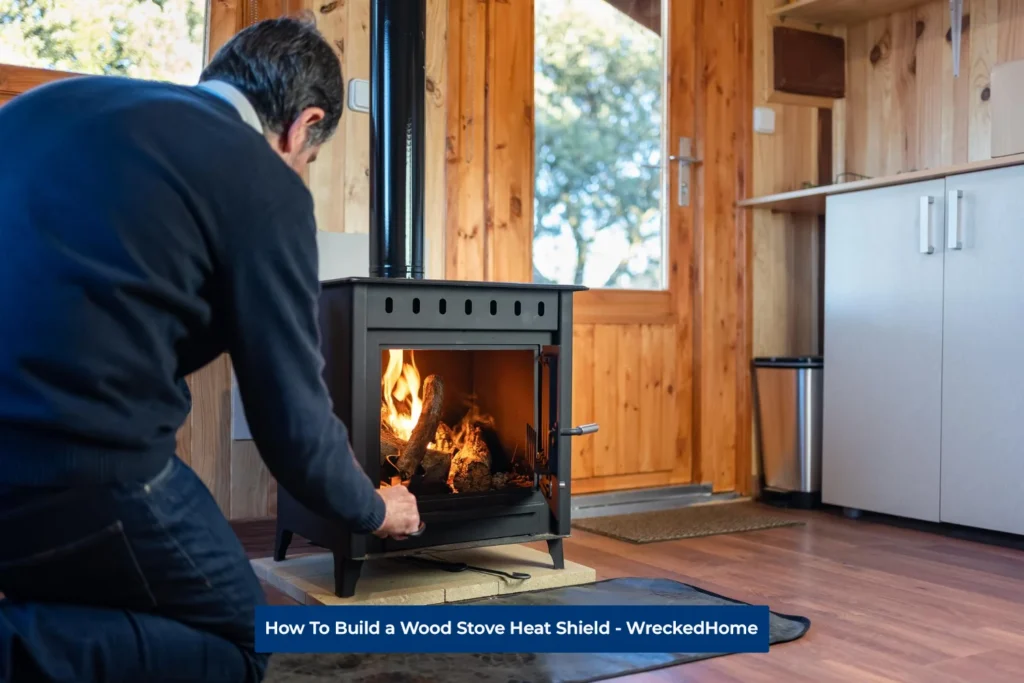
There should be enough air space between the wood stove and the wall. Every wood stove comes with an instruction manual that denotes the ideal distance. You can also check the manufacturer’s label at the back to get the optimum height and width of the heat shield.
Step # 2
Your wood stove has studs behind it. Locate them with the help of a stud finder. Next, measure your heat shield and mark the stud positions on the wall. You can use a masking tape for this purpose. Remember that the tape must exceed the protective shield’s measurements.
Step # 3
Take a pencil and mark the screw positions to achieve more precision. Before drilling, position spacers against the wall studs. You can use any; metal or ceramic spacers. Once you have done this, start drilling small pilot holes.
Step # 4
It’s time to mount the main culprit. Poke screws into the studs through those incorporated spacers. Your wood stove heat shield comes with certain screws. Use them to mount the sheet.
Installation Guide for Ceramic Wood Stove Heat Shield
Step # 1
In the case of choosing a ceramic wood stove heat shield, follow the same procedure (from step #1 to step #3).
Step # 2
Take almost two sheets of concrete backer board and attach them to the spacers. Each sheet must be ¾ inches thick to deliver optimum results. While installing make sure that the board is extending around 20 inches on each side. Also, it must be visible around 20 inches above your wood stove.
Step # 3
Now mix the mastic with a latex additive to improve its adherent properties. Apply the mixture to the desired area and start tiling. Don’t forget to apply the mastic to the back of each tile before arranging it on the wall. Also, use spacers for even spacing between the tiles.
Step # 4
Let the tiles rest overnight. After that, start grouting. Apply grout between the tiles with the help of a grout towel. Remove the spacers and keep wiping the excess material from tiles. Lastly, apply a ground sealer to secure it.
Why Do I Need To Build a Wood Stove Heat Shield?
Using a wood stove without a protective heat shield is not at all recommended. Besides fire hazards, it can invite some major downfalls.
Reduces Stove’s Performance
A heat shield traps the warmth and controls the temperature. The absence of this protective barrier will reduce the stove’s efficiency. In addition, the excessive thermal flow will damage the walls, ceilings, and the stove itself. Hence a malfunctioned stove will not be able to combat freezing temperatures.
Damages Your House’s Interior
Wood stoves are back in fashion. Many people are choosing this option to boost the aesthetic appeal of their living rooms. However, a wood-burning stove without a heat shield will emit intense heat. On average, it can reach temperatures of 150°C to 200 °C. The fierce and uncontrolled thermal flow eventually results in damaged furniture, cracked walls, and ceiling wear.
Consumes More Fuel
A wood stove generates massive heat which is usually transferred to unneeded places as well. Therefore you will need more fuel to keep your house warm.
Pyrolysis
You might have read this process in your science book. Pyrolysis is a silent attacker that might be taking place in your wood stove. Its non-visibility makes it even more dangerous.
When the combustible materials undergo frequent heating and cooling, they start deteriorating. The change in auto-ignition temperature can drastically alter their combative nature. Yes! The pieces of wood that seem okay to you can unexpectedly explode.
If you notice any sort of discoloration or charring around your wood stove, take immediate notice. However, pyrolysis can also occur inside the wall, showing no signs. Therefore a heat shield is mandatory to avoid direct contact between the heat source and combustible materials.
What Are The Types Of Wood Stove Heat Shields?
Wood stove heat shields come in different types, sizes, and qualities. Hence going through the installation procedure isn’t enough until you know which one is the most favorable.
Brick Heat Shields
Homes facing extremely hot climatic conditions are usually made of bricks. It is so because the material has an excellent heat-resistant capability.
Hence, one of the most reliable ways to enjoy a safer warming experience is brick lining. Besides boosting the overall aesthetic appeal it adds a traditional look to your living room. At the same time, it secures the surroundings from heat damage. Ensure that you’re choosing the right brick type that matches your living room layout.
Vitreous Enamel Heat Shields
With extreme temperature-resistant capabilities and tremendous durability, Vitreous enamel heat shields have been a popular option.
What makes it stand out from the rest, is its non-corrosive nature. The sheets comes in a variety of designs to blend seamlessly with any interior. It does not uphold an ordinary metal construction, but a layer of glass is combined with metal to form a sturdy sheet. Also, the enamel surface facilitates simple and effortless cleaning.
Vermiculite Lining Boards
Available in plain, block, and reeded styles, these thermal insulators can be a good choice for your wood stove. Apart from being fire-resistant, vermiculite boards are also lightweight. Furthermore, these can withstand extreme temperatures and prevent unnecessary heat transfer.
Conclusion
Overall, a wood stove heat shield is a mandatory component of your heating appliance. Besides reducing the risk of fire hazards, it also saves your surroundings from heat damage. That’s not all! Improved stove efficiency and less fuel consumption are some of the major perks that you will get. An optimistically installed heat shield can last for years if maintained appropriately.
If you are not confident after reading this guide, we advise you to hire a professional. Find A Pro Near You Here!
Frequently Asked Questions
1. What are the types of heat shields?
Heat shields are classified into two types; single-wall and double-wall. As the name suggests, the single-wall heat shields consist of one panel of temperature-resistant material. On the other hand, the double wall heat sheet incorporates an additional insulator material between the two layers.
2. What is the best wood stove heat shield?
Stovax, Vlaze, FDC, and Charnwood are some of the most prominent names that produce reliable and durable heat shields.
3. Do I need to hire a professional to install the heat shield?
Stove installation is a technical procedure that calls for professional assistance. However, any DIYer can inaugurate a heat shield with a little effort. In the case of brick lining, it is better to hire a professional.
4. What will happen if my heat shield is not mounted correctly?
The heat shield must be positioned two inches above the wood stove to work efficiently. In case of inadequate mounting, the heat will damage the surroundings and will eventually result in a malfunctioning stove.
5. What should be the distance between the stove and combustible materials in the absence of a heat shield?
We don’t suggest using a wood stove without a heat shield. If you’re unable to add a protective barrier then place the combustible materials at least 900mm away from the stove.


