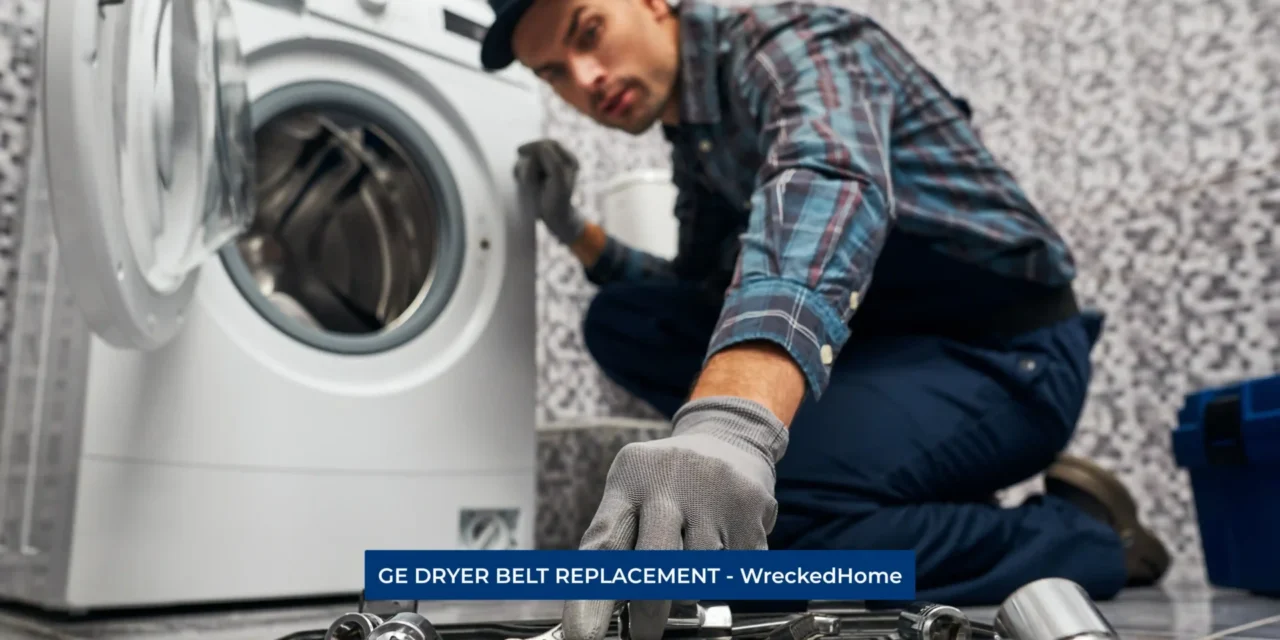
For longevity and optimal performance, your ge dryer needs proper maintenance and care. Among these, the General Electric (GE) dryer requires essential upkeep to maintain its prime condition. Unfortunately, problems still may occur. One of the most common issues that dryers face is the wear and tear of the belt. Therefore, it’s essential to have proper knowledge about belt replacement.
The dryer belt is a fundamental component that plays a pivotal role in the rotation of the drum. Over time, wear and tear are inevitable and can lower dryer performance or necessitate timely replacement to prevent disruptions in functionality.
In this guide, we’ll delve into the critical aspect of GE dryer maintenance and will share up to date knowledge of its belt replacement. By understanding the significance of appliance maintenance and the specifics of the GE dryer belt replacement methods, you will do it yourself.
Understanding the Basics
The dryer belt in a GE appliance is known for drum rotation that is pivotal in the drying process. It ensures consistent airflow by mechanical link between the motor and drum. This movement enables the latter to rotate, thus drying clothes effectively.
These are clear signs of need for a GE dryer belt replacement: If there are noises during operation, a drum that fails to turn, or visible wear and tear on the belt then. Timely replacement is paramount to prevent further damage in the appliance and ensure safety.
Neglecting a worn-out belt can lead to increased strain on the motor, compromise efficiency of the motor, and damage other components. That’s why it’s crucial to know ge dryer belt replacement methods for a smooth laundry routine.
Gathering the Necessary Tools and Materials
Before embarking on the GE dryer belt replacement journey, you need to have necessary tools and materials. That ensures a smooth and efficient process. Here’s a comprehensive list of tools you’ll need:
- Screwdriver Set: To access the internal parts and securing the front panel.
- Nut Driver Set: Essential for handling nuts and bolts for assembling correctly.
- Putty Knife or Paint Scraper: It is essential for gently prying open the dryer’s front panel without causing damage.
- Work Gloves: It is essential to wear gloves to save your hands from sharp edges and potential debris within the dryer.
- Replacement Dryer Belt: Ensure you have the correct replacement belt that compatible with your specific GE dryer model.
- Owner’s Manual or Schematic Diagram: Must follow the proper guide for your dryer’s internal components and belt path.
- Lint Brush or Vacuum Attachment: Clean the interior of the dryer and remove any lint or debris for hassle free experience.
- Lubricant (Optional): For lubricating moving parts, such as the idler pulley, promote smooth working.
- Safety Glasses: Protect your eyes from dust and debris when you are operating your dryer.
- Flat Work Surface: A stable and flat surface is necessary to place dryer during the replacement process.
By having these tools at your disposal, you’ll be well-equipped for proper GE dryer belt replacement processes with confidence. It ensures both safety and precision in your maintenance efforts. Always refer to the specific guidelines in your owner’s manual for any model-specific instructions.
Step-by-Step Guide: GE Dryer Belt Replacement

It’s necessary to follow the proper steps for an easy and correct alignment after dryer belt replacement. If you are beginner or expert just follow these ge dryer belt replacement steps
A. Powering off and unplugging the dryer
Before initiating any maintenance and repairing task, safety is paramount. Similarly in this case, unplug your GE dryer and from the electrical outlet to eliminate the risk of electrical shock during the belt replacement process.
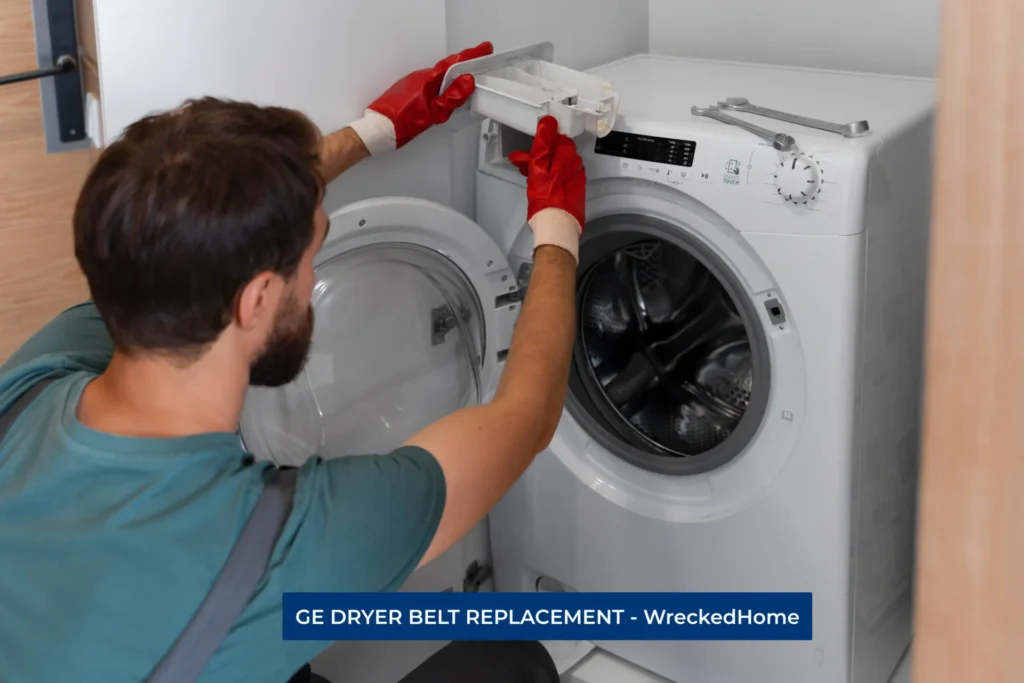
B. Accessing the dryer belt:
- Removal of the dryer’s front panel: To access the dryer belt, you need to replace the front panel. Typically secured by screws, and other necessary tools.
- Locating the belt and drum: Once you removed the front panel, you’ll have a clear view of the drum and the belt. Take note of the belt’s position around the drum and the motor pulley. If there is any issue you can replace it.
C. Inspecting the belt for damage
After you exposed the belt, conduct a thorough inspection. Find any wear, fraying, or any visible damage. If the belt shows significant wear or damage, then you must replace it for optimal performance.
D. Removing the old belt
- Release tension: Before belt removal, release the tension idler pulley to reduce tension on the old belt. You can do this by moving the idler pulley away from the belt.
- Slide off the old belt: With reduced tension, pull the belt off from the motor pulley and drum. Take note of the belt’s orientation before removal to facilitate the installation of the new one.
Visit our store for 10% off our Tools here.
E. Installing the new belt:
- Position the new belt: Place the new dryer belt around the drum, by following the previous path. Align the belt with the marks or grooves on the drum for correct positioning.
- Engage the motor pulley: Maneuver the belt over the motor pulley, and restore tension to the system. Ensure the belt sits securely in the pulley groove, to prevent any mishap.
F. Reassembling the dryer
Carefully reverse the steps taken to disassemble the dryer to attach front panel. Now secure it properly and test any loose connections or parts to guarantee a complete and secure reassembly.
G. Testing the dryer to ensure proper functionality
Before considering the job done, start a test by plug in power on. Run a test cycle to ensure the drum rotates smoothly to check there is no noise. Listen for any unusual noises and monitor the entire cycle to ensure proper functionality.
Following these step-by-step instructions help in GE dryer belt replacement, that promote both safety and appliance efficiency.
Maintenance Tips for Prolonged Belt Life
Do you want to avoid any belt expenses and replacement? Then you can achieve this with care and maintenance. Follow these tips for economical solutions
- Regular inspection and cleaning: Consistent inspection is key to examine the belt for signs of wear, fraying, or damage. Additionally, clear any lint or debris that may accumulate around the belt area that can increase friction and wear.
- Lubrication of moving parts: To ensure smooth operation and reduce wear on the dryer belt, you need to apply any lubricant on moving parts. Focus on areas such as the idler pulley and motor bearings for consistent performance. Be cautious not to over-lubricate, as excess lubricant can attract dust and debris, potentially causing more harm than good.
- Guidelines for optimal dryer usage:
- Avoid overloading: Overloading the dryer puts excessive strain on the belt and other components. Therefore follow manufacturer’s guidelines to keep it long run.
- Proper loading techniques: Distribute clothes evenly in the drum to maintain balance and increase lifespan.
- Use appropriate settings: Select the right drying settings for each load. Avoid unnecessarily high heat settings that can ruin belt. Follow the recommended settings in the user manual for convenient use.
- Regular vent cleaning: Ensure the dryer vent is clean and free from obstructions foe proper airflow. A clear vent promotes dryer components functioning, including the belt.
- Scheduled professional maintenance: Arrange for periodic professional maintenance to assess if there is any error in GE dryer. Professionals can identify potential issues before functioning start.
Conclusion
The significance of a GE dryer belt replacement cannot be overstated due to its role in connecting the drum and motor. For smooth and efficient operation of your dryer, a regular inspection and timely replacement are necessary.
Embracing a proactive approach to appliance maintenance not only safeguards against unexpected breakdowns but also increases you dryer lifespan.
By addressing issues promptly, lubricating moving parts, and adhering to usage guidelines, you can save your appliances.
Remember, a well-maintained GE dryer not only saves you from inconvenience but is also cost effective. Therefore, it is necessary to do repairs with this guide of the ge dryer belt replacement in the long run.
For any repairs, installations, builds, or questions; We recommend you to hire a professional. Find A Pro Near You Here!
FAQs
What is the belt in a dryer?
The dryer belt is a crucial component that is responsible for rotating the drum. With strong grip and turning ability to the motor it helps in drying. It can lead to issues with the drum’s rotation, affecting the dryer’s overall functionality if there is any damage in belt.
Where is the belt of the dryer?
The dryer belt is positioned around the exterior of the drum that you can inspect and connect to a drive pulley attached. Next, it is linked with dryer motor shaft and an idler pulley responsible for applying tension. This tension allows the belt to grip the drum’s exterior, and help in rotation.
Why is my GE dryer not spinning?
A GE dryer may not spin if the drive belt is worn, or there is any issue in motor. Even though the motor hums, a malfunctioning drive belt prevents the drum from turning. If attempting to rotate and there is noise and difficulty then the reason is belt wear or tear.
How much is a dryer belt?
The average cost to replace a dryer belt lies between $100 to $250. The dryer belt itself is a relatively inexpensive part that can range from $5 to $20. This component attaches to the motor and drives the drum. If the belt breaks then result come with no movement in motor and affect spinning.
Why is my GE dryer not drying?
A GE dryer may not be drying effectively if there is a belt issue. Also, the residue in dryer sheets and fabric softener can obstruct the filter, reducing airflow. Regularly cleaning the lint filter and ensures your dryer works efficiently.


