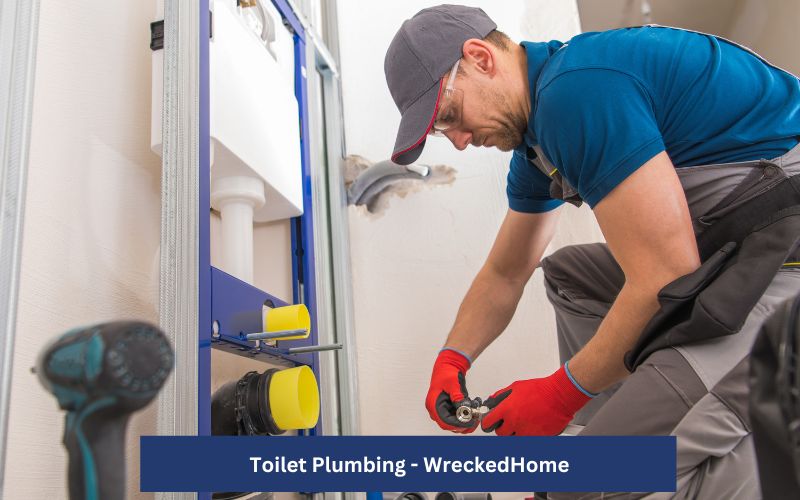
Toilet plumbing might not be the most thrilling topic, but it’s definitely something you want to get right in your home. We all use the toilet daily so understanding how they work can save you from unexpected headaches and costly repairs.
One of the best ways to understand your toilet is through a toilet plumbing diagram.
Whether you’re a seasoned DIY enthusiast or just a homeowner looking to be more informed, we’ve got you covered. By the end of this journey, you’ll have a solid understanding of how your toilet functions like a pro plumber. Which means you’ll be better prepared to tackle minor issues and prevent bigger problems from cropping up in the future.
In this detailed article, we’re going to unravel the mysteries of the toilet plumbing diagram and make things crystal clear. Let’s start with the basics, break down the different parts of a toilet and their functions. Then, we will explore the plumbing system hiding behind your bathroom wall.
So, without waiting, let’s get started on this quest to demystify the toilet plumbing diagram and keep your bathroom running smoothly!
Toilet Plumbing Diagram: Anatomy of a Toilet
Without knowing the anatomy of toilet it’s not possible to understand its functionality. Toilet plumbing diagram consist of several key components, each playing a crucial role in the toilet’s operation. Let’s explore these components in detail, starting with the fundamental parts of a toilet.
Parts of a Toilet- Toilet Plumbing Diagram
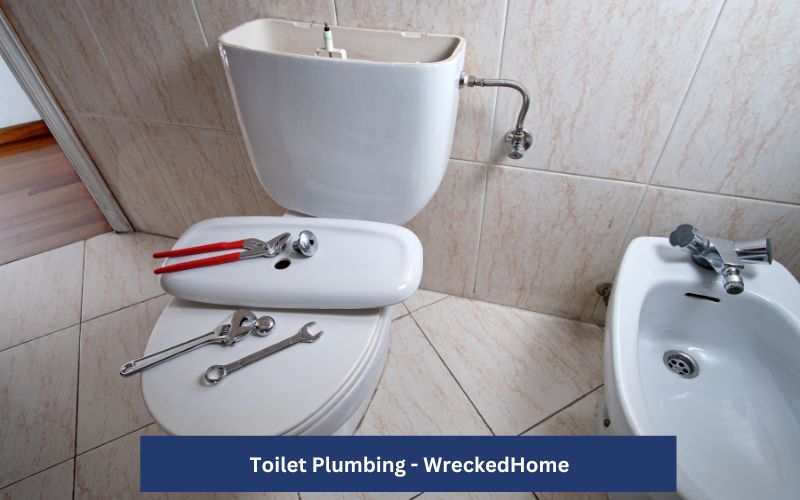
Do you know the toilet that you use daily consists of 3 main parts that are
- Toilet Tank: This upper holding tank that has the ability to store approximately 2 gallons of reserve water is known as the toilet tank. Toilet tanks are responsible to initiate the flushing process.
- Toilet Bowl: The second part is an elongated round vessel known as the toilet bowl. It is a part that holds water and waste. When you flush the tank it uses gravity to remove waste from the bowl.
- Toilet Seat: The user first experiences this toilet part which is its seat that is equipped with a lid, hinges, and bolts. The toilet seat provides a comfortable and hygienic surface for users.
All of these toilet plumbing diagram components must maintain water-tightness to work properly for a long time without any hassle. If there is a loose water-tight seal in any part then it can lead to leaks, insufficient flushing, or filling issues.
Parts of a Toilet Tank : Toilet plumbing
The toilet tank IN toilet plumbing diagram is a part that is responsible for initiating the flushing mechanism. Here are the key sub parts within the tank that help in flushing:
Outside Parts of a Toilet Tank
- Toilet Handle: It is first part that basically starts the flushing process.
- Cistern Tank: next to the handle is cistern tank that stores the flushing water and houses the flushing parts.
- Toilet Tank Lid: Lid that covers the cistern tank. It is secured with the help of hinges that are fixed place.
Inside Parts of Toilet Tank
- Flush Valve: It is made up of a rubber stopper that controls the flushing process by sealing the tank.
- Trip Lever: It is a plastic or metal made bar that connects the toilet handle with chain.
- Lift Chain: Lift chain linked to the trip lever, that lifts the flapper. It works when the toilet handle is pressed.
- Fill Valve: It’s as popular as the ballcock valve, that refills the tank. Just after flushing, it connects to the water supply for proper flush out.
- Float Ball and Rod: Its task is to signal the valve to close once water reaches the maximum level. For this job, a floating ball is attached to the fill valve.
- Refill Tube: It controls how much water flows into the bowl. Its compact design prevents overflow.
- Overflow Tube: This is the last part of toilet tank that evacuates water when every fill valve or float ball and rod fail in their functioning.
The main task of a toilet tank is to help in flushing and to store water. Its compact design is a key of proper functioning.
Visit our store for 10% off our Cleaning Products here.
Parts of a Toilet Bowl in Toilet Plumbing Diagram
The toilet bowl’s components are fixed and built in structure. In this part the function is to move waste through the toilet traps by Gravity force. Some of the common parts of the toilet plumbing diagram bowl are:
- Flapper Valve Gasket: Flapper valve rests and helps to connects the tank and the bowl.
- Rim Holes: To clean the sidewalls of the toilet bowl there are tiny holes. The rim holes release water in these tiny holes
- Siphon Jet: There is a large water jet alongside the rim. That helps in flushing water through the main trapway.
- Trapway: The route from which water moves to the lower portion of the toilet before entering in the toilet trap.
- Toilet Flange: It is a rubber ring that connects it to the floor and drainpipe.
Exterior Toilet Plumbing Parts
Toilet flushing require water supply and disposal. It is done by parts that release fresh and contaminated water. These parts are
- Fresh Water Hose: Those connect fresh water supply line to fill valve.
- Shut-off Valve: If there is any leakage then use the shut off valve and stop water supply by closing the freshwater hose.
- Main Drain: From this part, the used toilet water exits into the sewer plumbing. It is located just below the toilet flange.
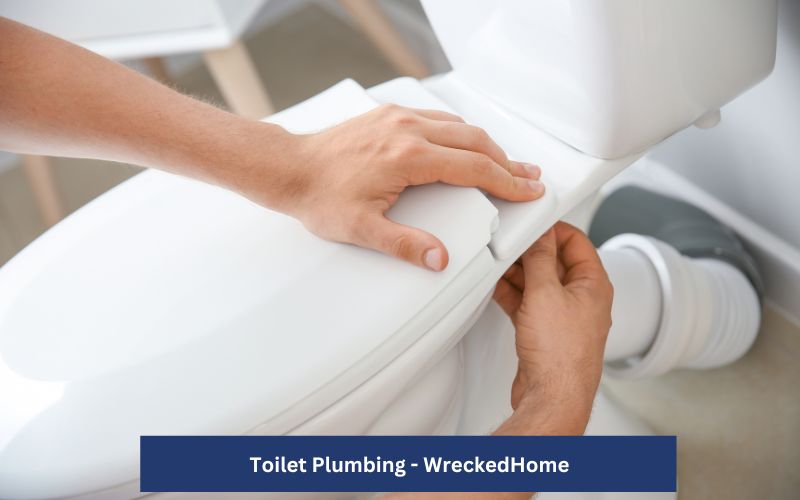
Toilet Seat Parts
Lastly, the toilet seat of toilet plumbing diagram is the most used part that directly interacts with the user. Therefore, you must be hygiene conscious for this part. It includes:
- Lid: Lid covers the toilet seat when there is no user. It keeps bacteria inside and prevent falling of objects in toilet.
- Seat: The seating surface for users that is directly in touch with user.
- Hinges: These connect the seat and lid with the toilet and enable it to move up and down by remaining a fixed surface.
- Bolts: bolts help hinges to securely keep in place.
The Plumbing System behind the Wall
The plumbing system with toilet plumbing diagram is a concealed network of pipes and valves that is responsible for both delivering clean water and safely removing waste. It is an essential part of your home’s infrastructure. Now, let’s delve into the function of this behind-the-scenes plumbing system.
Water Supply Line
The water supply line is a way to deliver cold water to the toilet. It consist on two main steps
- Cold Water Supply: In the first step the cold water comes from sources.
- Shutoff Valve: After a certain water level, it cuts off water supply to the toilet.
Drain-Waste-Vent (DWV) System
The Drain-Waste-Vent (DWV) system is a safer way to flush out waste. This system is strong enough that it avoids entrance of any harmful gas into home. The main components of this system includes:
- Drain Pipe: Drain pipe is use to carry out the waste and wastewater away from the toilet.
- Vent Stack: To maintain drainage and suction prevention this allows air to enter the DWV system.
- P-Trap: P-Trap is a curved pipe that traps water to block sewer gases. It keeps your home safer from entering gases.
Common Toilet Plumbing Problems and Basic Troubleshooting
Toilet plumbing problems are serious ones that require a routine checkup leading to water wastage if there is any irresponsible behavior. In this section, we will discuss some of the common pluming problems and ways to sort out
Leaks
Toilet leaks are sever problems that can damage the toilet if left unchecked. The typical areas that have high chances of leak are:
- Tank Leaks: If gaskets around the fill valve or flush valve are damaged then the problem is the tank leak. You can troubleshoot and fix this by:
- First of all, cut the water supply to the toilet and flush it to empty.
- Now check the gaskets and seals around the fill valve and flush valve to see any damaging.
- If there is any issue now, fix it and turn on the water supply.
- Now monitor for leaks a few times.
- Bowl Leaks: If you see Bowl leaks then it is due to damage of the wax ring or a loose toilet flange. Here’s how to fix bowl leaks:
- First cut the water supply then remove the tank from the bowl.
- Inspect the wax ring to see the damaged area.
- Now treat the damage and make sure the toilet flange is securely fastened to the floor.
- Next step is to reinstall the toilet bolts tightly and securely.
- Now turn on the water and recheck the leakage.
- Base Leaks: If the base of the toilet leaks, this is also the result of a damaged wax ring or a loose toilet. To resolve this issue treat it in the same way.
Clogs
Another source of frustration is when clogged toilets occur because of excessive toilet paper, foreign objects, or waste becoming lodged in the drain system. To address clogs you should follow these steps:
- Use a plunger by ensuring a tight seal to create suction and dislodge the clog.
- If the plunger doesn’t work, then use toilet auger and remove the blockage.
- If still there is a clog then call a professional plumber to treat the plumbing system.
Running Toilet
If your toilet is running then it will lead to water wastage and higher utility bills. The main causes of these issues are fill valve or flapper:
- To treat this, Lift the tank lid and see fill valve damage.
- Checkout the flapper for damage or misalignment.
- Control the water level by adjusting the float arm or float cup.
- If the problem still persists then the fill valve or flapper is damaged. So replace them with new parts.
By knowing the problem you can solve it by the above methods. But if the problem still persist then you must seek professionals.
Conclusion: Toilet Plumbing Diagram
In conclusion, understanding toilet plumbing is important to fix your common toilet issues. It’s recommended to troubleshoot the problem then solve it by the help of the above methods. Armed with this knowledge and the accompanying toilet plumbing diagram, you’ll be better prepared to tackle toilet-related issues. If your toilet still has the same problem then you must consider hiring a professional or expert.
For any repairs, installations, builds, or questions; We recommend you to hire a professional. Find A Pro Near You Here!


