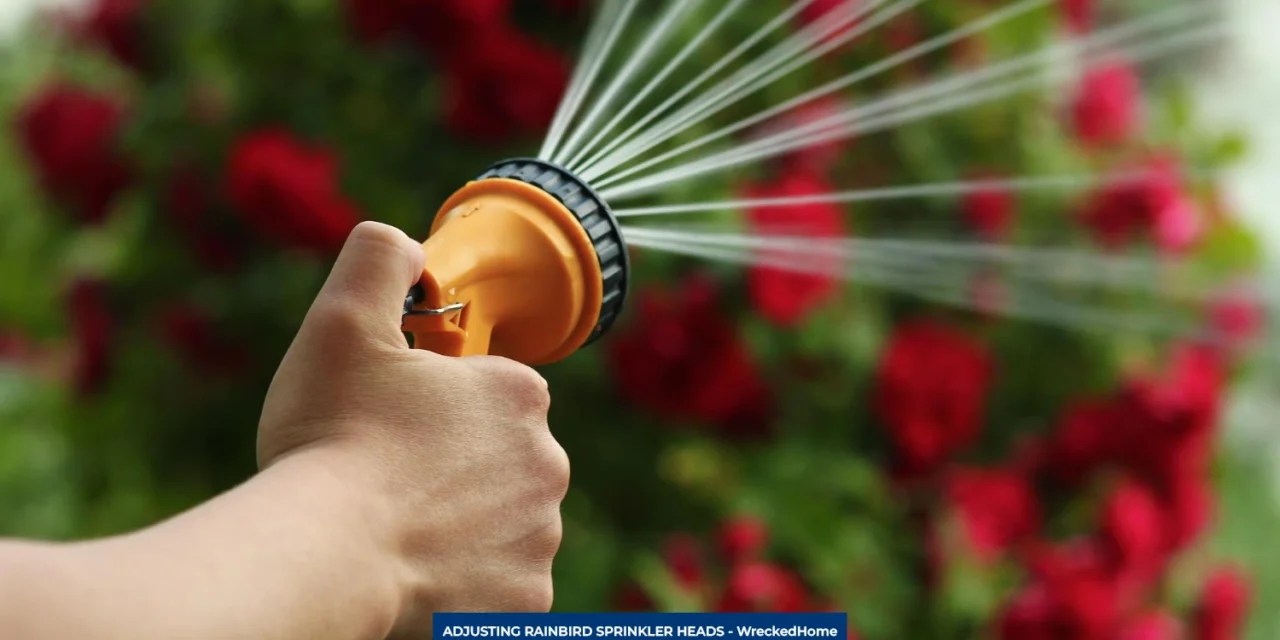
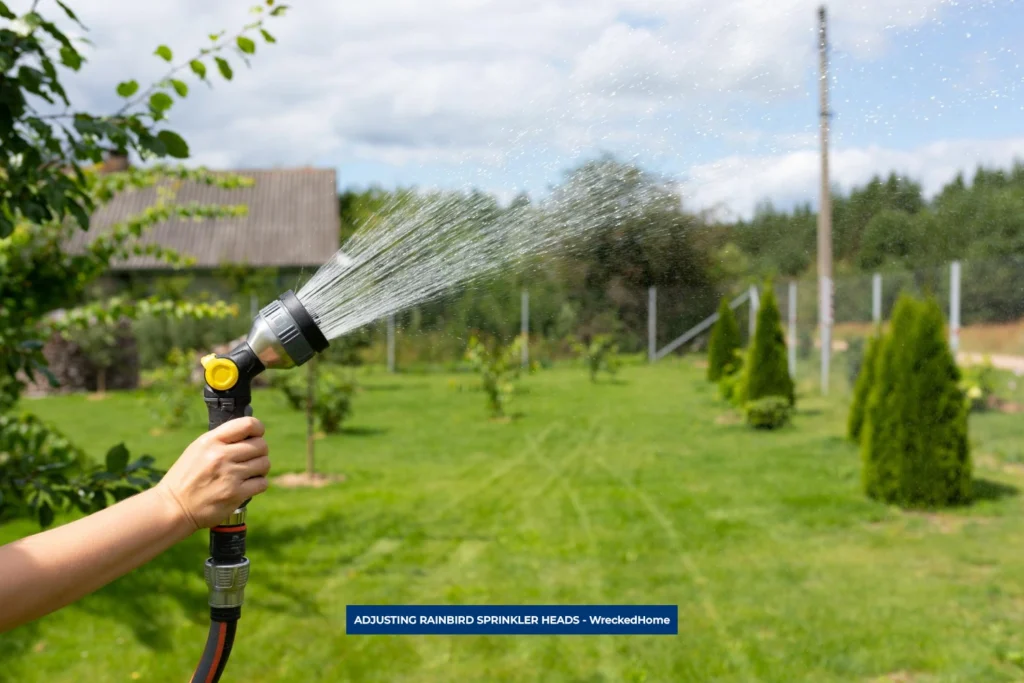
Rainbird sprinkler heads are popular among homeowners. They are both reliable and durable. Unfortunately, they do not always function. They also require maintenance and adjustment. If they are properly maintained then they will ensure your lawn is efficiently watered.
This is why it is important for you to start adjusting Rainbird sprinkler heads today. There are two main adjustments for your Rainbird sprinkler heads: the arc and the distance. It is easy if you follow what is explained in our guide. In this guide, we will give full directions on how to adjust rainbird sprinkler heads. Before we do that, we will discuss the following things: What they are, their cost, and indications for an adjustment. Let’s get started!
- What Are Rainbird Sprinkler Heads & Why to Start Adjusting Rainbird Sprinkler Heads
- How Much Do Rainbird Sprinkler Heads Cost?
- Signs That You Need to Start Adjusting Rainbird Sprinkler Heads
- How to Prepare for Adjusting Rainbird Sprinkler Heads
- Sprinkler Set-Up
- Find Right Tools
- Activate Sprinkler System Before Adjusting
- Adjusting Rainbird Sprinkler Heads
- Water-Saving Techniques
- Conclusion
What Are Rainbird Sprinkler Heads & Why to Start Adjusting Rainbird Sprinkler Heads
Even though there are many sprinkler head manufacturers, Rainbird sprinkler heads are one of the best in the industry. This is because they are built with high standards. Additionally, Rainbird sprinkler heads cut down on water waste.
Other sprinkler head options operate with minimal pressure regulation. This makes them more prone to misting or fogging. This results in at least one gallon of excessive water waste per minute. That equates to a lot of water wasted gf you have more than 10 sprinklers running throughout the day.
On the other hand, Rainbird sprinkle heads are equipped with an advanced pressure regulation system. That system ensures full coverage by using little water. These are available in different sizes and styles. The options range from spray heads to impact sprinkles. Moreover, adjusting Rainbird sprinkler heads is simple with the use of a few common tools.
How Much Do Rainbird Sprinkler Heads Cost?
The price of Rainbird sprinkler heads’ varies. This company sells many different types. The prices can range from $2.50 to $40 per head. Spray heads have range from $3 to $6 on average. On the other hand, impact sprinklers cost as much as $40 for just one head. Before installation, learn how to prevent snake holes in your yard.
Signs That You Need to Start Adjusting Rainbird Sprinkler Heads
Rainbird sprinkler heads are often disturbed due to many reasons. Before adjusting Rainbird sprinkler heads, you need to figure out what’s wrong. So, let’s discuss the signs discussed below
Uneven water distribution:
The most common sign your sprinkler heads need adjustment is uneven distribution of water. This is due to factors like misaligned heads, incorrect water pressure or clogged nozzles. Check your sprinkler heads if some areas are getting more water than others. Then you have to make necessary adjustments.
Over spray or under spray:
Another common reason for needing a sprinkler adjustment is under spray or over spray. Over spray occurs when sprinkler head sprays water outside the area. It can waste water and damage plants or other landscapes.
Under spray occurs when the sprinkler head is not spraying water enough. Under spray leaves dry spot in your lawn. This makes your lawn more susceptible to diseases and pests.
Water wastage:
You might notice a higher water bill. This may occur even if your watering habits remain unchanged. That means your sprinkler head is not properly set. Poorly adjusted sprinkler heads waste water. It means the sprinkler is spraying too much water. The sprinkler can also spray water for too long.
Puddles or dry spots in the lawn:
Puddles and dry spots in the lawns are also signs that your sprinkler heads need adjustments. A puddle occurs when sprinkler head sprays extra water in one area. Dry spots happen when there isn’t enough water. It also occurs when a sprinkler head is misaligned.
Check your sprinkler heads if you notice these signs. It is also important to make necessary adjustments. By adjusting, you can ensure that your lawn gets the water it needs. It also saves water and money.
Visit our store for 10% off our Home Maintenance products here.
How to Prepare for Adjusting Rainbird Sprinkler Heads
Rainbird sprinkler heads have different types. Choosing the right tools is necessary for adjustments. Let’s learn about the preparation of adjusting Rainbird sprinkler heads.
Also, tell us if your garden has a Pergola.
Sprinkler Set-Up
Spray Heads:
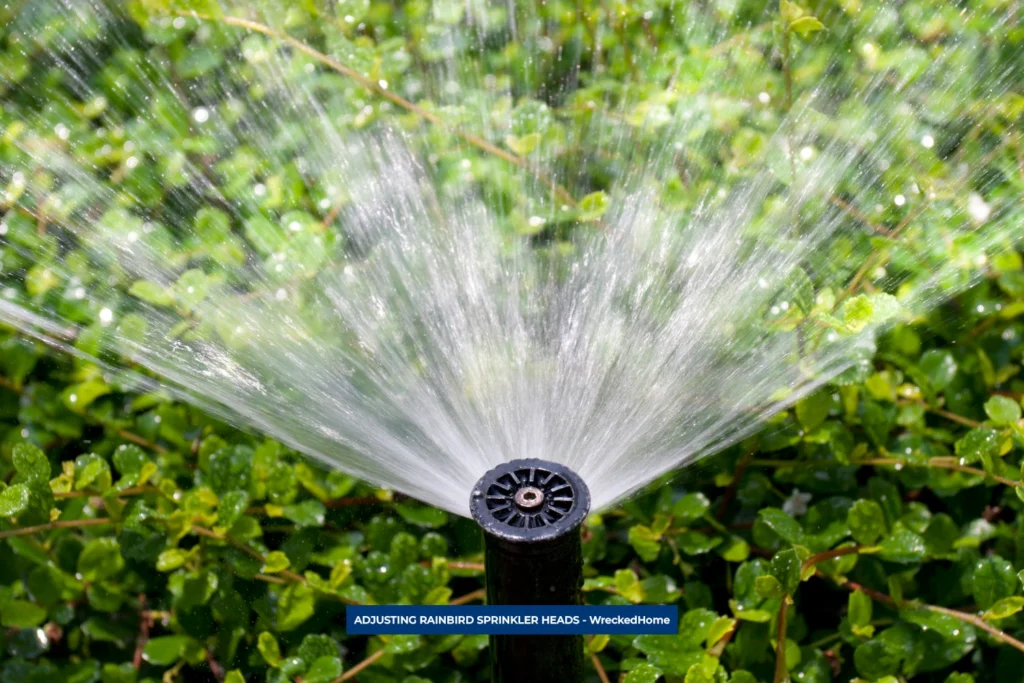
Spray heads are typically reserved for small areas. This is because these are not suitable for a large coverage. They are available only between five and 15 feet. Some of the options are available when activated. The irrigation pipes are hidden from the view until they are in use. These pipes can range in height from 4 inch to 8 inches. Adjust the height based on how far you need the stream to travel. Shorter streams are for short pipes. Unfortunately, spray heads don’t move automatically. They are not like rotary nozzles or rotor heads. Instead, these pipes emit water in a fixed direction. If you want them to spray in different directions then you have to move them.
Rotor Heads:
Rotor heads emit a single stream of water from one opening. It rotates from side to side. These heads have a low precipitation rate. This is because they don’t have multiple openings. These work best for large areas because they stream water between 15 and 50 feet.
Rotor Nozzles:
It is a combination of rotor and spray heads. This emits water through multiple openings. These also have a micro rotor that enables it to move from side to side. This helps to cover large areas.
Impact Sprinklers:
Impact sprinklers spray water in multiple directions. So, you can adjust them to spray in different patterns. But, these sprinklers only function properly with a water pressure of at least 15 PSI.
Find Right Tools
Sprinkler heads never need lots of adjustments. However, some tools are needed for an adjustment. See those tools below.
Tools For Adjusting Rainbird Sprinkler Heads
- Wrench
- Rotor nozzle adjustment tool
- Flathead screwdriver
Activate Sprinkler System Before Adjusting
Turn on your sprinkler system before adjusting Rainbird sprinkler heads. Check the areas where water flows. Once you do this, you can easily make the appropriate adjustments.
Adjusting Rainbird Sprinkler Heads
Every sprinkler head adjustment has its own needs and adjusts in slightly different ways. Here we find some of the setups that help to know about adjusting rainbird sprinkler heads.
Spray Heads
Change Direction
Turn the sprinkler system on first. We discussed that previously. let’s move further. Once it starts functioning, place a wrench around middle of the spray head. Then, gently set the point in your desired direction. You will hear noise during the process. There is no need to worry! A cranking noise comes from the sprinkler head. This happens when you complete this process.
Lengthen Stream by Screwdriver
There is a screw on the top of your sprinkler head. It is best to use a flat blade screwdriver to turn the screw left. It lengthens the stream of water and turns it right to shorten it.
Rotor Heads
Set Left Position
Turn the rotor head to see how far it moves to left without changing anything. In order to fix the position, you have to move it with your wrench. You just have to place the hand at the base. The correct position has a hand that meets the ground. Then turn to the left for adjustment. If it doesn’t move with the hand, tight grip the base with a wrench and use the tool to turn it.
Set Right Position
There is a rubber cover with two to three access points. The point is on the opposite side of the nozzle. This is the place where you can adjust how much your sprinkler head turns to the right. Place a flat head screwdriver or Rotor adjustment tool into the access point. Turn the screwdriver clockwise to increase. Turn it counterclockwise to decrease how far the head moves to the right.
Adjusting Stream Distance
To adjust the stream distance:
- Place a flat head screwdriver or rotor adjustment tool into the access point. Make sure it is properly aligned with the spray nozzles.
- Turn the screw clockwise that is inside of this access point.
- Push it down to block the stream and reduce its radius.
Rotor Nozzles
Change Direction by Wrench
The direction of rotor nozzles can be changed. Put the wrench around the base of the head. Then turn it to point the rotor nozzles in a different direction. You can make use of your hands. This depends upon how tightly the sprinkler heads are Installed.
Increase or Decrease Stream Distance by Screwdriver
Locate the screw on the top of your rotor nozzle. Place the tip of the flatbed screwdriver into the screw. Turn it counterclockwise to shorten the distance. Turn it clockwise to increase the stream distance.
Adjust Spray Radius
Adjust the spray radius through colors. An orange head indicates half a circle radius. Blue is for a full circle radius. Yellow is a quarter circle. Switching your current head for another is the best way to adjust the spray radius on rotor nozzles.
Impact Sprinklers
Change Pattern and Direction
There are several metal stops that can be moved to adjust stream pattern and direction. Push these stops to left and right with the sprinkler running to adjust accordingly. Push the metal pin pointing downwards so that it points up to move head in a full circle.
Change Spray Distance
Adjust the top nozzle by turning it clockwise. This pushes the deflector into the stream. It is used to shorten spray distance. Turn the nozzle counterclockwise to move the deflector back and increase spray distance.
Water-Saving Techniques
Importance of reducing water usage:
Water is a precious source. So, it is important to use it wisely. Over watering wastes water. It also leads to erosion and runoff. Reducing water usage helps to conserve this valuable resource. It also helps you to save money on your water bill.
Rain sensors and smart controllers
Smart controllers and rain sensors help to conserve water. This is done by automatically adjusting sprinkler systems by weather. Rain sensors can detect rainfall. You don’t have to cut your sprinkler system off during rain. Smart controllers also learn your watering habits. They automatically adjust your needs based on weather and other factors,
Scheduling watering times
Schedule your watering right time can help you to save water. The best time is early in morning when sun is low and wind is calm. It will reduce evaporation and make your plants receive the water they need.
For any repairs, installations, builds, or questions; We recommend you to hire a professional. Find A Pro Near You Here!
Conclusion
Following these directions for adjusting rainbird sprinkler heads is helpful. It will allow you to better water your garden or backyard with pavilion properly. From tools to method, everything is discussed in this article. Start adjusting your rainbird sprinkler head today and tell us the results!


