A well-maintained fence not only increases your property appearance and value but also serves as a vital protective barrier against the elements. The regular fence maintenance is important for the longevity, durability, and continued functionality.
Unprotected fences are susceptible to weathering, rot, and deterioration that can lead to massive damage by compromising on its quality. Recognizing this, the use of effective tools becomes important and fence stain sprayers come out as game-changers in the maintenance toolkit.
Unlike traditional methods, fence stain sprayers have revolutionized and overcome being labor-intensive and time-consuming. Whether you’re a seasoned DIY enthusiast or a first-time fence maintainer, sprayers offer efficiency, precision, and a more professional finish.
This guide aims to provide a comprehensive and accessible resource on how to utilize a fence stain sprayer effectively. This is key to achieving optimal results. With the knowledge and confidence to undertake successful fence maintenance projects you can ensure fence maintenance practices.
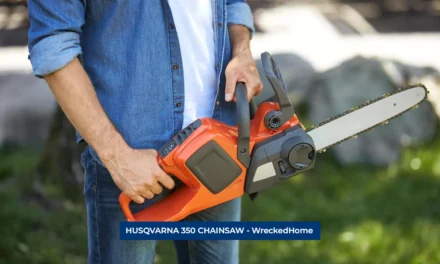
Fence Stain Sprayers: The Basics
Maintaining the integrity and aesthetics of your fence tasks are special tools called a fence stain sprayer. Understanding the basics of these tools is essential to get professional results like neatness in your fence maintenance endeavors. So, you need to know some of the basics before you dive into fence stain spray mechanism.
Types of Sprayers
Fence stain sprayers come in various types, according to work requirements and nature of use. If user pay attention to choose the best fence stain sprayer then it highly impact the final work.
- Airless Sprayers: One of the common types is an airless sprayer that has high pressure and results in a fine mist. This type is important due to its high speed and ability to cover large areas quickly.
- HVLP (High Volume, Low Pressure) Sprayers: HVLP sprayers, in contrast, operate with lower pressure, that in return produces a higher volume of stain. This design is favored for its precision that enables the smoother experience.
- Pump Sprayers: Pump sprayers, a more traditional option, are manually operated lack the efficiency of motorized counterparts. With simplicity and affordability it is efficient for the smaller objects.
Selecting the appropriate sprayer for your project consists of several factors from the size of the area to be stained, the type of stain used, and the desired finish. By paying a little attention on your project you can choose the right sprayer in hand and yield professional-quality outcomes.
Preparation Before Staining

Ensuring your fence is primed for the staining process is a crucial step that minimizes the required efforts and ease in DIY projects. You need to do the following things to set the stage for successful fence staining.
- Inspecting Your Fence: Before starting your staining project a thorough inspection of your fence is imperative. This involves identifying any existing damage, such as cracks, rot, or loose components to address the issue timely that save you time. With controlled action, you can ensure a more durable and aesthetically pleasing result.
- Cleaning the Fence Surface: A clean canvas is essential for the stain to adhere effectively that ensures the longevity and productivity. You can keep your DIY surface clean by covering techniques and using recommended cleaning agents. From removing dirt and debris to addressing mold or mildew, the clean surface absorbs stains and keeps it for long run.
- Choosing the Right Stain: Selecting the appropriate stain is a critical decision that impacts your project directly. Due to the impact on aesthetics and longevity their suitability for various fence materials and considerations like transparency and color. By having this knowledge you can make informed choices that align with their preferences and project requirements.
- Safety Precautions: Working with stains and chemicals require safety measures that include protective gear, proper ventilation, and safe handling practices. By prioritizing safety, users can undertake the staining process and confidently lower the risk factors that ensure more success.
Visit our store for 10% off our Home Maintenance products here.
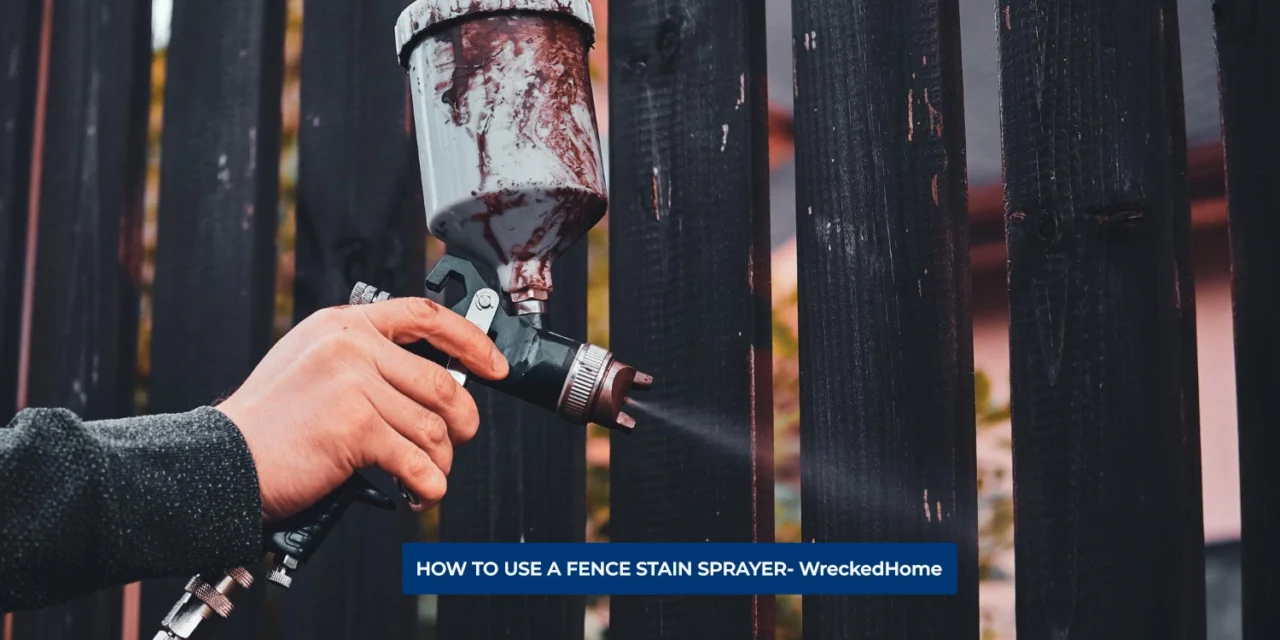
Setting Up the Fence Stain Sprayer
Optimizing the performance of your fence stain sprayer is a basic element to achieve more reliable results. There are some of the considerations that help you begins with a systematic setup process. Let’s explore and follow these steps to prepare your fence stain sprayer
- Organize Your Components: The assembly of your fence stain sprayer is the initial step to ensure a seamless workflow and minimizes disruptions during the staining process. For this assemble spray gun, hose, pump, nozzle, and any other parts that came with your sprayer by following manual.
- Connect the Hose: Start by connecting one end of the hose to the spray gun that ensures the tightness to prevent any leaks. Then, connect the other end of the hose to the pump to make the path for the stain to travel from the pump to the spray gun.
- Attach the Nozzle: Take the time to choose the right nozzle that meets the standard of your task. The nozzle determines the spray pattern and intensity to the spray gun securely. Different sprayers may have slightly different attachment mechanisms, therefore it’s necessary to consult with manual or you can find related videos from Youtube.
- Secure the Pump: Position the pump in a stable and accessible location with brackets or straps that come with it. Follow the instructions provided by experts for consistent staining and prevents accidental spills.
- Test and Adjust: Before starting your staining project, perform a test spray on a small, inconspicuous surface to check out the pattern. After this, you can make the required adjustments to the nozzle or pressure settings. Once satisfied, you’re ready to start your DIY project!
Always remember to follow the assembling pattern and specific instructions to achieve desirable results.
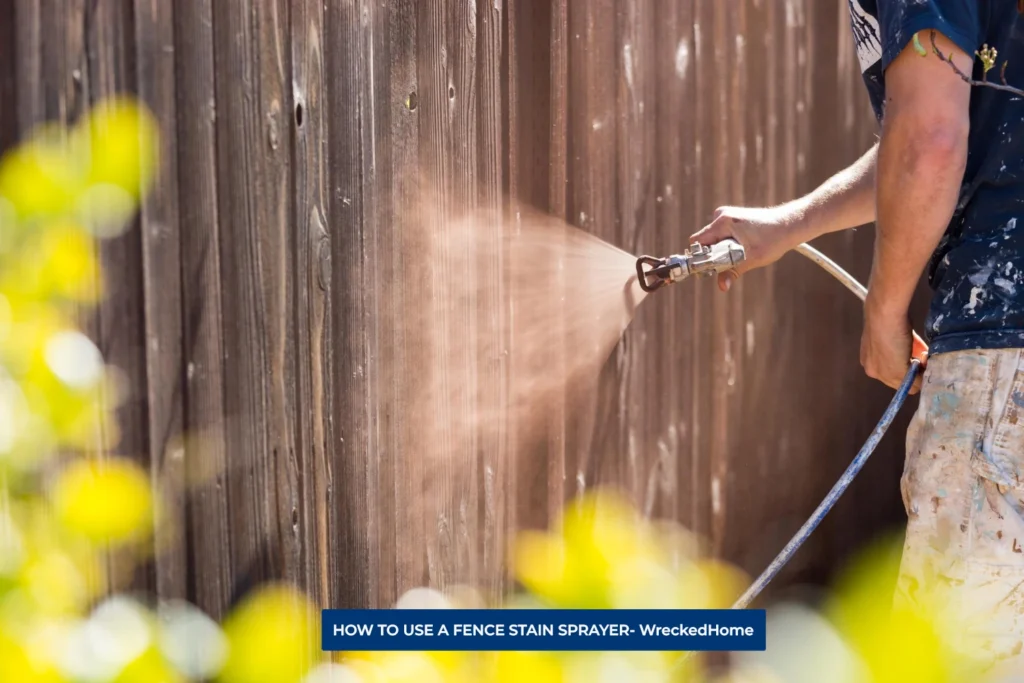
Staining Process
The staining process is a final step that ensures your efforts in your project. It is based on your techniques for achieving an even, professional finish to different fence designs. For more appropriate results follow these key tips and techniques
Techniques for Even Application
Ensuring an even application of stain with a fence stain sprayer is important. There are two common techniques to achieve a uniform and aesthetically pleasing finish. Techniques include utilizing horizontal vs. vertical strokes
Horizontal vs. Vertical Strokes
Achieving a flawless finish with a fence stain sprayer you should master the horizontal and vertical strokes. Applying the stain horizontally creates a wider spread, while vertical strokes offer a taller coverage that allows you to play with visual effects and strategically address the unique characteristics of your fence. This dual approach ensures comprehensive coverage and a harmonious aesthetic that make your stained fence more appealing.
Overlap for Uniform Coverage
One of the crucial aspects of stain application is the overlap between strokes. To attain consistent coverage and prevent uneven staining, you need to make sure that no area is left untreated, eliminating patchiness. Whether employing horizontal or vertical strokes, the overlapping technique are result in a professionally stained fence.
Properly Cleaning the Sprayer
User needs to pay attention on cleaning of the sprayer for longevity and consistent performance of your fence stain sprayer. Maintaining the longevity and efficiency of your fence stain sprayer is preventing clogs and ensuring that the tool is ready for future projects.
- Flush with Solvent: Begin by flushing the sprayer with an appropriate solvent that is compatible to your sprayer. This helps to remove residual stain and prevents clogs after the procedure.
- Disassemble Components: Disassemble the spray gun, nozzle, and any removable parts once you finish your tasks. This ensures that no stain residue remains in hidden crevices to keep it working for the long run.
- Soak in Cleaning Solution: Soak disassembled components in a cleaning solution, such as mineral spirits or a specialized sprayer cleaner to remove the debris.
- Scrub and Rinse: Use a soft brush or cloth to scrub the components, to remove any remaining cleaning solution and loosened particles.
- Reassemble and Test: Once cleaned and dried, reassemble the sprayer components carefully to check the sprayer’s performance and operation.
Conclusion
The journey from understanding the importance of fence maintenance to mastering the intricacies of stain impact this tool can have on your fence maintenance endeavors.
By recognizing the significance of surface preparation, to applying the stains with the help of sprayer everything demands research for a successful staining project. The introduction of fence stains sprayers makes a daunting task into a manageable and even enjoyable process.
The careful setup of your sprayer ease to different fence designs adds a layer of expertise to your staining repertoire.
As we delve into the realm of clean-up and maintenance embracing regular maintenance practices, you will keep your tool in prime condition for future projects.
For any repairs, installations, builds, or questions; We recommend you to hire a professional. Find A Pro Near You Here!
FAQs
Can I spray stain with a sprayer?
Absolutely! A paint sprayer is versatile and not limited to regular indoor or outdoor paint. You can gently apply the stain on any material like wooden or plastic surfaces quickly and precisely. You can use it equally for all types of wood, offering efficiency and a professional finish.
What is the difference between a stain sprayer and paint sprayer?
The key difference lies in the settings between the stain and paint sprayer. A paint sprayer is adept at handling thick paint with higher settings, on the other hand stain sprayer excels with lower settings.
How long does a fence stain take to dry?
The drying time of fence stain is influenced by temperature and humidity, but on average it requires around 12 hours to dry. However, if the humidity is 60% or higher then the time frame extends to 24-36 hours for each coat.
How many coats of stain should you apply?
For optimal results, it is recommended to apply two coats of stain. That also depends upon the wood’s absorption capacity. Dense hardwoods may only absorb one coat that can easily dry.


