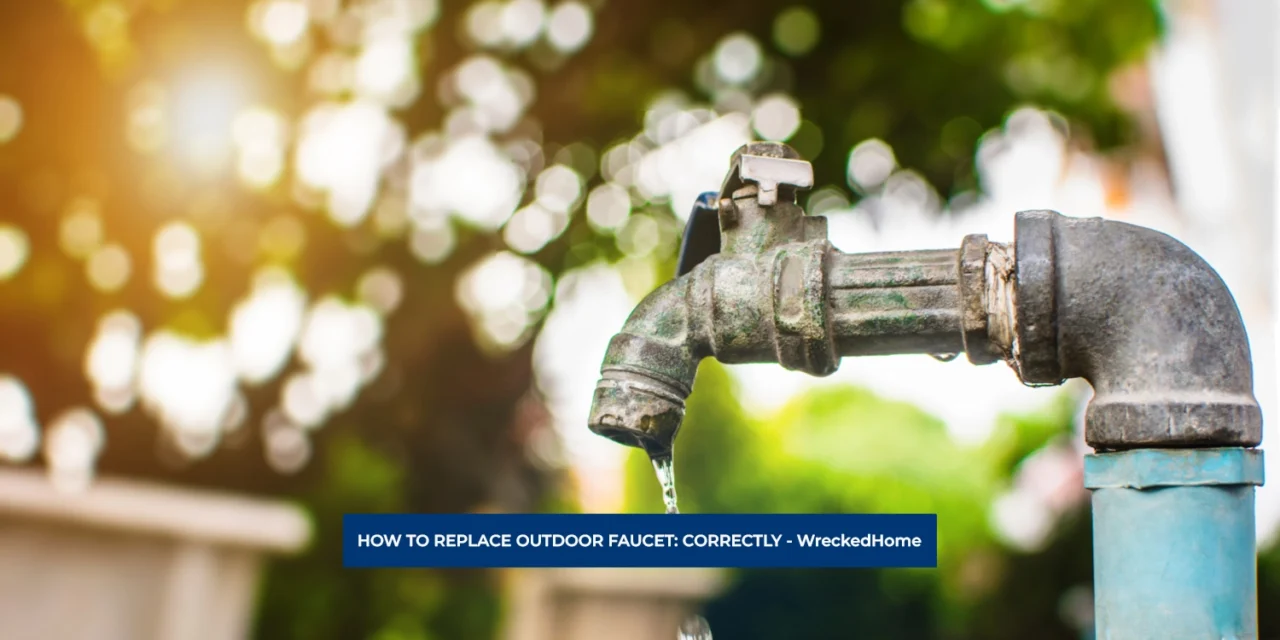
Outdoor faucets play a pivotal role in our daily lives that help in several outdoor tasks such as gardening, car washing, and maintaining outdoor spaces. These faucets are essential components of our homes, which provide an easy water source beyond the confines of indoor plumbing.
While often overlooked, their functionality becomes glaringly apparent with the significance of outdoor faucets. Knowing how to replace them is crucial for homeowners.
Knowing how to replace outdoor faucets empowers user to save both time and money that would otherwise be spent on professional plumbing services. It transforms a potential inconvenience into a manageable DIY project, emphasizing the importance of this skill for every homeowner.
But unfortunately there are some common issues with outdoor faucets, such as leaks, rust, and reduced water pressure that require proactive maintenance and replacement. Don’t worry, in this article you will learn the ways to replace outdoor faucets that is an essential aspect of home ownership.
- Understanding Your Outdoor Faucet
- Signs Your Outdoor Faucet Needs Replacement
- Replace Outdoor Faucet: A Step-by-Step Guide
- Step 1: Purchase a Frost-Proof Faucet and Shut Off the Water Supply (Replace Outdoor Faucet)
- Step 2: Completely Drain the Water from the Faucet (Replace Outdoor Faucet)
- Step 3: Drill Holes into the Concrete (if needed)
- Step 4: Unscrew the Faucet from the Wall (Replace Outdoor Faucet)
- Step 5: Screw the Frost-Proof Faucet Back In (Replace Outdoor Faucet)
- Step 6: Turn the Water Back On and Test for Leaks (Replace Outdoor Faucet)
- Step 7: Fill in the Gaps with Concrete and Let It Dry (Replace Outdoor Faucet)
- Conclusion (Replace Outdoor Faucet)
- FAQs
Understanding Your Outdoor Faucet
Outdoor faucets, also known as hose bibs or spigots, are important for specific needs and environmental conditions. There are different types and components of outdoor faucets that you need to understand before replacement and maintenance. Let’s explore the different types and components of faucets
A. Types of Outdoor Faucets (Replace Outdoor Faucet)
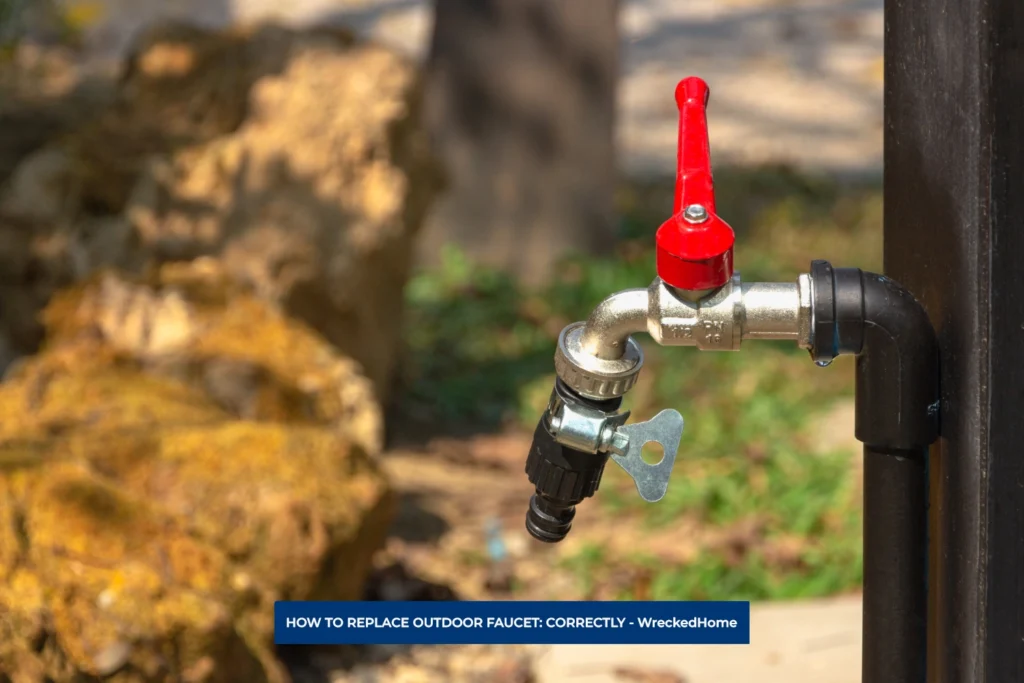
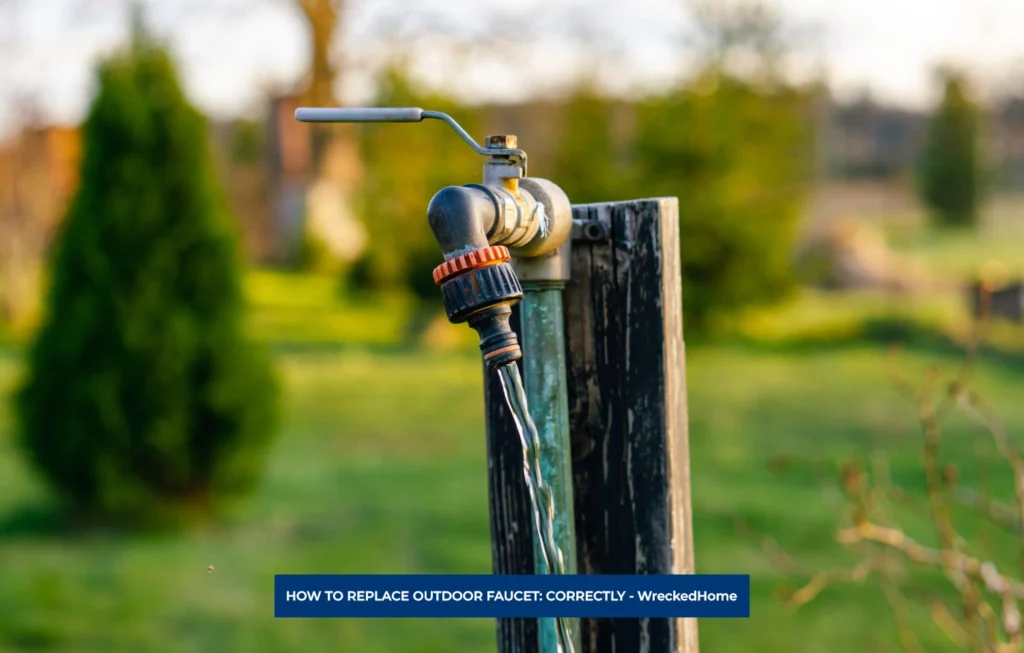
- Sillcock Faucets: These faucets are extremely common. Most people have them installed on their homes. They can easily be identified because they are mounted to the exterior wall of a building our house. It is a protective way that prevent from freezing during winter. Sillcock faucets come in different lengths that ease to choose according to the thickness of the wall.
- Frost-Free Faucets: Frost-free, or freeze-proof, faucets prevent water from freezing in the pipe that can lead to damage during colder months. These faucets have a longer stem that extends into the heated interior of the building that is a protective measure especially in regions prone to freezing temperatures. Incorrect replacement with a non-frost-free faucet in such areas is not good decision that can be risky in term of costly repair.
B. Components of an Outdoor Faucet (Replace Outdoor Faucet)
- Handle: The handle of an outdoor faucet is the most visible part that uses to turn to open or close the faucet. Handles can come in various designs, including knob-style, lever-style, or wheel- for proper operation and replacement.
- Valve Stem: The valve stem is a crucial internal component that regulates water flow by moving up and down the inside of the faucet body. Over time, valve stems can wear out or develop leaks that require key skill for outdoor faucet maintenance.
- Washer: The washer, also known as a valve seat or O-ring, can lead to leaks around the handle due to any issue in washer. Regular inspection and replacement of washers are essential for longevity of the faucet.
- Spout: The spout is the external part of the faucet from which water flows for connecting a hose, filling a bucket, or other outdoor activities. To get the optimal performance there need to ensure spout’s functionality and proper fit during replacement.
In conclusion, a comprehensive understanding of the types and components of outdoor faucets is necessary for repairs or issues that require you to replace outdoor faucets with confidence.
Signs Your Outdoor Faucet Needs Replacement
Outdoor faucets, although seemingly simple, have signs of wear and tear over time. Recognizing these signs is crucial to prevent water damage and overall integrity of your plumbing system. Here are five key indicators that your outdoor faucet requires replacement:
- Leaks: One of the most obvious signs is leakage around the handle, at the spout, or even within the wall where the faucet is mounted. Persistent drips or visible water pooling around the faucet are issues that can lead to problems like mold growth and deterioration of building materials.
- Rust or Corrosion: Outdoor faucets are exposed to the elements, making them susceptible to rust and corrosion. This leads to structural damage, affecting the faucet’s functionality. If you notice reddish-brown discoloration or flaking on your outdoor faucet, then it’s time to replace outdoor faucet to prevent further deterioration and potential water contamination.
- Poor Water Pressure: Reduced water pressure from your outdoor faucet is due to mineral deposits, sediment buildup, or a deteriorating valve stem. While cleaning the aerator or removing debris from the spout the issue can resolve temporarily. Ignoring low water pressure can lead to inefficient water usage and frustration. This is a serious issue and requires that you replace outdoor faucet.
- Age-Related Issues: Like any other household component, outdoor faucets have a lifespan of the internal and external components. If your faucet is approaching or has exceeded its expected lifespan, then there can be problems of leaks, rust, and reduced functionality. Even with regular maintenance, age-related wear can compromise the expected lifespan of your specific faucet model.
- Difficulty in Operation: An outdoor faucet should operate smoothly. Turning the handle and experiencing resistance, or noticing grinding sounds, indicates damage. Ignoring this sign may result in a complete failure of the faucet that is more challenging.
Replace Outdoor Faucet: A Step-by-Step Guide
If your outdoor faucet is showing signs of wear and tear, and leaks, then you don’t need to worry. Because its just a time to upgrade it to improve functionality. All you need is a Wrench! Here is step by step guideline to follow to replace outdoor faucet with a frost-proof alternative.
Step 1: Purchase a Frost-Proof Faucet and Shut Off the Water Supply (Replace Outdoor Faucet)
The first crucial step in replacing your outdoor faucet is to get the product of frost-proof faucet. Frost-proof faucets are designed to prevent freezing during colder months, ensure you have the correct faucet size and type that matches your existing setup. Once you have the new faucet start the replacement.
Step 2: Completely Drain the Water from the Faucet (Replace Outdoor Faucet)
To ensure a smooth replacement process, it’s essential to drain any remaining water from turning along with the valve, use a second wrench to hold it in place. Allow the water to drain completely to minimize the mess and make things easier.
Step 3: Drill Holes into the Concrete (if needed)
In some cases, outdoor faucets are secured to concrete surfaces to drill holes into the concrete to loosen it. Exercise caution to avoid damaging the existing faucet to provide access to the mounting points of the faucet. This step is critical for the removal of the old faucet and installation of new frost-proof faucet.
Step 4: Unscrew the Faucet from the Wall (Replace Outdoor Faucet)
After you cut the water supply off, take your wrench and screw the old faucet off of the wall. You can do this by turning the wrench counterclockwise until it loosens and eventually comes off.
Step 5: Screw the Frost-Proof Faucet Back In (Replace Outdoor Faucet)
Now that the old faucet is removed, it’s time to install the new frost-proof faucet. Align the new faucet with the existing mounting points on the wall and pipe. With the help of larger wrench now tight it for secure fit that is essential.
Step 6: Turn the Water Back On and Test for Leaks (Replace Outdoor Faucet)
With the new frost-proof faucet securely in place, allow the water to flow to the outdoor faucet. Thoroughly inspect the connection points and check there are no leaks. Turn on the faucet and check for proper water flow and functionality.
Step 7: Fill in the Gaps with Concrete and Let It Dry (Replace Outdoor Faucet)
If you drilled holes into the concrete during step 3 now take concrete filler or mix to fill the gaps around the newly installed frost-proof faucet. Ensure that the concrete is applied evenly. Let it dry completely before subjecting the faucet to regular use.
Conclusion (Replace Outdoor Faucet)
In conclusion, maintaining and replacing outdoor faucets is a vital aspect to keep your household outdoor activities peaceful. By following the outlined steps to replace outdoor faucet and adopting a proactive approach you can safeguard your plumbing system from potential issues. Regular inspections, winterizing precautions, and addressing minor problems empowers homeowners to tackle replacements with confidence.
Armed with the right tools, materials, and knowledge, the DIY replacement is a preventive measure and routine checks into your home maintenance routine. These preventive measures ensure the treatment of leaks and reduced water pressure, ensuring that your outdoor faucets function optimally throughout the seasons.
Ultimately, the investment in proper care and replacement of outdoor faucets fulfill your outdoor water needs. With these insights and practices, you not only enhance the functionality of your plumbing but also improve efficiency of your home.
If you find that you cannot fix your outdoor faucet after reading this guide, then you should hire a professional. Find A Pro Near You Here!
FAQs
Do outdoor faucets need to be replaced?
Yes, replace outdoor faucets. These are also known as spigots or hose bibbs that allow significant amounts of water, up to 3,000 gallons in a year. Regular maintenance, repair, or replacement of outdoor faucets is essential for efficient water usage.
Can the valve stem be removed from the faucet?
Yes it can! To remove it, you need to drain the water from the faucet first. Then, unscrew the handle and locate the packing nut behind it to open it carefully. With the help of a wrench, turn the packing nut counter-clockwise to loosen it, for the removal of the valve stem for maintenance or replacement.
Can outdoor faucets be repaired?
Yes, outdoor faucets can be repaired, by replacing a worn-out seal or gasket. These seals often made of rubber or plastic, require tools for the retaining nut. You can replace the faulty seal, restoring the functionality of the outdoor faucet.


