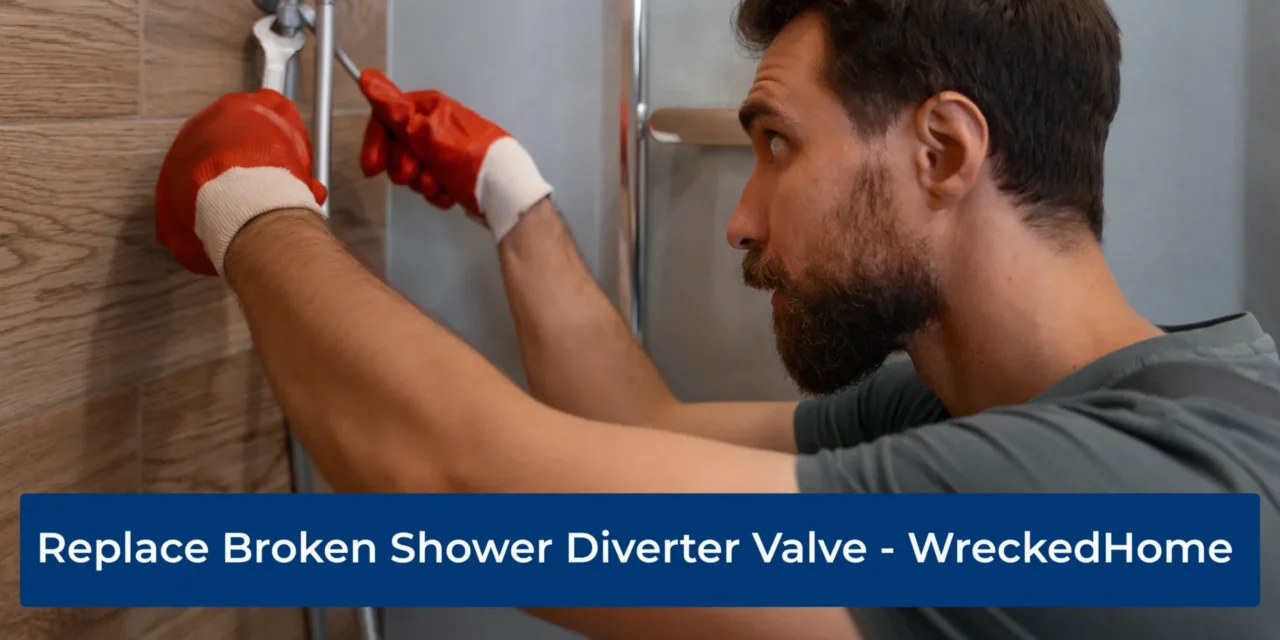
If you have a shower-tub combination in your bathroom then dealing with a broken shower diverter valve is normal. A Shower diverter valve is a water controlling mechanism. It pushes water in the tub faucet or shower head. One at a time! This is because the valve cuts off water supply to either the faucet or the shower head. But repeated operation of this shower diverter valve can wear out the valve and you get water in both sides (tub and shower).
In such a situation, you can repair or replace the valve. Repairing may give a temporary solution so replacing broken shower diverter valve can save you in the long run. So, let’s see how you can do it yourself in a few steps (as guided) with simple tools. Here we go!
Replacing a Broken Shower Diverter Valve – Step-by-step
Before starting the replacement of a broken diverter valve, first you must learn the types of diverter valves. Normally, you can find three variations in these valves and include:
Three-valve diverter – Such type of valve consists of a tap or lever that is located between hot and cold taps of a two-tap faucet.
Two-valve diverter – This valve is present either in the center of a single faucet that controls temperature or between both taps of a two-tap faucet.
Tee-diverter – It is most commonly found shower diverter valve found in the tub faucet. You pull up the lever in the faucet to activate the diverter.
Get the Things Ready
After confirming the type of valve, gather all necessary tools for this plumbing project next. Remember, all valves or parts of a shower are not universal. They come in various sizes, components, and types. So the best bet is to ensure you have same parts as before (unless you plan to change complete faucet setup).
Typically, you need these tools to replace a broken shower valve:
- Hex key/Screwdriver
- Pliers
- Socket wrench
- Plumbers tape
Turn off Water Supply
Turn off the water to the shower after arranging all the tools. You can simply cut off water supply to the shower if there is an isolation valve. This will keep water flowing in all the pipes except shower. But if there is no such a valve then you need to turn off main valve to cut off incoming water supply.
After cutting off water supply, open the faucet or diverter valve to drain remaining water.
Similarly don’t forget to cover the drain to prevent any small tools, nuts, screws or parts from getting stuck in it. Most spouts are fixed in the wall with fasteners so it is better to plan first before taking the next step. You can cover the drain with a towel or simply fix cotton ball in it.
Remove the Spout
Now is the time to remove spout. Twist counterclockwise and pull it out. It will come out smoothly if there are no fixtures attached. Otherwise look on the underside for a hex nut or screw. Take it out using hex key or screw driver even don’t hesitate to apply little bit force (if required).
It is important to remember that some spouts slide on and off of the pipe while others are screwed on to a thread pipe. Regardless of your spout type, twist it counter clock wise to get it off. It is just a matter of few minutes.
Disassemble Old Shower Diverter Valve
Next, remove the diverter after taking the spout out. You can see the diverter is like a pin that slides up and down. There is also a bracket that holds the pin in place so first open the bracket using a plier or screwdriver. Next apply some force to pull up on the pin’s knob. Now you have a pin knob and the diverter valve removed.
Here you may face distinct conditions. For instance:
- If you have a standalone diverter (2 way diverter), remove the cap and unscrew the central screw to disassemble it from the setting.
- Two or three valve shower diverters often have rotating valves. You need to unscrew the nut at the stem and then pull the whole setting out.
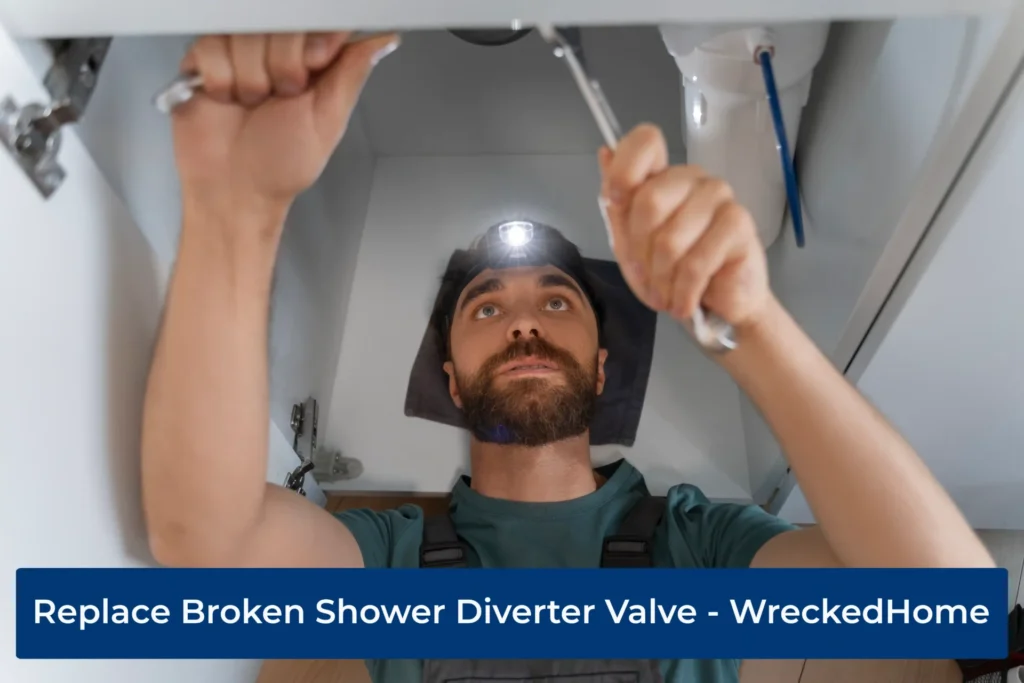
- Use socket or shower faucet wrench to remove the diverter recessed behind the wall.
- On the other hand, if diverter does not come out despite all efforts, you may need to open up a section of your wall to access all of the parts.
Regardless of the type of your shower diverter valve, you will have it separated in no time.
Visit our store for 10% off our Tools here.
Get and Check a New Valve

Your pluming project of replacing a broken shower diverter valve is half done. Now you have previously installed diverter disassembled. Take it to the hardware store and get a new one of the same size and features. If it is your first time changing this valve then make sure you get all the valve accessories with it.
Typically, there are 3 main parts of a shower diverter that include:
- Diverter knob
As mentioned earlier, the diverter knob will either be a handle or a knob to redirect water flow in the shower or the tub.
- Diverter assembly
The actual body of the diverter is a stem-like diverter. You can also have diverters with a spring inside it or a cartridge-type diverter.
- O-rings and washers
Rings and washers are the most important valve accessories. Your diverter can have an O-ring, a washer or a combination of both. These settings serve to provide a seal to direct all the water up or down in one direct.
Install the Diverter Valve
Keep the newly bought shower diverter valve in your range (with all accessories). Put it back on the spout reversing the detachment method.
Turn on the Water and Test for Leaks
Once the new diverter valve is in place, slowly turn on the water supply. This gradual approach can help prevent a surge of pressure which might cause any weak points to fail.
With the water on, closely watch the faucet and showerhead for any signs of dripping or water seepage. Make sure the diverter is in its neutral position, not directing water to the showerhead or the faucet specifically.
Similarly, switch the diverter to direct water to the showerhead and then back to the faucet. Observe any changes in water flow or unexpected leaks.
It is also best to feel around the diverter valve area for moisture detection or wet spots. This is especially beneficial for wall-mounted type vales. By doing so, you can find a leak behind that wall that might not be immediately visible.
On the contrary, if there are no signs of immediate leakage just keep monitoring over the next few days. Sometimes leaks are not visible immediately and become appear after prolonged use. So, if you find any leaks, turn off the water supply. Depending on the severity and location of the leak, you can tighten connections or replace faulty components. Applying plumbers’ tape to threaded joints also ensures watertight seal.
Replacing Shower Diverter Valve – Things You Need to Consider
Replacing shower diverter valve is an easy DIY project. Keeping these little things in mind can save you from hassle later on.
- Consider how you’ll access the diverter valve. If it’s behind the wall, you might need to remove tiles or wall panels. Plus, ensure you have ample space to work and possibly a backup plan for covering any exposed areas temporarily.
- When purchasing a new diverter valve, it’s necessary to match the finish and design according to other fixtures in the bathroom to maintain a cohesive look.
- Make sure you have all the necessary tools and materials beforehand. These are not heavy tools and include wrenches, Teflon tape, plumber’s putty, replacement parts, and sealants.
- Before starting the replacement, always remember to turn off the water supply to the shower to avoid unwanted spills or water damage.
- Replacing a diverter valve can be straightforward for those familiar with plumbing tasks. If you are unsure about any part of the process, consider hiring a professional to avoid potential mishaps. This will save you from ruining your efforts plus the budget.
- Check the availability of replacement parts for your specific brand and model. Some older models might have parts that are hard to find or discontinued.
- While replacing the diverter, it is a good opportunity to inspect the surrounding plumbing for any signs of wear, corrosion, or other potential issues.
- Ensure you’re working in a well-lit area and have necessary safety gear, such as gloves and safety goggles, especially if you are dealing with older fixtures that might have sharp or corroded edges.
- If your shower system or diverter valve is still under warranty, consider reaching out to the manufacturer. They might provide guidance or even a replacement part at no cost.
- While most diverter valves are relatively inexpensive, the costs can add up if you need additional parts, tools, or professional assistance.
Conclusion – Shower Diverter Valve
Shower diverter valves are often broken. They either have water dripping or get no water at all. If your shower valve is also broken then it is the right time to do a replacement project. No heavy tools are required. Just make sure to learn about the types of valves before making a purchase. Also, follows the steps in the guide above.
For any repairs, installations, builds, or questions; We recommend you to hire a professional. Find A Pro Near You Here!


