In the bustling symphony of your household, the faucet that is in common use is controlled by handles and bases. These unassuming components play a crucial role in offering a gateway to the elemental flow of water for household chores.
Yet, a loose faucet handle and base can quietly disrupt this harmonious routine that can lead to more significant issues.
Imagine you are doing your tasks and face a problem with water flow. This can be due to a slight wobble in the handle or a subtle shift in the base. Of course it causes more stress. These are signals of issues in the faucet. The common signs of a loose faucet handle and base are akin to whispers in the plumbing corridors—creaking sounds, a gradual increase in play, or an unsettling jiggle.
To enjoy the hassle free experience in this article we will provide a roadmap, to navigate the terrain of how to tighten faucet handles and bases. But before we delve into the nuts and bolts, let’s grasp the preventative measures that safeguards against a cascade of troubles. Let’s get started on learning how to tighten faucet.
- Tools and Materials Needed (How To Tighten Faucet)
- Identifying the Type of Faucet (How To Tighten Faucet)
- Different Types of Faucets and Their Mechanisms (How To Tighten Faucet):
- How to Determine the Specific Type of Faucet (How To Tighten Faucet)
- Step-by-Step Guide: (How To Tighten Faucet Handle)
- Step-by-Step Guide: (How To Tighten Faucet Base)
- Bonus Acts: Set the Screw Adjustment and Screw Under Decorative Cap
- Conclusion (How To Tighten Faucet)
- FAQs
Tools and Materials Needed (How To Tighten Faucet)

For a proper and successful expedition on how to tighten faucet, you need to have the right tools. Before you embark on this DIY journey, ensure that you have the following essentials in your list:
- Allen (Hex) Wrench
- Screwdriver
- Wrench
- Flashlight
- Teflon Thread (Plumber’s) Tape
- Non-permanent Thread Sealant
Identifying the Type of Faucet (How To Tighten Faucet)
In the intricate world of faucets, understanding the diverse types and mechanisms is akin to ensuring the effective tightening. There are different type of Faucets such as “C” or “H” shaped, each with its unique anatomy and operating system. From the classic compression faucets to the more modern cartridge, ball, and ceramic disk variants, every faucet requires correct strategies on how to tighten faucets.
Different Types of Faucets and Their Mechanisms (How To Tighten Faucet):
- Compression Faucets: It is commonly identified by separate hot and cold handles. Users can operate it by compressing a rubber or neoprene washer against a valve seat to control the water flow.
- Ball Faucets: It is present in kitchens; ball faucets utilize a rotating ball mechanism with chambers and rubber seals that regulate water temperature and flow.
- Cartridge Faucets: Featuring a cartridge that moves up and down to regulate water flow, these faucets are can control with single or double hand.
- Ceramic Disk Faucets: With ceramic disks, material is durable and reliable to control water flow.
How to Determine the Specific Type of Faucet (How To Tighten Faucet)
If you don’t know which faucet is in your home then you need to know it before fixing the issue. For this, follow these two steps
- Examine the Handles: One common part that helps you in faucet identification is its handle because different types often have distinctive handle arrangements. Some of the common faucets are separate handles for hot and cold (compression), a single lever (cartridge), or a rotating ball (ball faucet).
- Check for Brand or Model Information: Another common way is to check the brand or manufacturer labels that present on the faucet’s body or handle.
Understanding the intricacies of your faucet type is the first step in how to tighten faucets, ensuring a snug and enduring solution.
Step-by-Step Guide: (How To Tighten Faucet Handle)
The faucet handle is most in touch part that provides essential structural strong grip and aesthetic cohesion. Over time, however, it may succumb to wear and tear, or can become loose due to over use. But don’t worries it can be resolved by tightening the faucet handle in the following way that restores both stability and functionality to your kitchen or bathroom oasis.
Step 1: Turn Off the Water Supply
Before delving into the intricacies of how to tighten faucets, you need to know there is no water access. For this, locate the water shut-off valves beneath the sink and turn them clockwise until they are tightly closed. This preventative step prevents water spills and ensure repair without the risk of water-related mishaps. Cutting the water supply is essential for any repairing task such as replacement of broken valve.
Step 2: Remove the Faucet Handle
To access the cartridge, you need to remove the faucet handle. That can be different from model to model. But the main thing is the same for all models that consist of locating and removing a screw or cover cap. For security, disassemble to faucet handle. Use the right tools such as a screwdriver or Allen wrench to disassemble the handle carefully.
Step 3: Locate the Cartridge
Once the handle is removed, you’ll find the cartridge directly underneath which is responsible for the limited range of motion in the handle. Its appearance may vary based on the faucet model but it is a crucial part for water flow.
Step 4: Remove the Cartridge Nut
Locate the nut securing the cartridge in place. You can find it at the base of the cartridge, on top of the sink. Use an appropriately sized wrench to turn the nut counter-clockwise, once it’s loose now you can remove it easily.
Step 5: Replace the Cartridge
Once the nut is loose and removed now take out the old, possibly stripped cartridge. Replace it with a new, functioning cartridge that matches the specifications of your faucet model that will tighten securely.
Step 6: Secure the Cartridge with the Nut
Slide the nut back onto the threaded stem, with the help of wrench tighten it clockwise. This step ensures a secure and stable connection between the cartridge and the faucet along with use of plumber’s tape before reinstalling the nut.
Step 7: Reinstall the Faucet Handle
Carefully reattach the faucet handle to ensure proper alignment and secure attachment. Physically inspect the handle to verify the success of the repair and ensure there is no error everything is perfectly reassembled.
Step 8: Turn On the Water Supply
Once the handle is securely in place now try to turn on the water supply to check there is any leakage or not. Locate the shut-off valves under the sink and turn them counter-clockwise and carefully observe it.
By following these comprehensive steps of how to tighten faucet, you can successfully tighten the faucet base and also fortified the foundation of your daily water endeavors. Regular maintenance and prompt repairs contribute to the longevity and elevating your faucet from a mere fixture to a steadfast companion in your daily household activities.
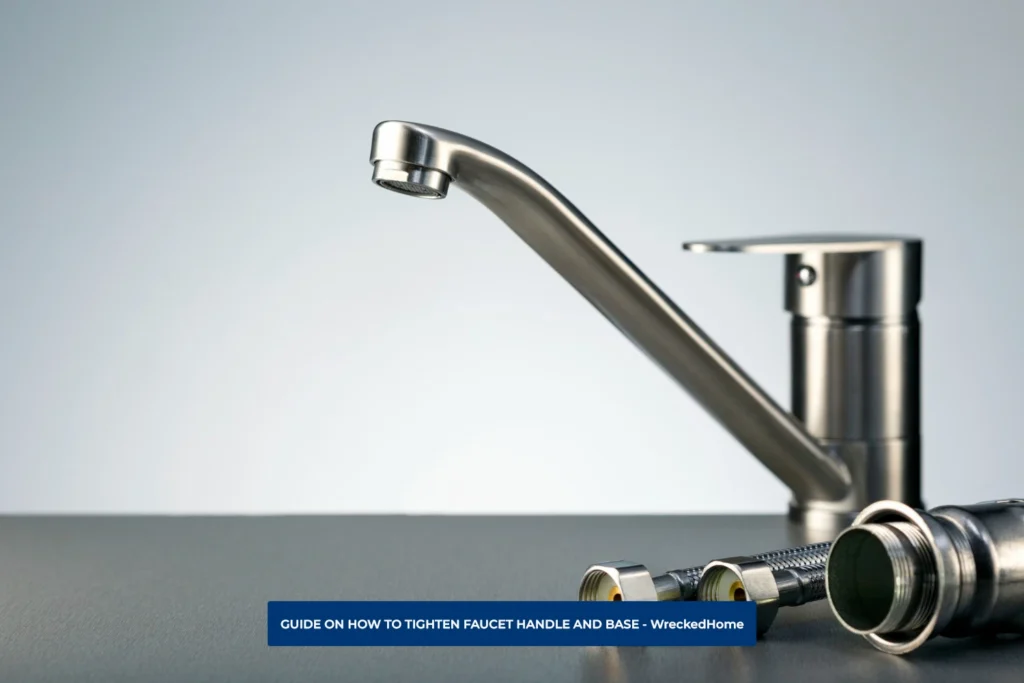
Step-by-Step Guide: (How To Tighten Faucet Base)
In the intricate ballet of how to tighten faucet bases, you need to follow the following steps. To embark on a journey from turning off the water supply to ensuring a leak-free, secure faucet base these steps endorse you.
Step 1: Turning Off the Water Supply
The first act is to locate the water shut-off valves and turn them clockwise until tightly closed. Once the water supply is cut off now its time to access the base of the faucet.
Step 2: Using a Sink Stopper and Open Faucet Handles
Prepare the scene by blocking the drain with a sink stopper that prevents from creation of a pool of water and offers a cushion for any dropped tools.
Step 3: Removing the Handle or Side Body and Water Lines
Remove the faucet handle or side body, depending on your specific faucet type to remove any stored water. Disconnect water lines carefully and start your working.
Step 4: Inspecting and Locating Mounting Nuts
With the faucet’s internal mechanisms, inspect the condition of the base. Now check out the signs of wear, corrosion, or damage that may require additional attention.
Step 5: Tightening the Faucet Base
Once you ensure these, there is nothing wrong with the base now comes to tighten the mounting nuts. This step is critical in restoring the structural integrity of the faucet base, with the help of the right tools.
Step 6: Reassembling, Checking for Leaks, and Final Adjustments
The grand finale involves reassembling the faucet components with precision. Check for leaks by slowly turning on the water supply.
Bonus Acts: Set the Screw Adjustment and Screw Under Decorative Cap
For those with a handle secured by a set screw, a bonus act is in store. Adjust the set screw using an appropriate Allen wrench, turning it clockwise until firmly seated. If your faucet features a decorative cap, unveil the hidden screw beneath it, tightening it as needed to reinforce the handle’s connection to the base.
Conclusion (How To Tighten Faucet)
As we draw the curtain on this comprehensive guide of how to tighten faucet handles and bases, understanding the nuances of different faucet types, employing the right tools, and incorporating routine checks and care, is paramount.
In the symphony of how to tighten faucets, lubricating, and inspecting becomes a harmonious routine that maintain your faucet. It is not just a chore but an investment in the longevity and efficiency of your household infrastructure. With these insights and practices in hand, you can fix your faucet by yourself with precision and accuracy.
If you cannot tighten your faucet yourself after reading this guide, please seek professional assistance. Find A Pro Near You Here!
FAQs
How do you tighten a faucet line?
To tighten your faucet turn it to the left loosens the plumbing fitting, then with right tool tighten it by moving the right side. Remember this simple rule: lefty loosely, righty tightly.
Can you fix a water faucet?
Yes you can. These problems are easily detectable and repairable with faucet repair kits, keep in mind to follow the above mentioned guide steps.
How do you know if a faucet will fit?
To ensure a proper fit, measure the faucet center, this is the distance in inches between pre-drilled faucet holes. This step guarantees that you choose the right tools to measure the correct faucet center that avoids from any installation complications.


