I remember trying to turn my AC on in the middle of the July. It did not turn on! I didn’t know what was wrong so I had to investigate. I thought that perhaps the air conditioner capacitor was blown. I knew this was the problem because the AC compressor, blower, and fan were not working either. If I called an AC tech, I would have paid hundreds of dollars! Fortunately, I learned that I could replace my air conditioner capacitor in minutes. In fact, it was really easy. If you are in a similar situation, I know you are wondering how can I do this myself? Don’t worry, we will teach you how to replace your air conditioner capacitor.
The steps in replacing an air conditioner capacitor are as follows: turn off the machine, locate the capacitor and discharge it, disconnect the wires, take the old capacitor out, install the new capacitor, reconnect the wires to the new capacitor, and finally turn the power back on. If you have a brief understanding of the home’s electrical connections, replacing the capacitor will not be a big deal for you.
So, you can do it by yourself without spending any time or money calling and paying an AC technician. And the good news is that you will not need any special tools or materials for it. So, let’s see the whole procedure in detail to bring your AC back to service to beat the heat!
A Step-by-Step Procedure to Replace Air Conditioner Capacitor
Replacing the air conditioner capacitor is not a complex procedure and you can save your money by performing it yourself. However, it’s important to diagnose whether it’s the capacitor or any other part of your AC that’s not letting the AC turn on.
Diagnosis Step
Turn your air conditioner ON and check its compressor unit. If it turns on, the air conditioner capacitor is okay and any other part is dead. But if it doesn’t turn on and create a humming sound, the capacitor is dead.
Moreover, check the unit’s blade using a screwdriver. The capacitor will be dead if it moves freely without any resistance. But if it resists, any other part of your AC is damaged.
Step-1. Turn the Power Supply OFF
Remember turning OFF your electrical appliance is necessary before you proceed for any electrical fixture. So, turn the power supply OFF by unplugging the power switch.
Sometimes, you’ll have to turn the 220v capacitor OFF for additional security. So, locate the breaker box, remove its cover, and pull the breaker out. Place it in a secure location.
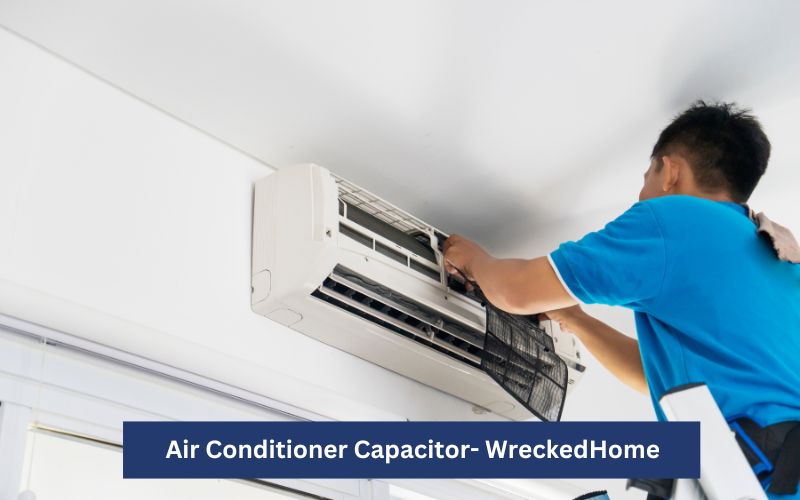
Step-2. Take Out the AC Door
Loosen the screws of the AC door with a screwdriver and take it out. It’s necessary to clear the circuit board of your air conditioner to carry on the capacitor replacement. So, door removal is necessary for it.
After removing the door, locate the air conditioner capacitor inside the panel. Inspect it to ensure it has blown. Take a picture of the electrical circuit because you’ll have to fix the wires at the same place after replacing the capacitor. If you don’t have access to a smartphone, make the circuit diagram on paper.
Step-3. Capacitor Discharging
There are three terminals on the capacitor, i.e., C terminal, HERM, and Fan terminal. Remove the wires and connect the C terminal with both HERM and Fan terminal one by one. Use the metal part of the screwdriver for this discharging task.
The discharging may produce shock or spark, so don’t be afraid of it. Repeat the procedure twice for each terminal connection and ensure the discharging is completed properly.
Step-4. Remove the Old Capacitor
You’ll find a curved metal bracket holding the AC capacitor. Unscrew its screws and remove it to take the capacitor out. After removing the capacitor, secure the screws to their place to prevent misplacing.
Step-5. Install the New Capacitor
Once you have successfully removed the old air conditioner capacitor, it’s time to install the newer one. So, fix it to its place and secure the bracket to the place by tightening its screws back.
Step-6. Connect the Wires
Once you have put the Air conditioner capacitor back into its secure area in its metal brackets, you must connect the wires next. Make the connections according to the picture you took in your smartphone or as per circuit diagram you printed on the paper.
Step-7. Test the Newly Installed Capacitor
Now, it’s time to test the capacitor. So, head towards the 220v breaker, fix it to its place, and turn the power supply ON. Check whether the unit has started to cool the room or not. It may take two or three minutes to cool the space properly. Hopefully, your AC will be back to service.
Visit our store for 10% off our Tools here.
Step-8. Secure the Door or Side Panel
Never attempt to attach the door or side panel when AC is working. It may result in deadly shock. You must first turn the thermostat off and then remove the 220v breaker to ensure that there is absolutely no power to the AC unit. Install the side panel and secure its screws by tightening them properly.
Reconnect the breaker and turn ON the thermostat. Enjoy your family gatherings even on extremely hot summer days! You have saved your money for the next pizza party with your dudes!
Air Conditioner Maintenance Tips
Maintaining your air conditioner in an efficient condition is important for both health and safety. A bad air conditioning system may favor mold and mildew growth that will affect your respiratory health.
Here are some tips to keep your air conditioner in a properly running position;
1- Keep Changing the AC Filter Regularly
Air filters of the AC are very effective to control the dust, debris, and pet hair contamination to the air. The stuck dust and debris may clog them and they may not work efficiently
Moreover, the debris clogging may result in icing within the unit. So, the unit will run harder and may affect the capacitor and other components driving the air conditioner. So, keep changing the filter regularly to keep the AC in service.
2- Clear the Nearby Plants or Bushes
AC needs free flowing air to catch and cool the air. And it may not get the efficient amount of air if you have grown plants or trees near the AC. That’s why it’s good to clear the unnecessary plants, trees, or bushes that affect the AC functionality. This way your AC will work fine without any obstruction.
3- Keep the Drain Clean and Clear
The condenser of AC has a drain pipe that drains the condensed water out. It may get clogged due to algae and fungus growth that will affect the water drainage system. So, make a habit of cleaning it with bleach after each two or three months.
4- Consider Installing the Programmable Thermostat
An AC with a regular thermostat will keep on running once you turn it on. It will not adjust the temperature at different times of the day. So, it’s a bad thing for people who don’t turn their AC off even when they leave the room.
However, a programmable thermostat will adjust the room temperature as per instructions you saved in it. So, consider installation of such a thermostat to enhance the lifespan of your air conditioner.
5- Get Professional AC Maintenance Service
You can perform some of the normal tasks yourself that don’t need any special tools or materials. But some repairs of your air conditioner will need special techniques, tools, and material. So, such tasks can’t be managed without a professional service.
Calling a professional once or maximum twice a year will be enough for such tasks. That’s why it’s important to call for professional help for;
- Electrical components repair
- Mechanical tasks
- Adjust coolant level
- Maintain the AC duct integrity
Such maintenance will help you increase the air conditioner life and lower the electricity bills without breaking your bank. So, it’s better to be secure rather than post damage repentance!
Conclusion
In conclusion, we discussed how to replace an air conditioner capacitor. Replacing an air conditioner capacitor involves removing the old capacitor after cutting OFF the power supply, installing the new capacitor, making the connections, and checking its functionality. It is a super easy task and you can carry it out yourself without assistance from any professional technician.
Remember to always get help from a professional when you are stuck on some complicated task regarding any electric circuit. Otherwise it may cause damage to yourself as well as to the air conditioner. Also, manage the above discussed things to keep the AC in service for a longer time.
For any repairs, installations, builds, or questions; We recommend you to hire a professional. Find A Pro Near You Here!
FAQs
How long does an air conditioner capacitor last?
Typically, an air conditioner capacitor can serve for 5-20 years but it depends upon the usage of AC. Moreover, some issues like electrical surges, poor filter maintenance, and overloading may affect its lifespan. But if you look after your AC unit properly, its capacitor will last for a long time.
What affects the air conditioner capacitor’s life?
Overloading, occasional power surges, and clogged filters may affect the life of an AC capacitor. Additionally, the functionality of the AC motor largely determines the life of its capacitor. If you take care of all these things, your AC may serve you for a long period.
What are the signs of a blown air conditioner capacitor?
If the AC condenser turns ON but creates a humming sound without cooling the room, its capacitor is blown. A sudden rise in electricity bills, sudden shut off, and no turning ON of the AC unit are some additional signs of the blown air conditioner capacitor. And if you feel odd fumes coming out of the AC or corrosion around the capacitor hookup, it may also be due to a bad capacitor or an overloaded motor.


