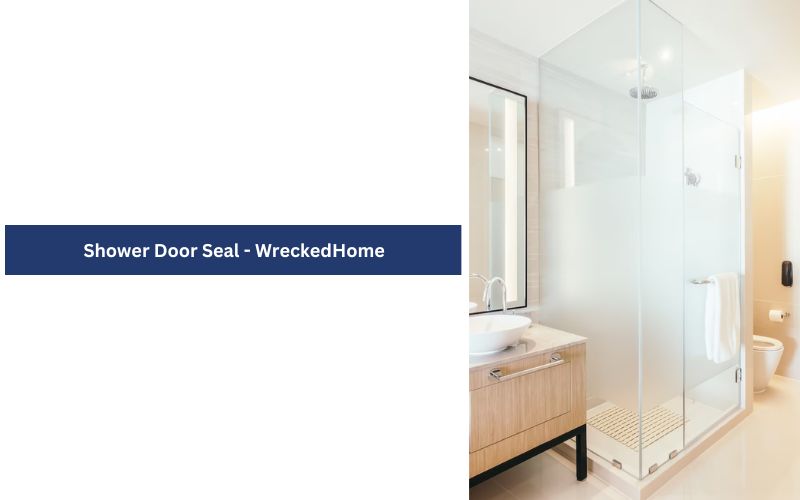
Are you noticing that while showering water is leaking out from the shower door? If yes, then you may want to know the reason for it. Well, the reason is your shower deal seal. These are the acrylic or vinyl seals present on your shower door.
If there is any issue with them, then water will start splashing out from the shower area door. In this situation, you need to replace them. To help you, we are going to discuss a complete guide to replacing the shower door seal.
What are the Types of Shower Door Seal?
There are three types of shower door seals. They are present on your shower door and have different purposes.
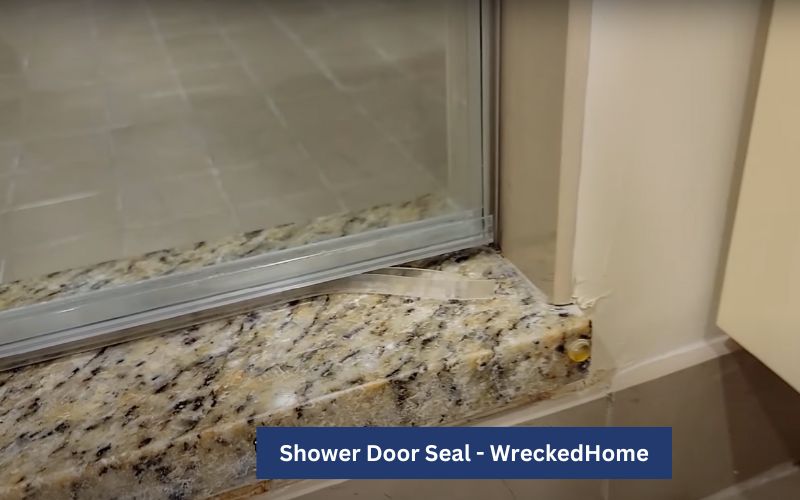
- Bottom Seal: This shower door seal runs along the bottom of your door. It prevents water from coming out from the bottom.
- Side Seal: It is also known as an acrylic seal. It is present on the hinge side of the door, preventing water from splashing out of that side.
- Door Stop Seal: It is the door jab seal present at the side of the door. It keeps the door in its place, preventing it from coming inside.
So, you may need to replace all these three seals when there is a puddle of water on your bathroom floor.
When to Replace a Shower Door Seal?
Different manufacturers recommend that you should replace a shower door seal within two years.
Why?
Because this seal ages with time. So, it loses its flexibility and effectiveness which is required from it.
Moreover, it can happen that your seal becomes brittle, and gets cracked in time.
This is because mildew deposits on it, making it weak with time. Also, if you use harsh cleaning solutions on it, the seal will age over time.
Or, it can happen that your door seal starts looking dirty or aged because of a thick layer of mildew on it. It would look ugly on your shining shower door, so you also need to replace it.
Now, how to do this task?
How to Replace a Shower Door Seal?
The process we are going to discuss is quite similar for all three types of seals. So, follow all the steps of this article:
1. Identify the Type of Seal
First of all, you need to decide which type of shower door seal you want to replace. Whether it is the bottom, side, or door stop seal.
After that, decide the category of your shower door seal. There are three major categories of this seal:
- Slide On Seal: This seal is made of clear vinyl. It has a slide-on feature in which the seal is simply inserted into the door. It has a 3-inch length. But, it has three width ranges: ½, ¼, and ⅜ inch.
- Metal Bracket Rubber Type: This rubber shower door seal is secured with a metal bracket. It is screwed so you need to unfasten the screws to get it out.
- T-Style: This seal is in T-shape, made of clear vinyl, and secured with screws.
If you are going to replace the door stop seal, you need to see if your door closes against a wall or a door.
Because the category of the seal is different for both sides. You need to determine the category before buying the new one.
When you know the category of your shower door seal, you need to move toward the second step.
2. Measure the Correct Size
You need to have the correct width of your shower door and the size of your previous seal.
To measure them, you need a measuring tape. Note down their length and width.
The seal strips come in individual sizes so you can buy the one according to the thickness of your shower door.
For length, we suggest you cut a longer seal stripe than your previous one. Later on, you can trim the excess when you put it in its place.
3. Cut the Seal Stripe
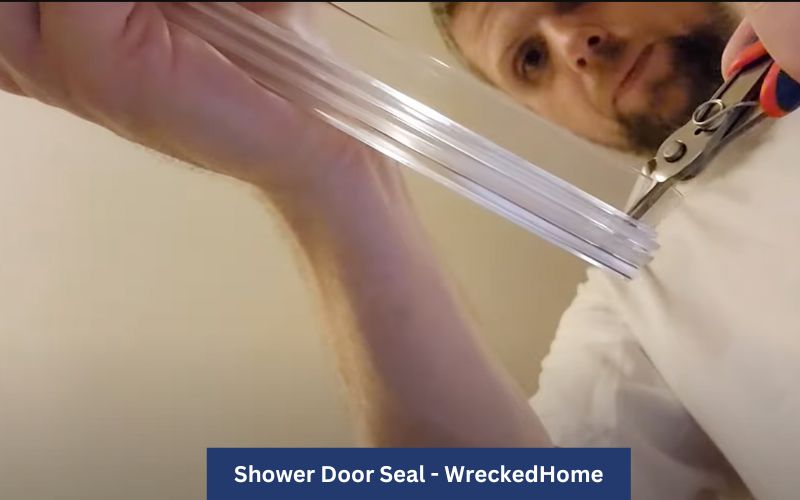
Now, you need to cut the seal stripe accurately. If it is soft vinyl, you only need scissors to cut them for your door.
But if they are hard ones, you may need a craft knife for this purpose.
4. Remove the Old Shower Door Seal
Now, you need to remove your old shower door seal. If it is worn out, it will not be difficult for you to push it out to remove it.
If its adhesive is difficult to remove, you need a knife to do it. Put the end of the knife in the seal and take it out.
Or, you can use a hairdryer to dry the adhesive. It will also help your seal to come out.
If there is a metal bracket on your seal, you need to remove screws from it. Then, take out the rubber seal.
5. Clean the Glass
When you take out the old shower door seal, you need to clean that part of the glass before installing the new one.
To clean the glass, you need a soft soapy cloth for it. Rub it there and all the residue will be cleaned.
If it doesn’t, you can rub alcohol or any household cleaner. If you notice the leftover adhesive in that place, you can scratch it out with the help of a utility knife.
After cleaning it, make sure to rub the dry cloth on it.
6. Clean the Ends of the Seal
Before inserting seal on the door, you need to clean the end of it. This activity will ensure that there are no rough ends or excessive adhesive on it.
To do this, you need a utility knife. By using it on the seal, you can smooth the rough ends of the seal. And, can take off the excessive vinyl from it.
We have seen a lot of people skip this step. It leads to the shorter life of their shower door seal.
7. Slide the Seal onto the Shower Door
This is an important step. You need to slide the shower door seal onto the door to fix it.
For it, you need to make sure that the center of the seal is positioned at the center of the door.
There will be a lip side of the shower door seal which should be facing the shower door.
Now, if it is a slide-on seal, you need to snap both sides of it to fix it to the door. If any bubbles are created in the stripe, you need to smooth it out with your thumb.
If the seal is T-style or metal bracket rubber type, you need to screw it in its place.
If it is another ordinary adhesive seal, you need to peel off the protective cover of adhesive material and stick it to the door.
We recommend you put extra adhesive on your own on the door where you want to put the seal.
This action will ensure that your seal remains in its place.
If you are going to install wall-to-glass door stop seals, you need to be extra careful here. Make sure that you fix the seal inside the shower area so that the door can be closed.
Also, identify the point where you want to put this seal. Mark the points with a pencil. This step will ensure that you don’t make any mistakes while installing it.
When you have installed your shower door seal, cut off the excessive length with the help of a knife.
Visit our store for 10% off our Tools here.
8. Let the Shower Door Seal Set
You need to let the shower door seal set for the next 24 hours. Its adhesive needs to be completely dried off so that it remains in its place for the next 2 years.
In these 24 hours, you can’t use the shower. Otherwise, water will impact the adhesion of the seal.
Moreover, don’t open or close the shower door. The movement can also impact the seal.
9. Check for Leaks
After twenty-four hours, it is time to test your shower door seal. Open and close the door to make sure that the seal is in the right place.
If your door is closing properly, it means you have done the right job. Now, hop into the shower.
Open the shower and observe if water is still leaking out from the door.
If it doesn’t, then congratulations! You have replaced your seal successfully.
If it is leaking, then there is an issue with your seal. Either you haven’t placed it correctly in its place, or you have used the wrong type of seal.
So, you need to replace it again.
This is the 9-step guide to replacing your seal. Let’s see how you can keep it maintained.
Maintenance Tips for Shower Door Seal
It is quite easy to maintain the shower door seal. You just need to follow a few tips:
- Always clean it after taking a shower. Make sure that mildew doesn’t remain on it for a long time.
- Use only mild detergent and warm water to clean it.
- You should never use any scrubber or abrasive cleaner on this seal.
So, this is all about replacing the shower door seal. The whole procedure is a simple DIY task that will only take you half an hour. You don’t need any professional to do this task.
For any repairs, installations, builds, or questions; We recommend you to hire a professional. Find A Pro Near You Here!
Frequently Asked Questions
Do all Shower Doors need a Seal?
Yes! All types of shower doors need a seal on them. This includes pivoting and sliding doors too.

