Walls hold our houses together and also keep our possessions safe. We find solace in our homes during harsh weather. Our walls also protect us from intruders, pests, and animals. By definition, our walls structures that connect from the roof to the floor. We are fortunate to have walls. They function for many years and enduring everything. They do so much good for us. Now it’s time to do something for them but what? A makeover?
Yes, it’s great to give your walls a new, hip, retro look. Choose something that is more durable aesthetically pleasing. The perfect wall makeover is the orange peel wall texture.
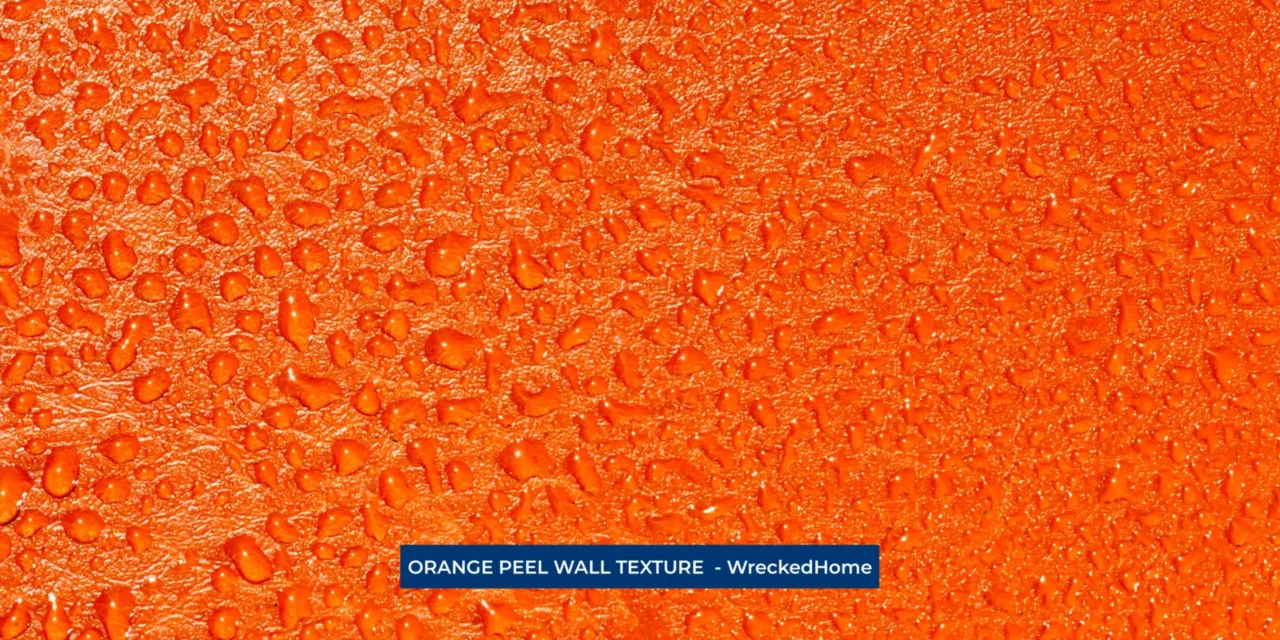
You may have walked into a room stunned by the unique, textured beauty of its walls. Chances are you encountered an orange peel wall texture because it draws attention immediately. This is an orange like surface with dimples that are smooth to touch. It feels like an orange peel. It adds depth and character to any space just like a work of art. An orange peel wall texture looks like a popcorn texture but without the pain. Let’s see how you can achieve it to give your walls a professional orange peel texture.
How To Achieve Orange Peel Wall Texture?
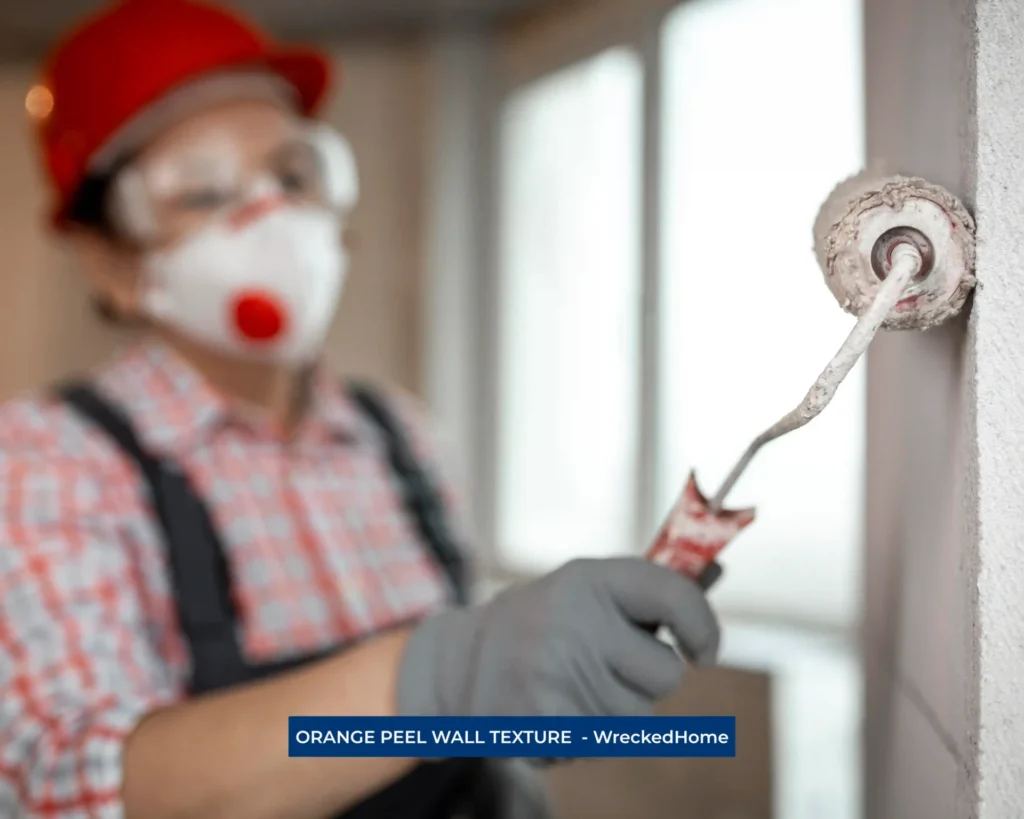
Image by Freepik
The orange peel texture is used on unpainted and painted walls. It is different from a smooth traditional finish. This is because it creates grooves, small bumps, and valleys. All of this makes your walls feel like an orange peel. Achieving the orange peel wall texture is our major concern in this article. So, keep reading.
Overview of Achieving Orange Peel Wall Texture
To get the orange peel wall texture, your basic need is two things. One is air compressor and the other is a spray hopper. A hopper is a spray gun mounted with a large reservoir which contains joint compound. The next step is to mix the joint compound with water and make it thin and soupy. After that, you have to pour the mixture into your hopper. The final step is to turn the hopper on. Then spray your room’s wall with an orange peel wall texture. You have to wait for 48 hours for final results. To know the detail of process follow our instructions below:
Prepare Your Workspace for Achieving Orange Peel Wall Texture:
Take the texture hopper and air compressor to prepare your workspace. A hopper is a pressurized spray gun. It comes with a separate storage box in which you can see the top of it. The air compressor hooks up to the hopper. When you press on it, the orange peel wall texture come out of the nozzle. You don’t need to worry about toxic chemicals. You do not need to wear gloves. The process is very simple and toxic-free.
To prepare the workspace, lay down a plastic sheet or drop cloth on the floor. Although we are going to spray the texture on wall, it is somewhat a messy process. So, you need to keep your floor clean and safe during the spraying process. That’s why we suggest putting a cloth or sheet on the entire floor where you are working and applying the texture. Here are some tips you should follow before applying the texture.
- If someone accidentally spills the joint compound on floor, they have only 15 to 30 minutes to wipe it up. They can use a clean rag or damp sponge. Otherwise, it keeps a spot on the floor.
- Most of the time you have installed baseboards before applying the texture. If you already have the baseboards then you have to tape your plastic sheeting to baseboard’s top. You can tape it with painter’s tape. Don’t use drop cloths as they are too heavy to tape.
Covering Fixtures and Switches
- If you are applying the orange peel wall texture on the entire wall, cover the outlets and switches first with painter’s tape for safety. This also keeps them dry.
- You have to cover the windows, so lay a plastic sheet over them. Use painter’s tape to stick it to the frame. Painter’s tape saves the surface area you don’t want to texture in your room. That’s why we prefer painter’s tape. It keeps fixtures and switches dry.
- It’s better to apply the orange peel wall texture to your room before finishing. If the finish of the room is already complete, you have to use a screwdriver and then remove the face plates from the outlets.
- After that, you have to uninstall the lights. Unscrew them from the mounting plate. In any case, if you are not able to remove it, then wrap painter’s tape or cover it with a plastic bag to keep it safe.
- You have to save the ceiling fan also. For that, you have to unscrew the blades and set them on the side. Wrap the motor of the fan in plastic bag and then tape it closer to top of the mounting bracket.
Visit our store for 10% off our Home Maintenance products here.
Attach Nozzle to Spray Gun
- Take the hopper and check the nozzles for your spray gun. The hopper typically comes with three nozzle sizes for your spray gun. These are small, medium and large. Attach the small nozzle to your hopper spray gun as large has big opening and the small nozzle has the thinnest opening. You have to keep it tight, so twist the smallest nozzle onto the spray gun and then turn it clockwise into threading. Continue the twisting process until the nozzle tightly sets and won’t move further.
- The thin nozzle setting provides the perfect consistency which you need. Keep in mind that, orange peel wall texture requires a fine mist to perfectly settle down.
- In case of new hopper, which comes with an adjustable nozzle, you can twist it until its opening gets smaller as you need.
Tip:
It is recommended to rent a hopper and compressor as both tools are expensive. The actual cost is between $500-2500 for the hopper and $100-400 for an air compressor.
Mixing Compound & Filling the hopper For Achieving Orange Peel Wall Texture
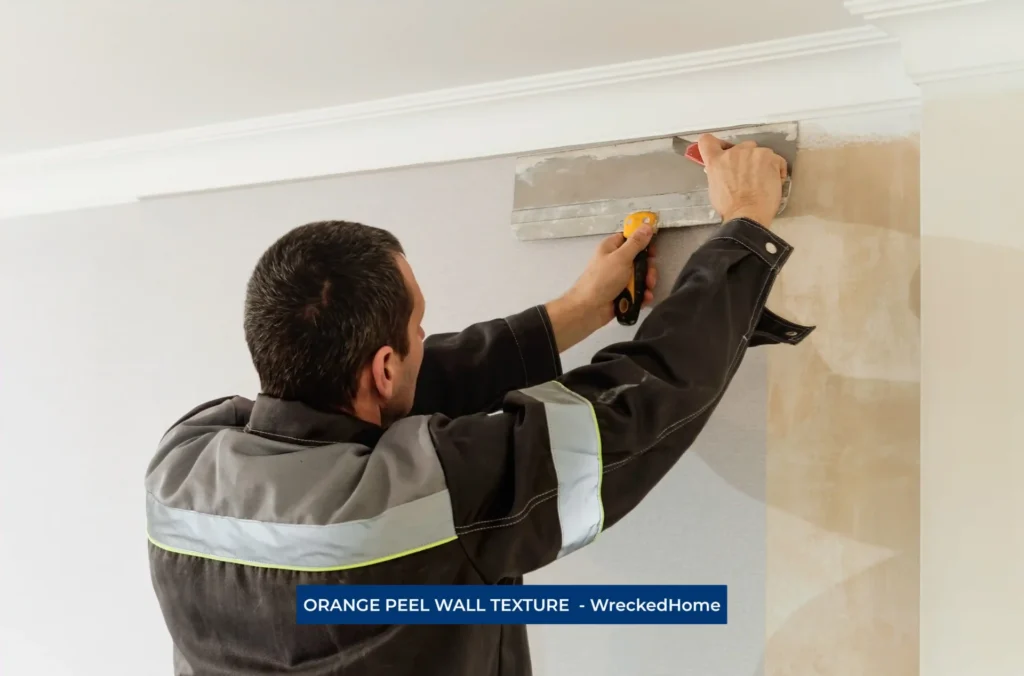
Image by ededchechine on Freepik
The next step is to mix the compound and fill the hopper. First, open your joint compound and large bucket and tilt it over. You have to pour out half of your joint compound because after mixing it with water, it may overfill and spill out. Then mix the compound with water in the bucket.
You can use any type of mudding compound. Fast drying joint compounds make this process difficult. You have to keep in mind that there is less time to work as the joint compound becomes hardened. So, you have to select joint compound that has a 24-48 hour drying time to avoid hardening issues. Do this process on top of your drop cloth or plastic sheet.
You must attach the mixing paddle to your power drill and follow the following steps for perfect mixing.
- Start the process by removing the exciting drill bit. Flip the lock that is near the head of your drill counterclockwise to release it. It allows you to remove the old drill bit.
- Take mixing paddle drill bit and slide its head into drill head with perfect fit. Twist it clockwise for secure attachment.
- Flip the lock near drill head for firm lock after mixing paddle is in place.
Joint Compound Mixing:
- You have to position head of mixing paddle in center of your bucket and push it down closer to bottom.
- Set the drill to lowest power setting at the start. Then pull the trigger slowly to start mixing joint compound. Gradually increase the trigger pressure to soften the compound and mix it at higher speed. This particular way of mixing the joint compound helps soften it and incorporate air into it. It also makes the work easier while adding water.
Add a little bit of water and continuously mix it. Once the compound softens, add a little bit more water. If you have 5 US gal or 19 L bucket, adding should start with 2–3 fluid ounces which is 0.059–0.089 L. Mix your compound for more 1-2 minutes before adding more water. Water consistency is in a way that if the compound is thicker, you need to add more water to make it perfect.
The perfect consistency is when your compound is soupy and thin. The amount of water is different according to need based on material and thickness of compound. Stop adding water once your compound becomes thin, regardless of type of compound. The perfect consistency is just like soup and slightly thicker than water.
Hook Your Hose
Take your air hose and hook it up to the compressor and hopper. Twist it into the air compressor spigot and twist the other end into the hopper spigot at spray gun’s bottom. If you have larger hopper that comes with a separate spray gun, then you can attach second hose from spray gun to container.
- Large hoppers come with separate spray guns. Some of them are attached to the spray gun’s top. Some of them are stationary and you will find built-in compressors in them.
- Pour the mixed compound into the hopper’s top. Let the lid of your hopper open and fill the bucket with joint compound and water. Remember to carefully pour it into the top. Fill it until theline inside your container. Some hoppers have no fill lines, so fill them up till they are 2/3 full.
- Now turn the dial on your air compressor. The initial reading should be 60-80 psi. You have to push joint compound through the spray gun’s nozzle with high pressure. Turn the dial on before you turn on the compressor. Plug the compressor into the outlet if it has no battery and turns power switch on.
Apply Orange Peel Wall Texture:
To apply the texture, you have to hold your spray gun away from the wall approximately 18–24 inches which is 46–61 cm.
- First choose top position of wall to give orange peel wall texture. Hold the spray gun in both hands and steadily lift it. Holding the gun away from the wall is necessary thus you can’t concentrate spray in one specific area. The direction should be from top to bottom and left to right from your initial point.
- For face protection, put your non-dominant hand on the gun’s top. You can also wear protective eye wear to make the process safer for your eyes. However, you will avoid leaks if you hook your hoses up tightly so don’t worry.
- The whole process is same for the entire room walls. You don’t have to use different techniques to complete the process on other walls.
- To start the process of spraying, you have to pull trigger to release air and compound. Spray back and forth in 3 ft section. The exact measurement is 2–4 ft section of the wall for back-and-forth moving of the spray gun across a small section for 10 to 15 seconds.
- First you may not see and notice the covering on the wall. This is because joint compound is of the same color as the unpainted drywall. You will have to continue the process of applying texture until it becomes solid and gives a uniform color of orange peel wall texture.
Preventive measures:
- Don’t use your spray gun in only one location or direction for longer periods. Don’t use for more than 1-2 seconds. Keep it moving to give an even texture to wall.
- Sometimes your joint compound causes a trouble like ricocheting off the wall. In that case back up a little to make it perfect.
The next step is to move the spray gun in a downward position. You can achieve this by continuously moving it. Once you covered one section of the wall, go to the next part. Keep the trigger down and let your hand move the sprayer down to the next 3 ft area or section. Repeat the process until you have finished texturing the wall.
Final Results
To get perfect results and completely apply the texture, you have to spray each section for 10-15 seconds. Repeat the process and complete the entire room design with an orange peel wall texture.
Once process is complete, leave it to dry for at least 48 hours. The drying process is very important for the proper design and perfect look. Remove the plastic from your window and painter tape off after the process completion. Leave them open 2–6 inches (5.1–15.2 cm) for proper ventilation of the room. At least wait for 48 hours before going to paint or patch your orange peel wall texture.
If you missed an area then you can apply the wet texture again. This can be done at any time. Please let the wet compound dry twice. The previous compound coat can only get wet again after the first application is dry.
Conclusion
We have discussed whole process of achieving the orange peel wall texture professionally. You can easily do this process by following our guide. This will give you amazing results on your walls.
For any repairs, installations, builds, or questions; We recommend you to hire a professional. Find A Pro Near You Here!
Thumbnail by: Freepik


