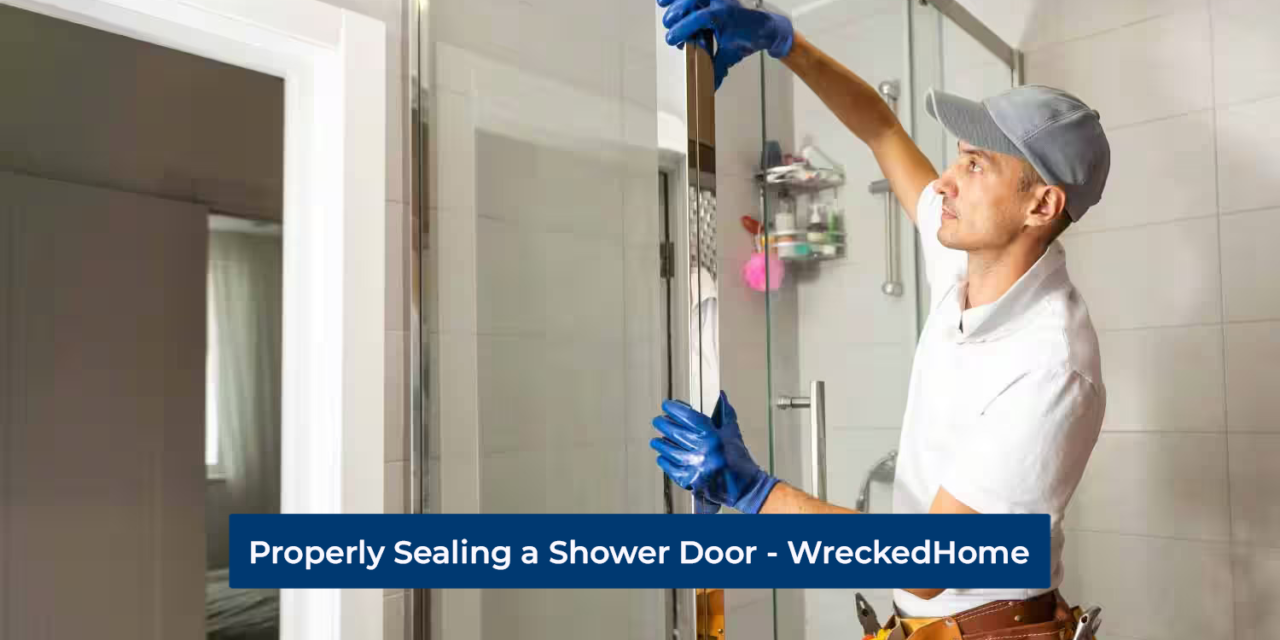
Are you looking into sealing a shower door? If yes, then you must be sick of the water leaking from the door bottom and sides. This water makes the bathroom floor wet, inviting mold and fungus. Plus, ugly stains appear on the bathroom floor. Constantly wet bathrooms also increase the risk of slipping or fall accidents, which is completely unacceptable, and you need to find a way out to make the space dry.
The only workable solution to deal with this water leakage is sealing the shower door. Here you will learn the step-by-step procedure to seal the door. Before that, you will also learn the different types of seals and how you can select the best ones. So, let’s delve into this detailed guide.
Sealing a Shower Door – Step-by-step
Sealing a shower door sounds like a hectic project, but it is a matter of a few hours, and you are done. All you need is a careful selection of the seal in accordance with the bathroom door, and half of your task is done. The rest is just the installation.
So, here is the step-by-step guide to properly sealing a shower door:
Selecting a Shower Seal
You must learn the types of shower seals in order to select one for you. All types lead to properly sealing a shower door. There are the 2 main types of shower seals based on their placement:
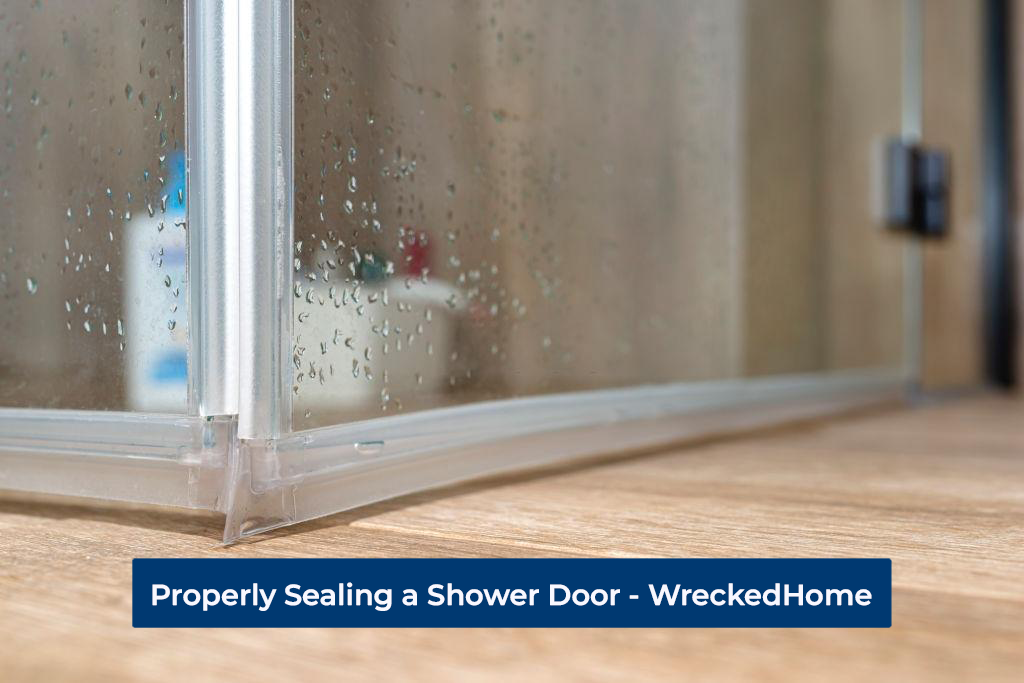
- Bottom sweep
Bottom sweep is one of the most commonly used bathroom seals that run along the length of door’s bottom. These types of seals equally fit frame less and framed shower doors.
One side of the seal has a drip edge that faces the showers’ interior. A huge plus point of bottom sweep is you can install it with your bare hands.
- Side sweep
Side sweep shower seals work at sealing a shower door because they prevent leakage through the side hinges of bathroom door. Mostly the sides of shower door leaks where the waterfall shower is used. So side sweep seals make bathroom water-tight and don’t let water droplets come outside.
You can also have D-shape, F-shape and H-shape seals.
After deciding seal type depending on its placement, next is to choose a type based on its shape. Normally, there are 3 main types of shower seals depending on its shape and include:
Straight seals – As the name indicates, these are completely straight seals and even don’t bend during installation. Thus, you can ideally use these seals to make rectangular, square or geometric shower enclosures.
Round Seals – These seals are curved or rounded and can take your required shape.
Magnetic seals – These seals are known for their highest capability to air-tighten bathroom doors. Magnetic seals also have magnets that help to keep the door tightly closed and prevent water leakage.
Choosing the Right Size of Seal for Sealing a Shower Door
After deciding shower seal type, next is to measure the right size so it will not be a headache during installation. Take a measuring tape and get an estimation of the door width and thickness of the glass.
Remember, loose seals do not block water inside the shower enclosure. For instance, there will be no use of 8mm thick seal for a bathroom door that is 6mm thick. So, measuring before buying is worth it.
Preparing the Shower Door
Your bathroom door seal has been finalized till this step, and you are ready to practically seal the door. First, make sure the shower is dry. Seals do not sit firmly on wet, rough or filthy surfaces. So, you should nicely clean the surface with a damp cloth and wipe with a dry towel.
Remove old sealant using a knife and then scrap away any residuals. Be sure to avoid hand injury or glass damage. If small pieces of silicone are too hard to get off, use a plastic card to scrape them away. Using silicone remover is also an option, but a little manual effort will give you a smooth surface.
You can also use a vacuum cleaner to suck up any dust or deposits and then wipe the surface with a damp cloth.
Install Shower Seal
Next is to install shower door seal. Make sure you have all the pieces of the right size; otherwise, cut them appropriately. Similarly, soften up the sealing strip if it looks way too hard. You can leave the seal in warm soapy water for around 30 minutes. When you take it out, you will notice a clear difference and feel it softer than before.
Now slide the strip onto the shower base. It will go smoothly if you have bought seal of the right type and size. Also, don’t force it in the sealing space. It will adjust at the right angle with gentle handling. Just make sure it fits well before leaving. also, don’t forget to inspect any leaks in the seal. If you see water droplets are still coming out, just take some extra precautions and apply a silicone sealant layer the way guided in the next section.
Sealing a Shower Screen with Silicone
Silicone is waterproof and is a widely used sealant on shower doors and screens. It is one of the most effective ways to sealing a shower door. So, whether your sealed door is leaking or the shower screen needs touch up, silicone sealant is the best to block water.
All the shower screen preparation steps are the same as mentioned earlier. So, so if there is no old sealant, just start right here. Otherwise, remove it with a knife, and make sure there is no old sealant.https://usa.sika.com/en/construction/adhesives-sealants/joint-sealants/architectural-sealants/silicone.html
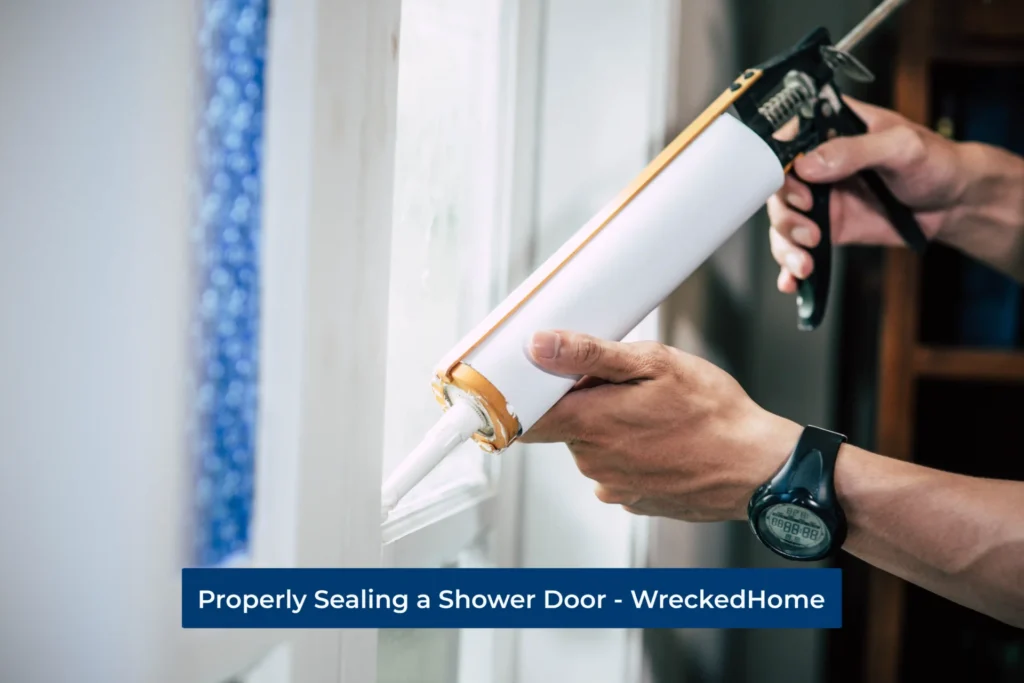
- Take the shower sealing silicone and read all the manufacturers guidelines about the product. It could be about your safety or the usage.
- Next, screw the nozzle on the end of your silicone sealant. Cut a 45o angle off the top to create a 5 to 6mm hole. Insert it into the gun and tighten up to the tube base.
- With a gentle pressure on the gun, apply few beads of the sealant evenly around the shower tray. When applying these beads, make sure there are no visible gaps to prevent water leakage.
- Remember, you are applying sealant gradually so if there is more need, you can come back and apply more until all gaps are sealed.
- Next is the time to smooth applied sealant before it is dried. You can use a smoothing tool or a wet finger. Whatever method you use, just be sure to keep it even, as evenly applied seals add to the aesthetic value.
- Now wait for the seal to dry, and do not use the bathroom for at least 1 to 2 days after applying the seal. There is no doubt that silicone dries quickly; still, it is better to stop instead of ruining your efforts.
So, this is all you need to add an extra layer of protection to your bathroom door or shower curtain. You can do silicone application to the framed or frame less doors. In fact, shower screens make a good seal with silicone sealant.
Visit our store for 10% off our Home Maintenance products here.
Do showers need resealing?
Showers may need resealing periodically. This is because seals deteriorate from the base of the walls, shower tray and around the shower door.
When the sealant becomes old or damaged, it may no longer effectively prevent water from leaking out of the shower enclosure.
You can check the visible signs indicating resealing and these include:
- Water leaking from the base tray or side edges on the bathroom floor is the first indication of bad shower sealing.
- Mold or fungus grown in the corners shows it is the time to make a new seal in the bathroom door.
- Over time, sealant can discolor or turn yellow.
- If the sealing starts to peel or crack from the surface, then it is supposed to do resealing.
How long does silicone shower seal last?
A silicone shower seal can last anywhere between 5 to 15 years. But, its average life also depends on three main factors: first, the silicone quality; second, the conditions in your bathroom; and third, how well the seal was initially applied.
If you have used good quality seal and the bathroom is well maintained, then sealant will take longer to get damaged. On the other hand, if poor quality seal was used and your bathroom has high traffic then seal will hardly take a few years to leak.
So, if you want to take more out of the bathroom sealing, never compromise on the quality. Also, pay special attention to the maintenance and either hire a professional or do it yourself in the best possible way. Your bathroom sealing will be perfectly fine for years.
Tips to Prevent Shower Seal Leakage
Sealing a shower door project needs your careful attention – from selection of seals to the final application. So, follow these tips to prevent leakage in future:
- Regular cleaning is the key to long lasting shower seals. Keep the seal clean to prevent dirt, soap, scum and mineral buildup.
- Periodically inspect the condition of the door seals. If you notice any cracks or gaps, replace them promptly.
- Consider installing a pressure regulator in your bathroom to reduce water pressure so high-pressured cannot damage seal.
Conclusion – Sealing a Shower Door
Finally, everything about sealing a shower door is clear for you. Now you better understand the shower seals importance in your bathroom and can seal shower enclosure too. When doing this sealing project, just keep your prime focus on the selection of seal. This is because installation takes a matter of a few minutes. Careful selection of seals takes your energy so, be wise.
For any repairs, installations, builds, or questions; We recommend you to hire a professional. Find A Pro Near You Here!


