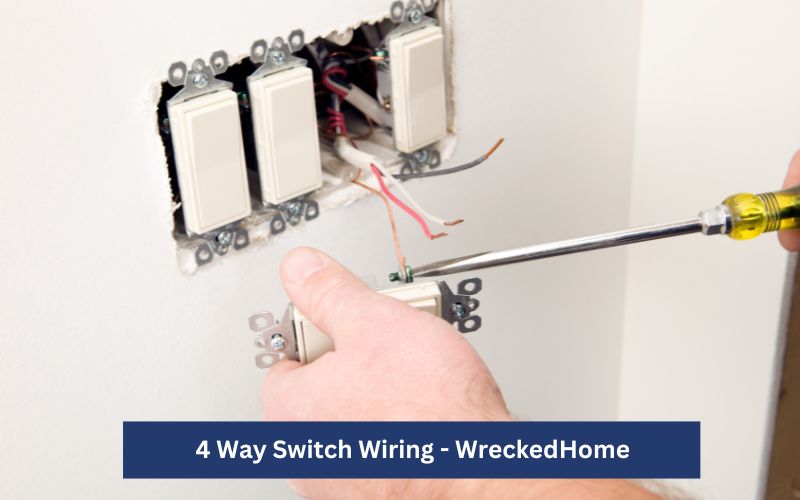
Switches are simple but mighty electrical outlets that control electrical devices with a single click. In the modern age, you’ll also find multiple way switches along with simple switches that control the electricity flow from multiple spots in a home. But do you know: what is a 4 way switch and how to wire a 4 way switch?
A 4 way switch is a simple electrical outlet that helps to control the electrical devices with a single click. A 4 way switch controls the lights for three different spots. Such switching functioning is confusing, so you will find 4 way switch wiring complicated.
But the good news is that you can proceed with such wiring on your own without any assistance from an electrician.
Remember, all this is possible when you have proper instruments and know a proper method. In this precise guide, we’ll discuss what you will need for 4 way switch wiring and what steps you have to follow. So, keep scrolling to dig deep into a thorough procedure!
How to Wire 4 Way Switch Wiring?
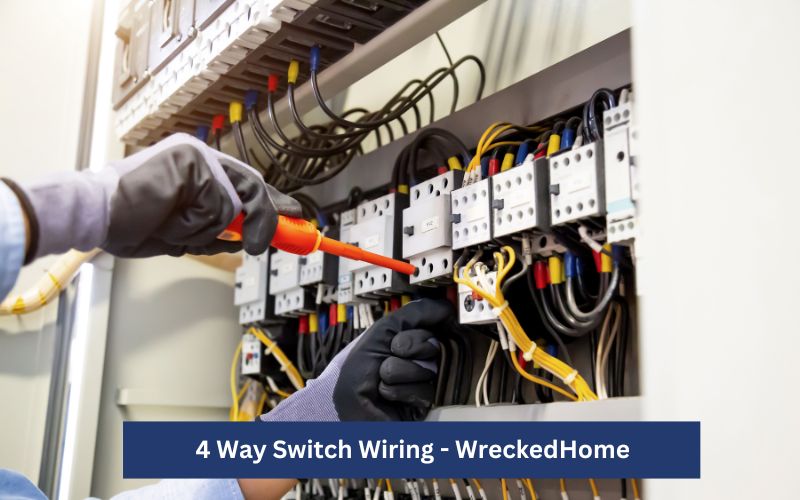
Before you explore the thorough procedure for a 4 way switch wiring, you must grab the essential tools and materials. Here is what you’ll need for this process.
Essential Tools:
- Lineman’s Pliers to peeling and cutting the wires
- Screwdriver for loosening and tightening the screws when needed
- A Utility Knife for cutting the wires and opening the packages
- Wire Strippers to remove the insulation from the wires
Essential Materials:
- 14/2 cable (with ground nonmetallic-sheathed)
- 14/3 cable (with ground nonmetallic-sheathed)
- 3-way switch (2 pieces)
- 4-way switch (1)
- Electrical tape for insulating the wires
- Single-gang box (3 pieces)
- Wire nuts
Note: Before moving on, it’s important to understand the basic home electronics deeply. Also, safety is the first measurement when carrying out the procedure! Moreover, turn off the power supply before starting the procedure.
6 Steps Procedure For 4-Way Switches Wiring:
A 4-way switch works fine only when you place it between two 3-way switches. It will connect these two three way switches. Follow these steps for a 4 way switch wiring;
1. Pull the Cables to the Target Spots
Start by pulling the cables to the switches’ locations. Follow these instructions when pulling the cables to the switch boxes;
Pull a 14/2 cable from the electricity source to the switch box of your first 3-way switch.
Then pull a 14/3 cable from the first 3-way switch setup to the 4-way switch.
Now run another length of the 14/3 cable from that 4-way switch to the other 3-way switch.
Then move a 14/3 cable from the second three way switch to the light.
2. Cable Preparations
Once you have pulled the cables to the destinations, it’s time to prepare the cables for further process. Ensure that at least 6 inches of each cable remains outside the switch boxes for further connections. Use lineman’s pliers to remove the insulation of the wires. Join the bare ends of the wires together and fox them with the wire nuts.
3. 3 Way Switch Wiring (First)
To wire the first 3 way switch, attach the hooked pigtail of the grounding to the green terminal on your 3 way switch and tighten it using a screwdriver. Also, splice the neutral wires together and push them back side of the switch. It’s essential to follow this instruction by the National Electrical Code (NEC).
Then attach the black terminal on the switch to the black wire of the 14/2 cable. Now you need to connect the red and black traveler wires of the 14/3 to the brass screws of the 3-way switch. Ensure you attach a single wire to each brass screw head and tighten the wires thoroughly.
4. 4 Way switch wiring
As discussed above, a 4 way switch wiring is mostly used to connect the two three way switches. The next step is to connect the first three way switch to the 4 way switch. Repeat the process as you did for the three way switch.
Connect the ground wires to the green panel on the four way switch after splicing them. Similarly, splice the neutral wires together and then push them back to the switch box. Attach the black and red wires from the last 3-way switch to the “Input” terminal of the 4-way switch.
Now you have attached the first three way switch to the four way switch and it’s time to connect the second three way switch to four way switch. For this, connect the black and red wires from the second three way switch to the “Output” terminal on the four way switch.
Fix the incoming and outgoing travelers to the black and brass screw terminals on the 4-way switch respectively. Ensure you tighten all the screws well after making the connections.
Visit our store for 10% off our Save Home Energy products here.
5. 3-Way Wiring (Second)
To set the wiring of the second three way switch, repeat the process as discussed for the last three way switch. But this time, the 14/2 cable from the second three way switch will be attached to the light fixture.
The black wire of the 14/2 cable will go on the black terminal on the second way switch.
And follow the same instructions for the travelers from 14/3 cable as you did for the last three way switch.
6. Align the Switches
It’s good to wrap the electrical tape around the perimeter of the switches for additional security. Also repeat the same process for the screw terminals. All this will avoid the accidental connections between the grounding wires and the switch terminals.
After this safety measurement, push the switches into their respective boxes and align them well before tightening their screws to fix them in place. Then cover the switches with their face plates and head towards the light connections.
Wire the light to the 14/2 cable’s black, white, and grounding wires. Then connect the switches to the breaker of your power supply. Finally, your four way switch is ready to perform for you!
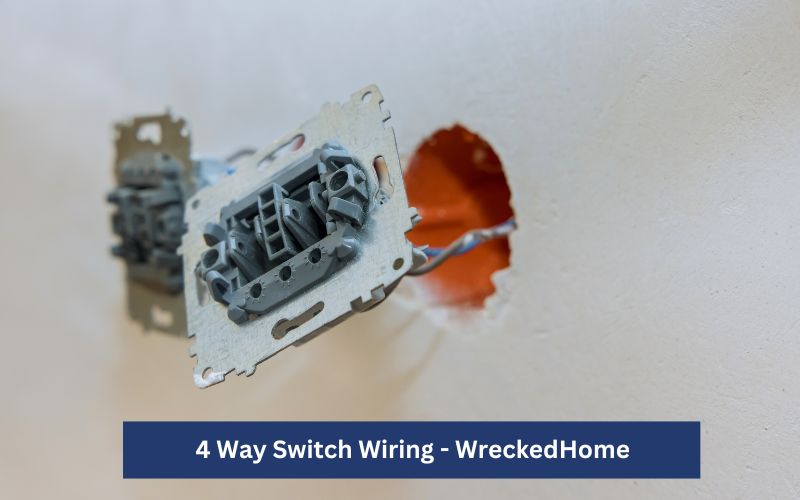
When Do You Need 4 Way Switch Wiring?
Four way switches are used when there are three or more switches controlling the same light fixture. And remember that this switch is always used in conjunction with the three way switches, so you’ll always find two or more three way switches accompanying the four way switch.
Four way switch wiring is not so complicated if you know the standard rules for the home electrical circuits. Then you can wire the three way switches with the four way switch by following the above guidelines.
Is 4 Way Switch Wiring Worth It?
Yes, 4 way switch wiring is worth it when used with two three way switches. However, it’s safe and beneficial only when you carry on the four way switch wiring carefully and accurately. If done right, you can expect the following benefits from a four way switch;
Enhanced and Convenient Control System
If you want to control your home’s lightning system from different spots, a four way switch wiring will be the right buddy for you. It will help you light up the stairs, crosswalks, and larger rooms.
Flexibility
With a four way switch wiring, you can make your lighting system flexible. For example, it’s possible to control the lights differently for different entrance spots with such a system.
Easy Customization
If you have equipped the hallways, larger rooms, or crosswalks with lights controlled by a four way switch, you can create different lighting managements. This way, you can fulfill the lighting needs as per your requirements.
Energy Efficient Technique
When you have control accessibility to your lightning system from different spots, you can turn them on/off whenever entering the room. This way you can control the energy usage easily.
Great Safety
A four way switch is far more secure. Also, it makes the pathways brighter and clear by lighting them timely.
Aesthetic Appeal
A four way switch wiring seems to be modern, so it appeals to the aesthetics. So, you can add to your home decor through such a system.
Conclusion
In conclusion, you have learned how to carry out 4 way switch wiring. It includes delivering the cables to the switch boxes, preparing the cables, wiring the first three way switch, wiring the four way switch, and finally wiring the second three way switch. However, it is not as simple and straightforward as it seems.
You’ll have to follow the general electrical rules and then complete each of the above mentioned steps carefully. This way, you can light up your home in a way that you can control the system from multiple spots.
For any repairs, installations, builds, or questions; We recommend you to hire a professional. Find A Pro Near You Here!
FAQs
How does a 4 way switch work?
A four way switch works by toggling the electrical pathways of the home lights that helps in controlling the lights from more than a single spot. Such a control system is always used in combination with two three way switches.
How many wires are in 4 way switch wiring?
Typically, a four way switch has four electrical terminals, so four wires are connected to such a switch. The wires being connected are two traveler wires, one common wire, and one ground wire. These wires operate the switch to control the lights from more than one location.
Can I convert the 4 way switch to 3 way?
Yes, it’s practical to convert a 4-way switch into a 3-way switch via bypass method. In such a procedure, you’ll have to disconnect the last three way switch. This way, the middle switch (4 way switch) will control the whole load.

